Archives of Loren Williams Fly Tying Tutorials.
Blue-Winged Olive Catskill
Fly and Photos by Loren Williams
Perhaps one of the most outstanding contributions to the tradition of fly -tying was Theodore Gordon's upright and divided winging technique for mayfly dry flies. Prior, wings were typically tied in as one bunch, often angled to the rear. Early on, winging material was often either duck flank fibers or quill slips from waterfowl wings. As tying has evolved, many materials have been used to imitate mayfly wings. Mayfly imitations with slender bodies, hackle collars and upright divided wings can be traced back to Gordon and some of his cronies and are loosely categorized as the "Catskill" style or tradition. These flies were designed in the Catskill region of New York, where steep gradients produced boulder strewn freestone rivers with heavy doses of turbulent water very fitting of a high riding, highly visible imitation.
The early flies tended to exhibit stark differences from their more modern and commercialized counterparts. Those flies were tied on different styles of hooks and typically had longer wings and hackle. Often the winging material was quite heavily applied and the overall proportions were larger. Examination of actual flies tied by the Catskill legends (Gordon, Cross, Darbee, Dette, etc) shows wide variation from fly to fly with respect to wing, hackle and tail length. This is most likely due to variation among hackle as well as the noncommercial manner in which they evolved.
It pains me to watch the demise of the use of older materials and techniques simply because synthetics and new tying applications are easier and more durable. One cannot argue, from a fishing standpoint, the value of durability. Nor can one deny the applications on the water for more accurate imitations. But from a tying standpoint, I feel it is important to learn the skills of yore since they apply today, albeit on different patterns.
So, please do not shy away from learning to tie and learning to fish the Catskill style of dry fly. It has it's place in your box of tricks.
In this tutorial we will tie the blue-winged olive version of the Catskill dry fly. The exact species you imitate will depend only on the color materials you use, and to some degree the wing material. For the most part, the tying process is exactly the same.
In reference to the winging material; hen hackle tips provide much more durable wings than quill slips when imitating duns with non-veinated wings. Hackle tips also eliminate leader twist common with quill wings. For duns that have marked wings (cahills, drakes, callibaetis ), flank fibers are probably a better choice.
Here we go!
MATERIALS
Hook: Mustad 94840, R50, or equivalent dry fly hook.
Thread: Lt. Olive
Wing: Lt. Dun hen hackle tips
Abdomen: Lt. Olive Fly Rite or Superfine dubbing
Hackle: Lt. Dun
Click photos to enlarge!
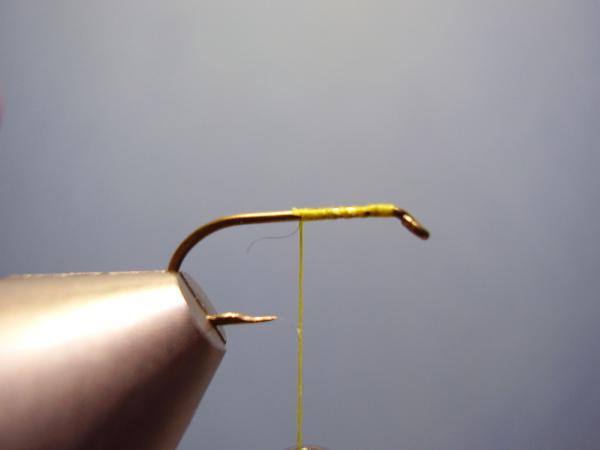
Mount the barbless hook in the vise and start your jam knot behind the hook eye. Advance the thread rearward to the 1/2 point of the shank.
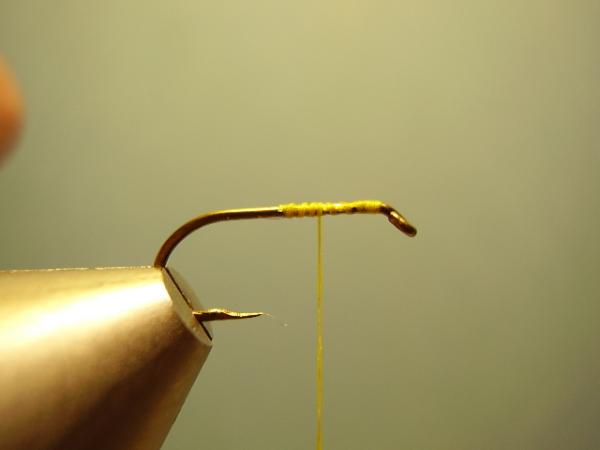
Return the thread forward to the 1/3 or 1/4 point of the shank. (I prefer the 1/3 point). This is where you will set your wings.
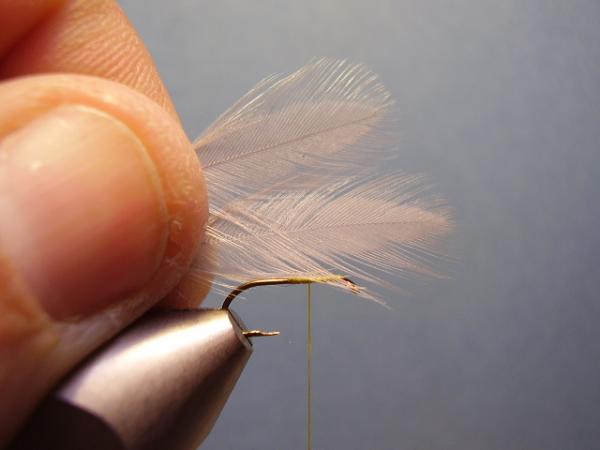
Select a pullet (hen chicken) cape from a domestic (non-genetic) bird. These feathers are usually shorter, webbier, and squarer-tipped than genetic hens. When imitating mayfly wings those traits are highly desirable.
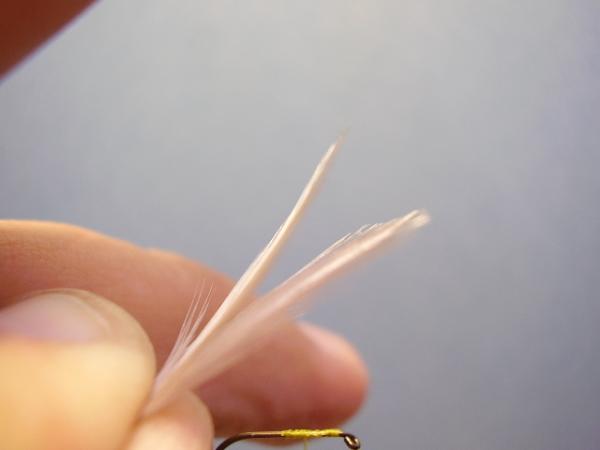
Select two feathers from the cape. Be sure the feathers are not too small. Do not be afraid to use feathers that are 2 or 3 times wider than the hook gap! Mayfly wings are pronounced, not skinny little appendages.
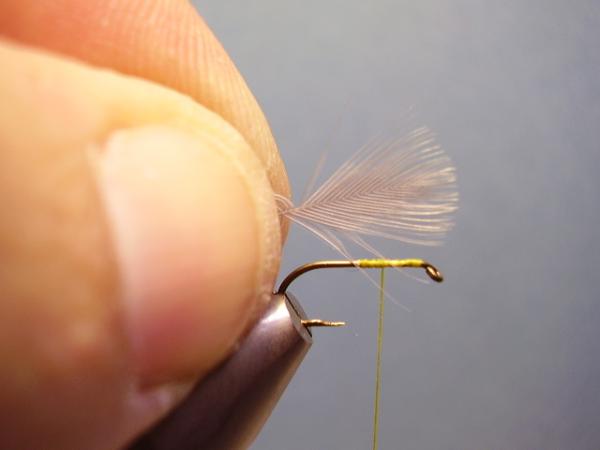
Invert one feather and even the tips so that the top (good) side of the hackle are back-to-back. This will let the natural curve of each feather oppose making the division easier.
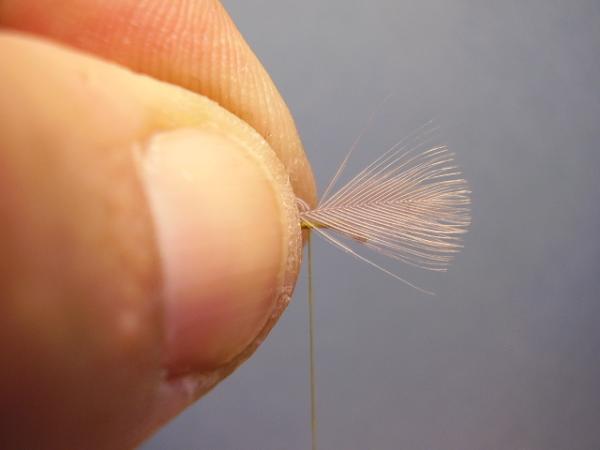
Measure the hackle to be equal to the length of the hook (front of eye to rear of bend). Bend back the barbs below that point but DO NOT strip them off. Doing so will weaken the stem.
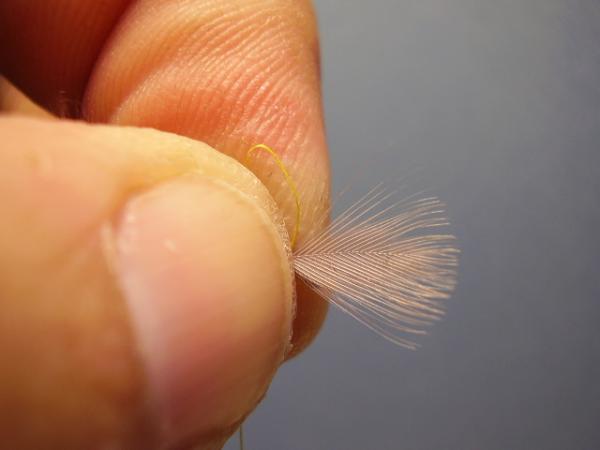
Move the tips forward to the thread defined tie-in location. Be sure the stems are pressed down to the hook shank.
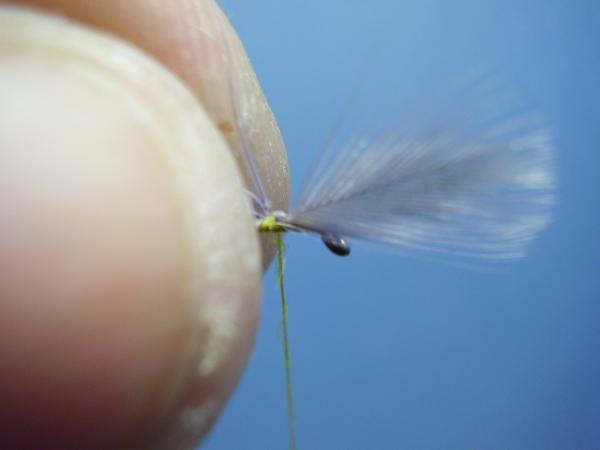
Using a well placed "pinch knot", secure the hackle tips to the TOP of the shank. The pinch knot is a foundation skill and must be mastered for it is the only way to secure materials like this to the top without damaging them with torque from the thread.
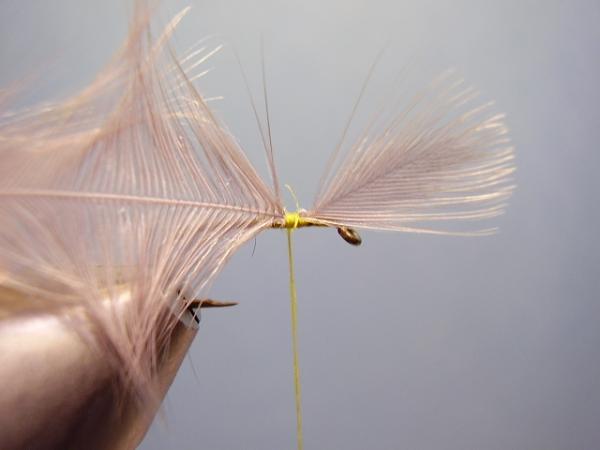
Add one more pinch wrap for security and this is what you have.
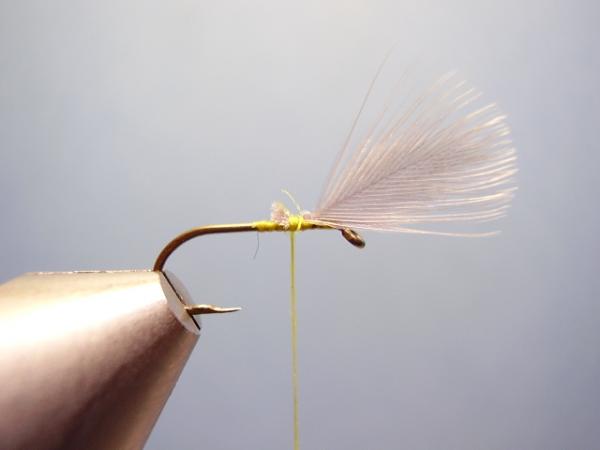
Make 2 or 3 more tight wraps to the rear of the pinch wraps and clip the excess butts.
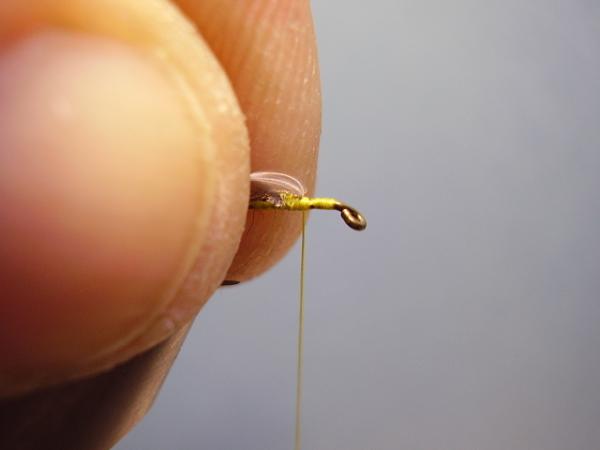
Advance the thread forward. Pull the tips to the rear and build a tight thread damn just in front.
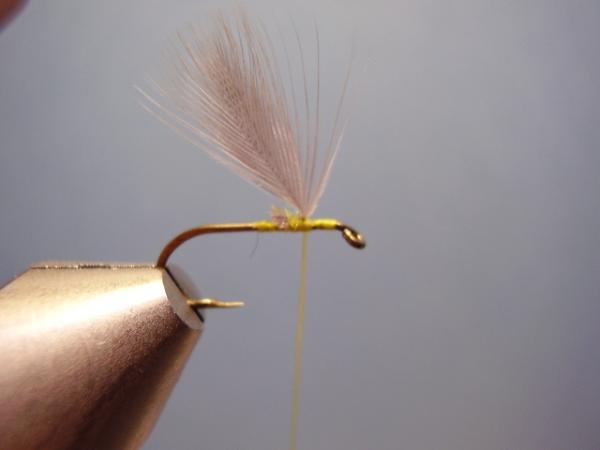
You should end up with this.
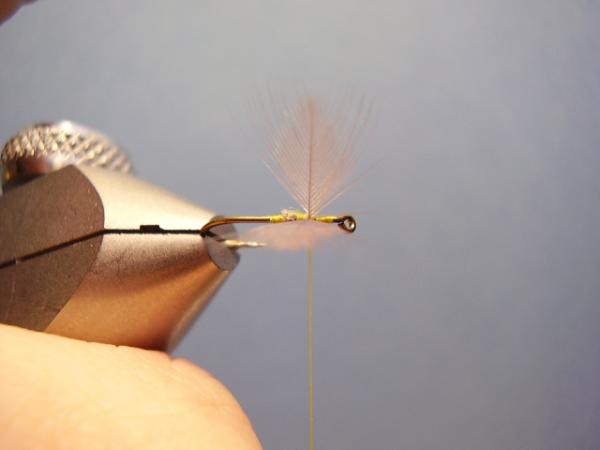
Flick the tips a few times and they should pop apart.
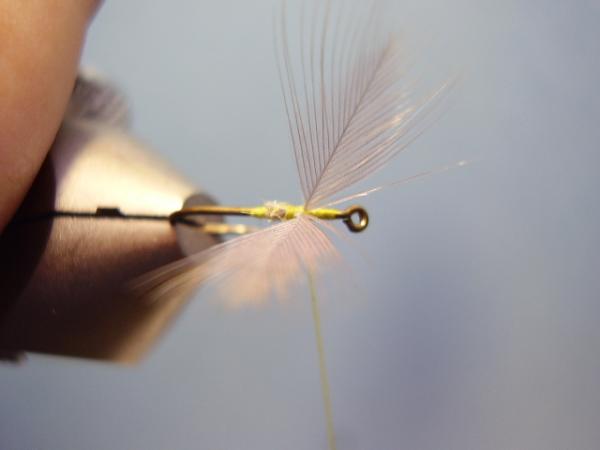
Make a wrap of thread from in front of the tips, between them and to the rear.
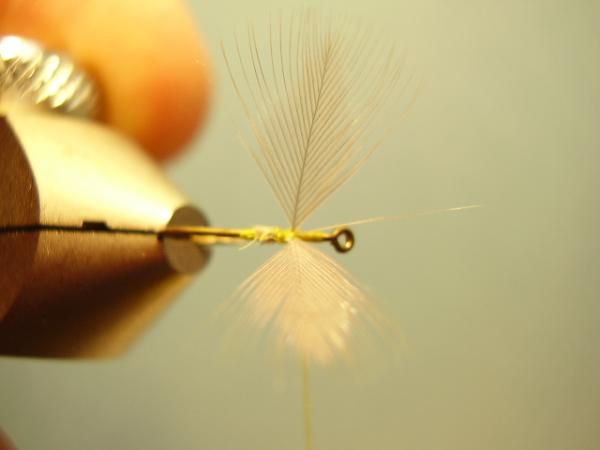
Then come again from behind, in between and to the front. This is an "x-wrap" and will act to keep the wings divided.
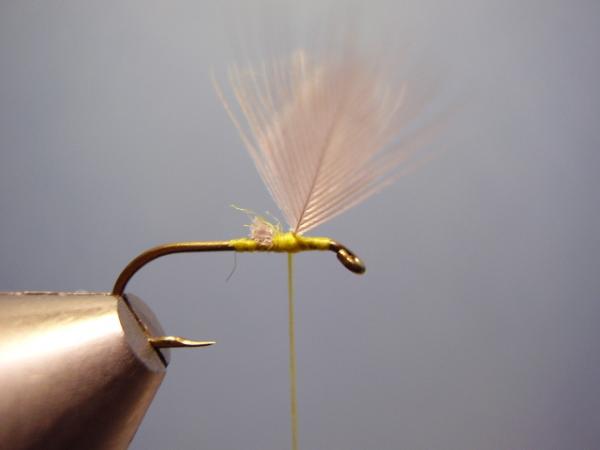
Advance the thread to the rear of the wings.
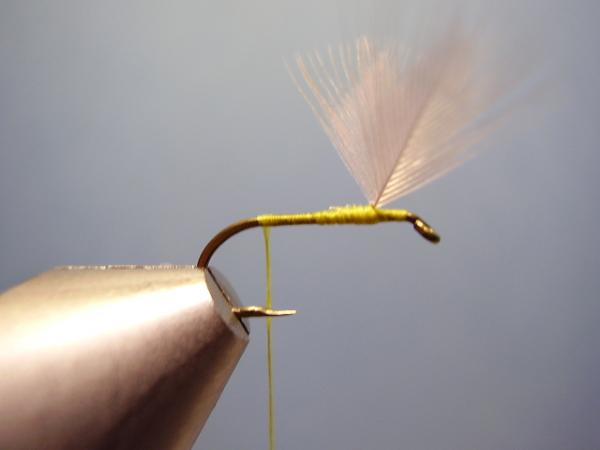
Smooth out the body on the way to the rear, preparing your way to add the tail.
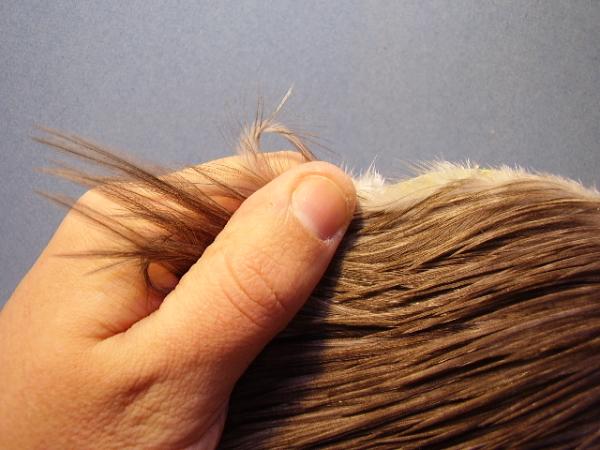
Select a "spade" hackle from the middle edge of a rooster cape. With newer genetic capes these are being trimmed away before packaging. There is really no substitute for spade hackle and it is the best natural material for tailing dry flies. If you cannot locate genetic capes with spades still on them, I suggest you invest in a few cheap Indian rooster capes.
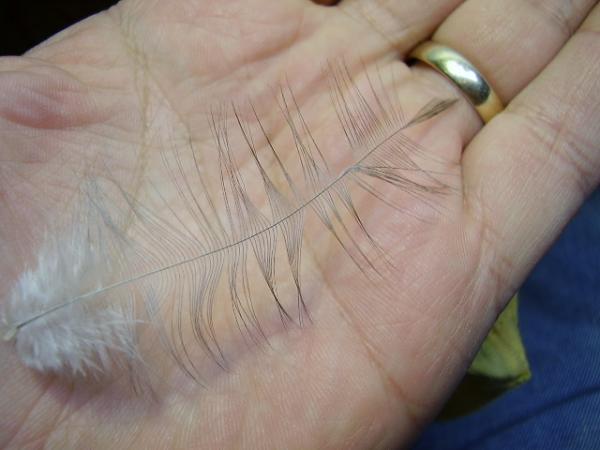
Stroke the barbs to be perpendicular to the stem, Notice the sheen, stiffness, and lack of web with spade hackles.
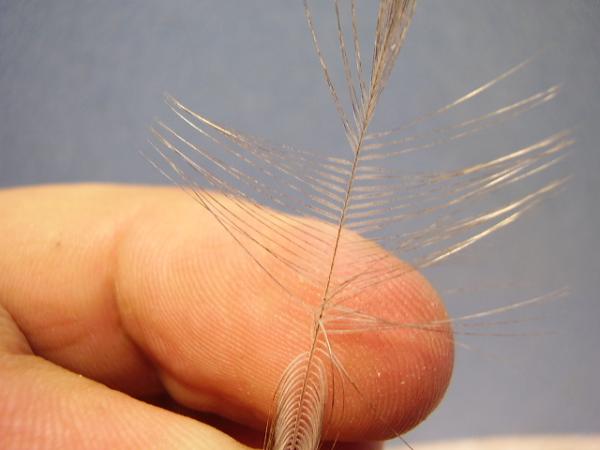
With you bobbin hand, hold the tip of the feather. With your non-bobbin hand, slowly slide your fingers down one side of the feather, when enough fibers are exposed (about a 1/2" section ) trap the barbs belo the section with your bobbin hand.
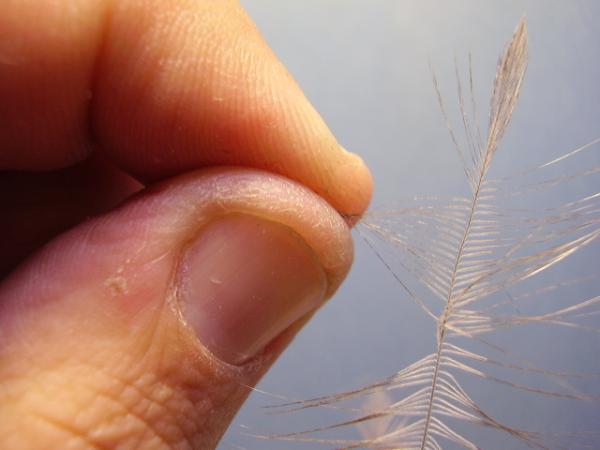
Next, with your non-bobbin hand, grasp the selected barbs by pinch down on them from the top and bottom. This will keep the tips aligned.
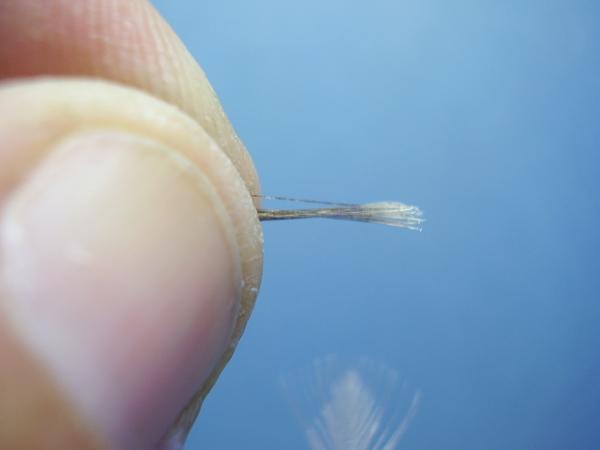
Now, with your bobbin hand grasp the tip of the feather and very quickly snap it toward your chest. You will be left with the bundle of fibers and the tips still aligned.
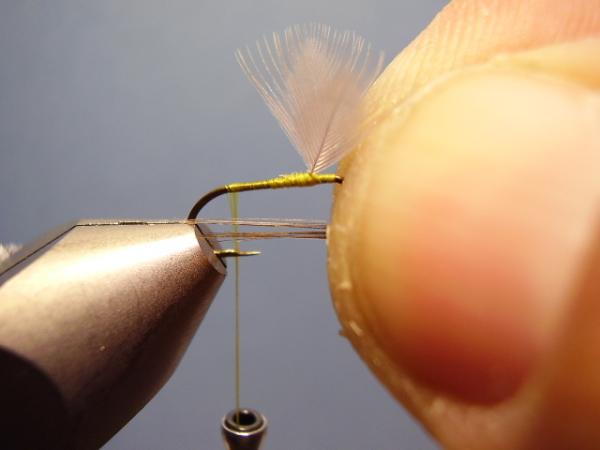
Transfer the bundle to your bobbin hand with the tips exposed to the rear of the fly. Measure the tailing fibers to be equal to the length of the wing (equal to the hook length).
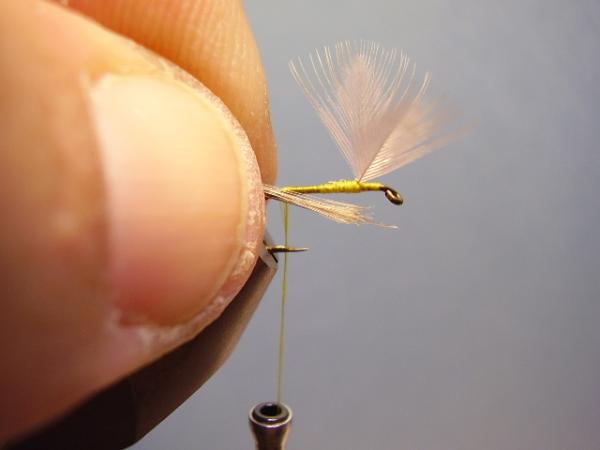
Transfer the bundle back to your non-bobbin hand and lay the tips against the near side of the hook--keeping your measurement in tact.
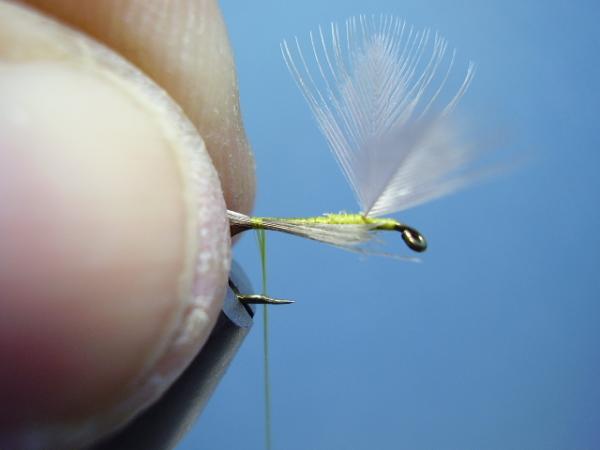
Using the torque of the thread, allow the bundle to roll up onto the top of the hook as a unit.
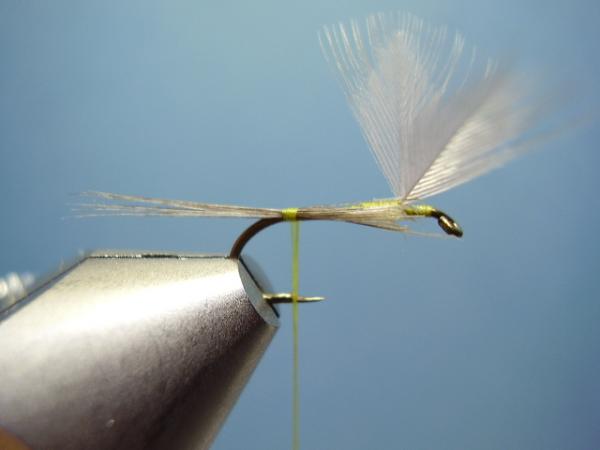
Neat bundle secured in place.
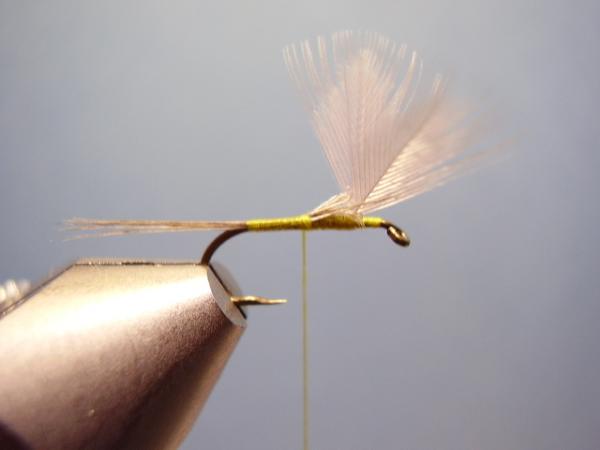
Continue forward with the thread, forming a smooth underbody.
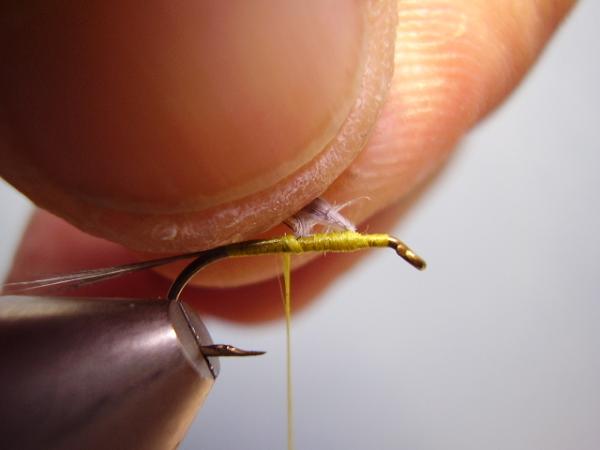
Stop the thread short of the wings. Grasp the wings and excess tailing fibers and pull both upward, you should notice that you have a small exposed area between the two, and that all the fibers are under tension...
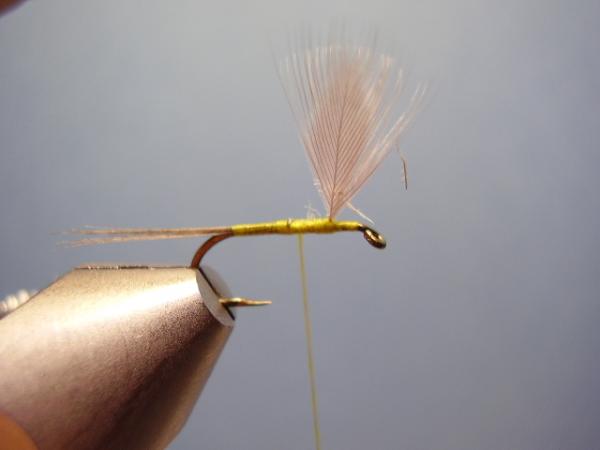
...this makes it easy to slip the point of your scissors in that space and clip the excess tailing fibers without risking injury to the wings.
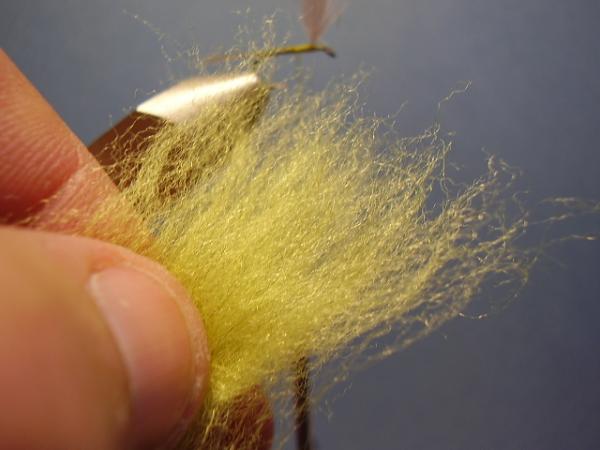
Select a small pinch of dubbing. I prefer to use synthetic dubbing comprised of long strands.
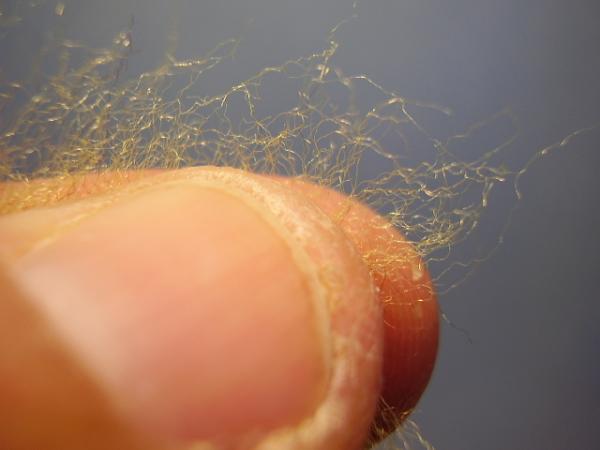
Arrange the dubbing between the thumb and forefinger of your non-bobbin hand with just the very tips exposed.
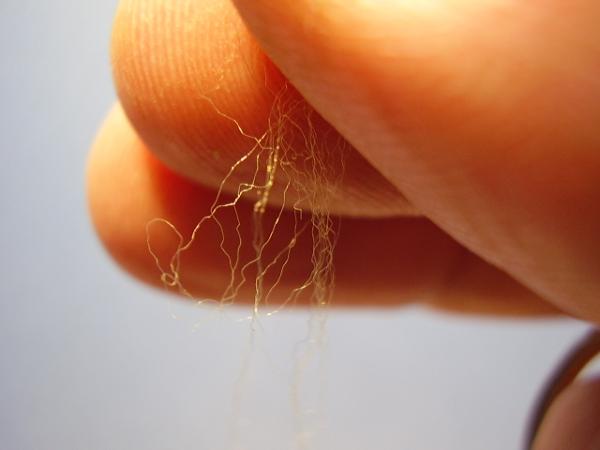
Grasp just a few strands with your bobbin hand. Less is always best!
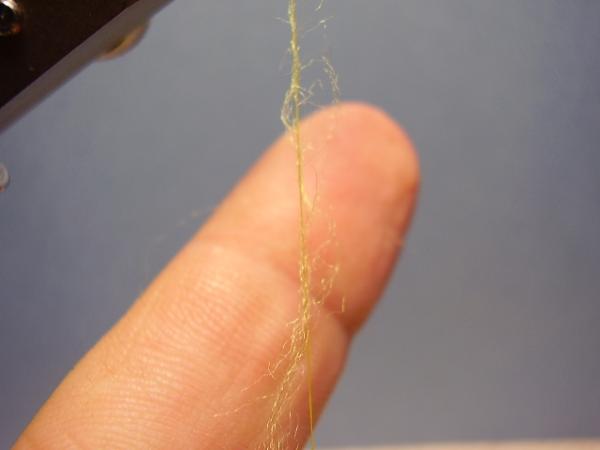
Keeping the few strands parallel and long, spin them onto the thread by twisting them onto the thread TIGHTLY and in only ONE DIRECTION.
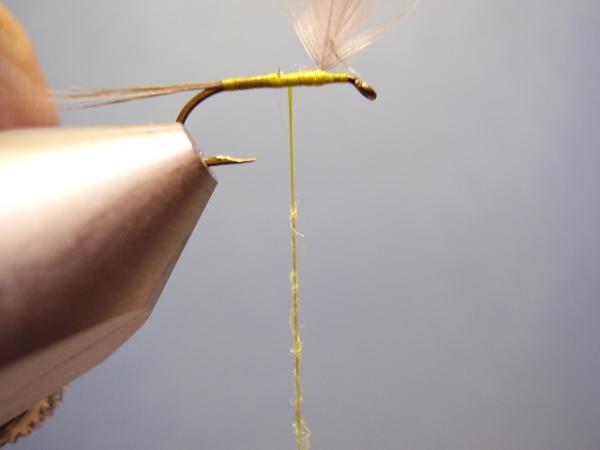
Notice how I have just barely changed the thread diameter. Notice also that I did not dub up against the hook.
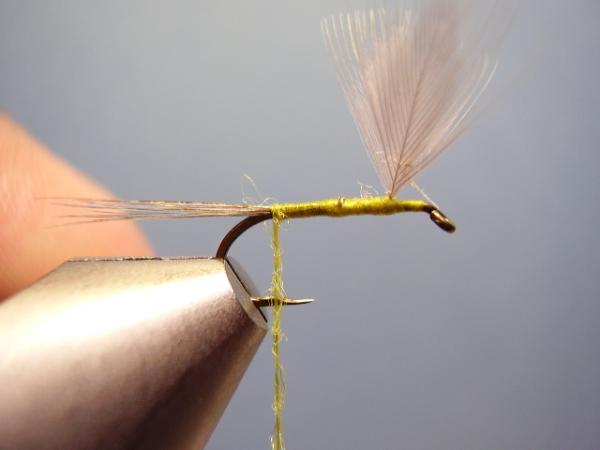
Advance the thread to the rear, using whatever spacing necessary to see that the first wrap of dubbing goes on right at the tail as shown.
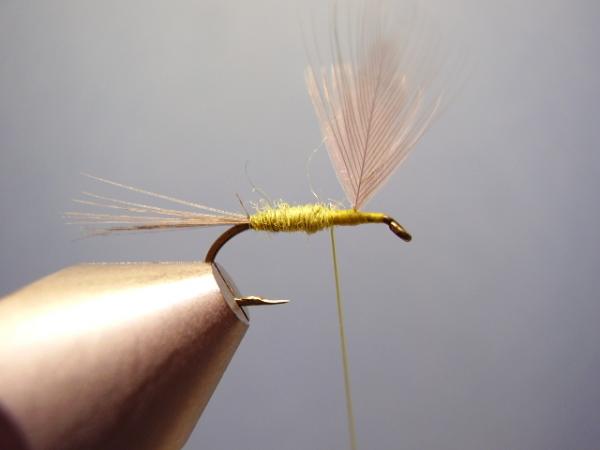
Build a tight, thin and tapered abdomen. The abdomen should end at the 1/2 point of the hook.
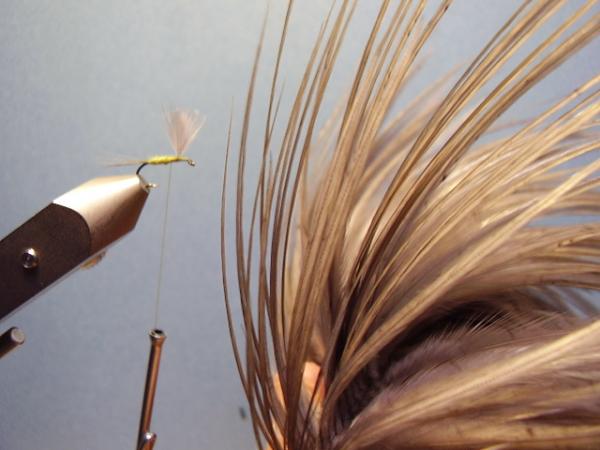
From a genetic cape or saddle, select an appropriately sized hackle.
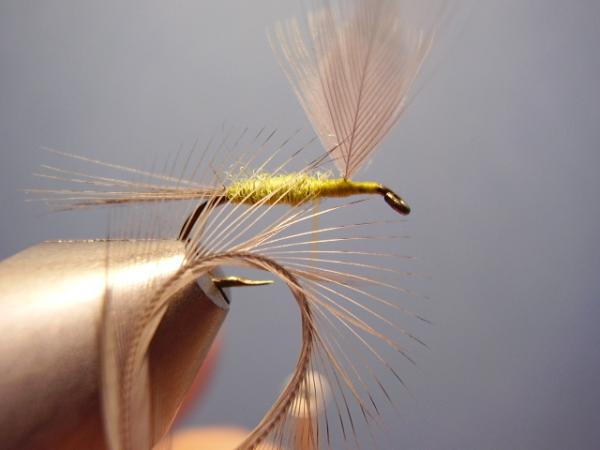
I prefer my hackle to be sized so that the barbs are equal to the hook shank (not overall hook). Bending the feather with cause the barbs to stand erect so you can compare them against the hook.
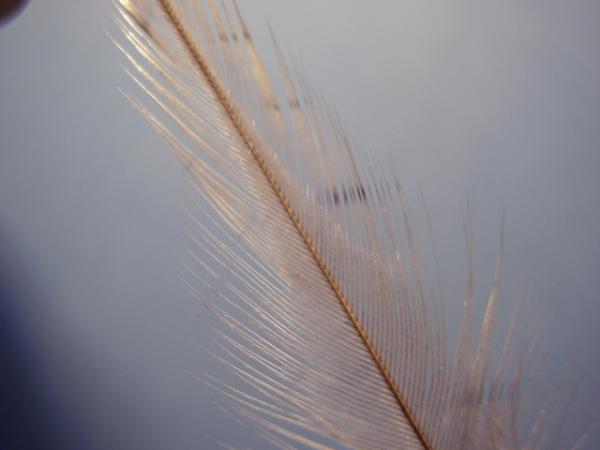
Look hard at the feather and you will see the webbing along the stem and near the bottom.
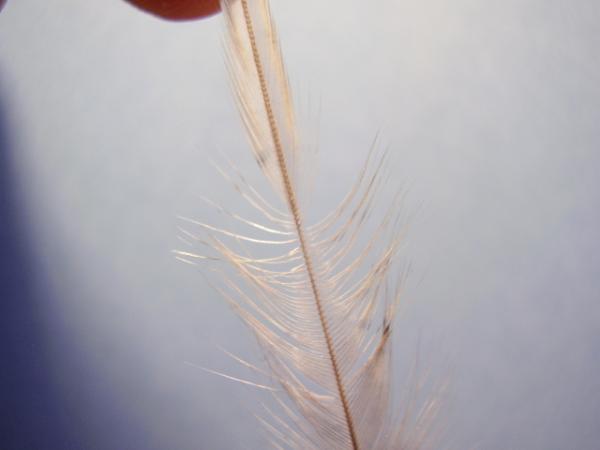
Find where the webbing disappears and remove the feather below that point.
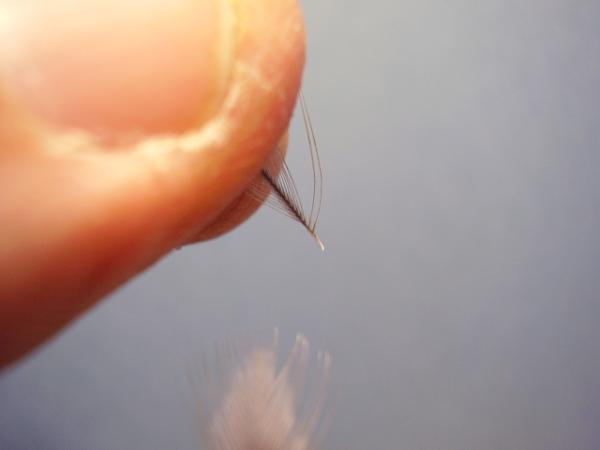
You will be left this.
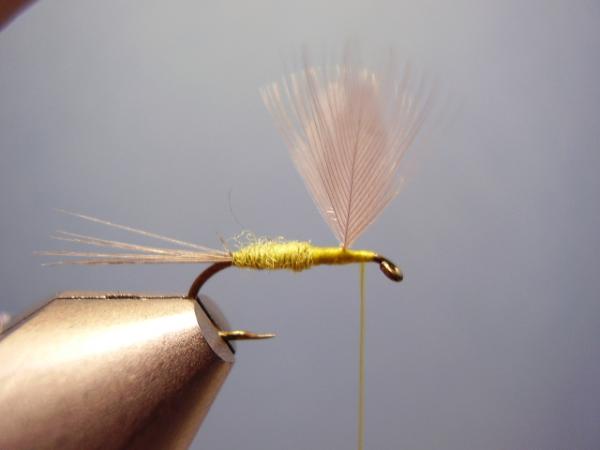
Move the thread ahead of the wings but an eye length short of the hook eye. This is where you will secure the hackle.
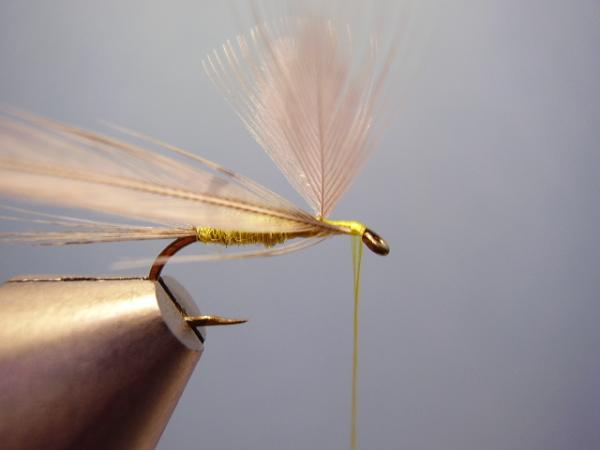
Secure the hackle to the hook with the underside of the feather facing you and the tips to the rear. This method will utilize the natural strength and integrity of the feather to best support the fly.
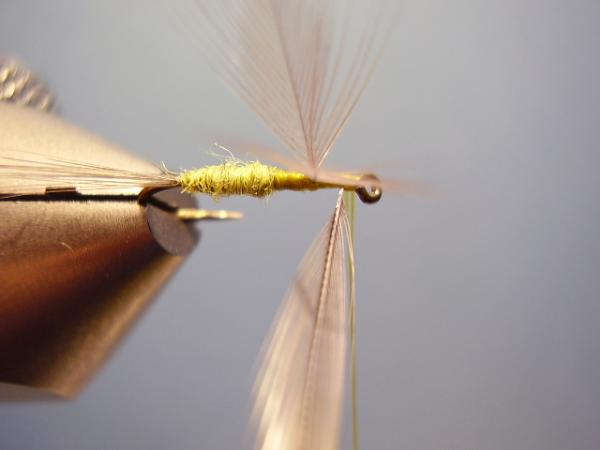
Pull the hackle toward the eye to crease the hackle stem.
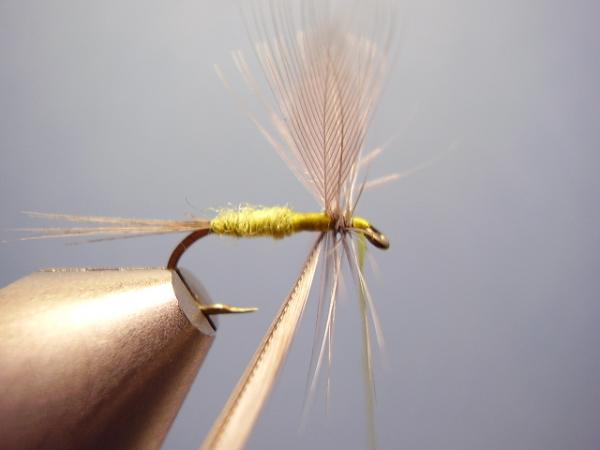
Begin wrapping the hackle to the rear being sure to come tight to the base of the wings.
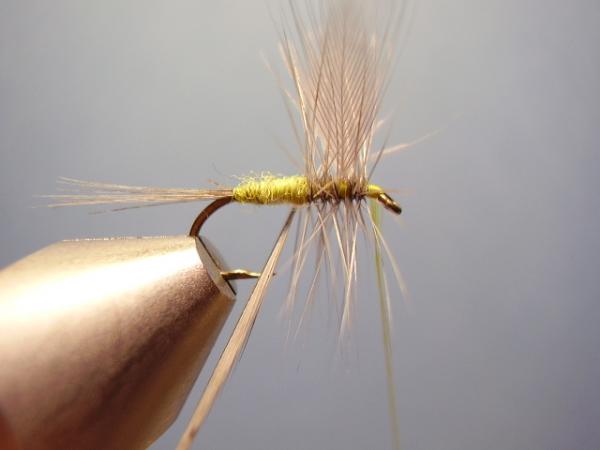
Continue to the front of the abdomen. Then, reverse direction and wrap back to the eye.
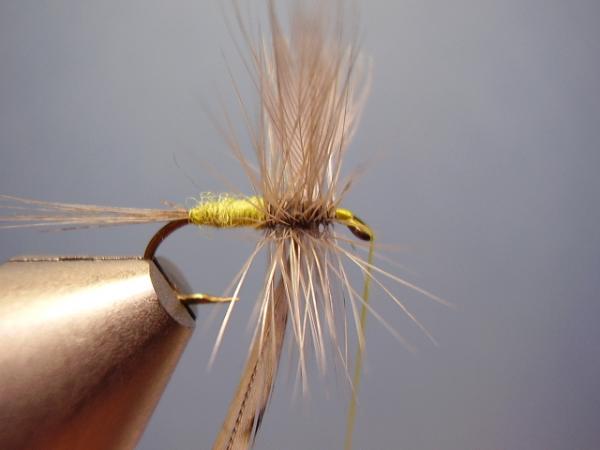
Fill in any spaces as you proceed forward.
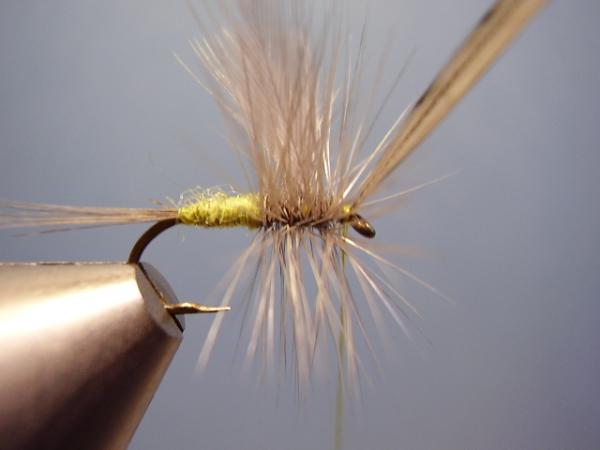
Secure the hackle with 2 very tight wraps of thread.
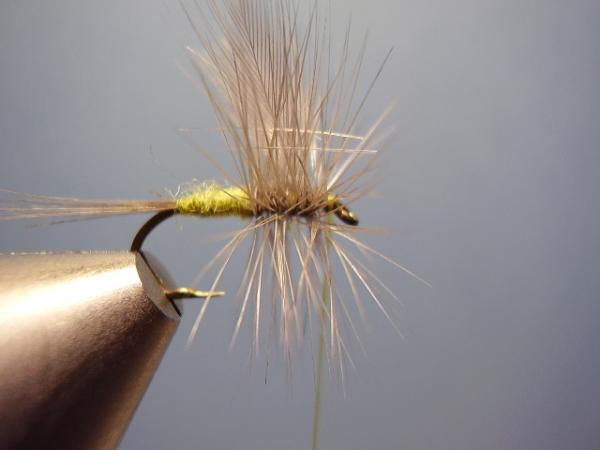
Snip off the remaining hackle.
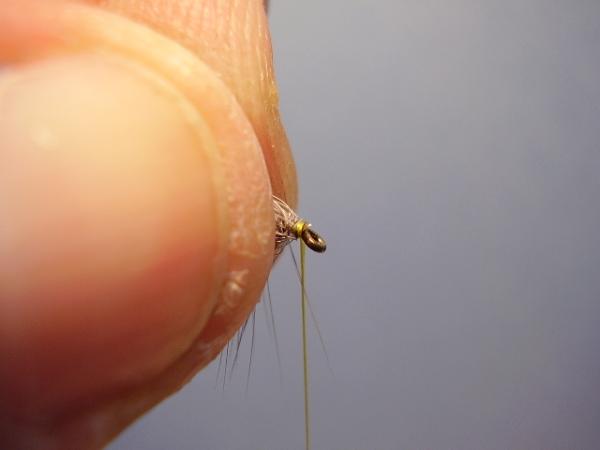
Using the first 4 fingers of your non-bobbin hand, pull back all of the hackle to expose the hook eye and head area. This will allow you to wrap a neat head without trapping hackle fibers.
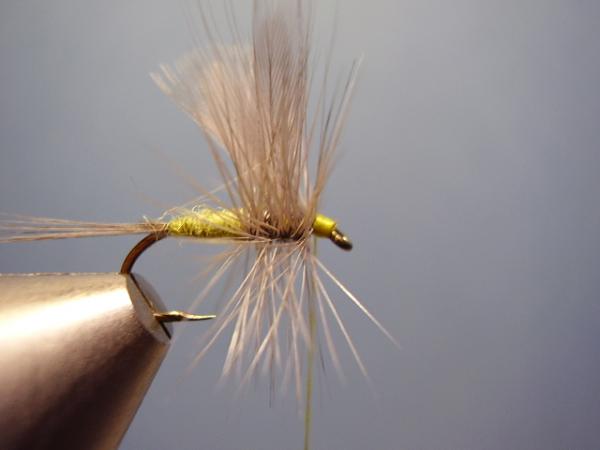
Neat head...no stuff.
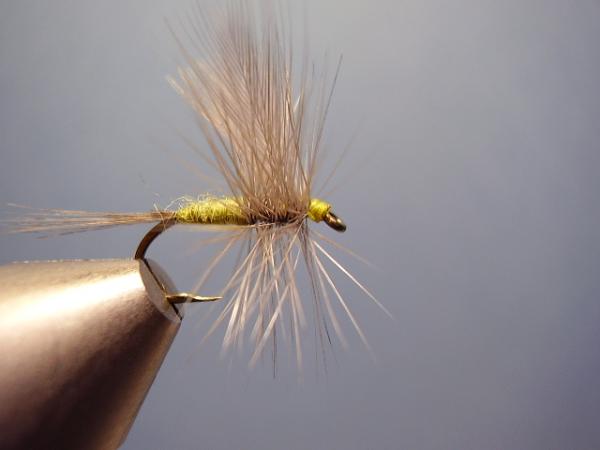
Whip and clip.
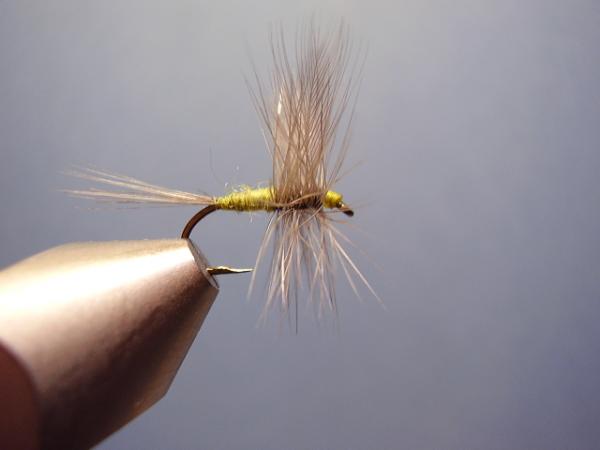
Dress the fly but stroking the hackle fibers back into place. Good hackle will need very little encouragement.
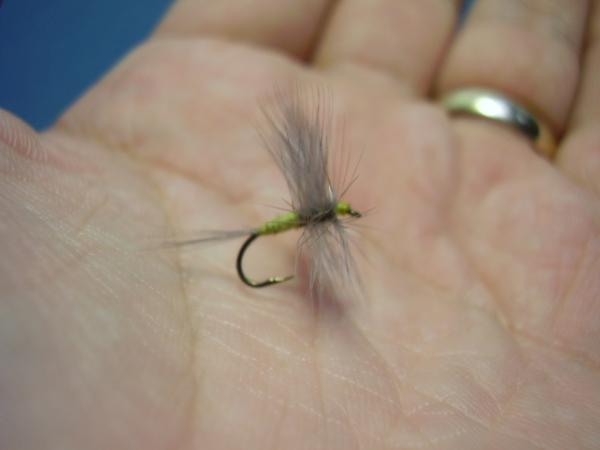
You should end with a well proportioned and downright attractive BWO Dry fly!