Archives of Loren Williams Fly Tying Tutorials.
LW's F-Plus Caddis
The F-Plus caddis is an off-shoot of the F-Plus (mayfly). Specifically, it is the product of some difficult caddis-eating browns on the West Canada Creek!
These fish tend to rise randomly. I built upon the F-Plus design to create a caddis that presented strongly, accurately, and allowed for an extended drift. This pattern, adjusted to suit the hatch of the moment, allows me to blindly cov er the water "cherry-picking" the risers and to cast to specific feeding fish with an accurate imitation.
Some additional benefits to this pattern that I feel make it superior to more common CDC style caddis are it's great flotation yet greater mass allowing for easier and more accurate casting when conditions get demanding, such as on windy days or when longer leaders are required. This bug will float better under complex hydraulics and stand-up to typical dry fly animations. Color combinations are endless, so whether your tie a pattern to imitate a hatching species, or as an indicator dry, I am confident the F-Plus Caddis will serve you well!
Let's go!
MATERIALS
Hook: TMC 103BL
Thread: Brown 6/0
Abdomen: Dark brown 2mm foam
Underwing: Dark brown 2mm foam
Wing: Natural CDC
Hackle: Olive CDC
Click photos to enlarge!
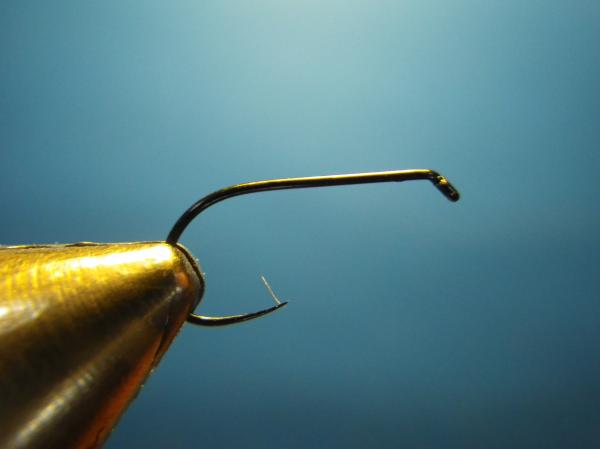
Lock the TMC 103 in the jaws of death.
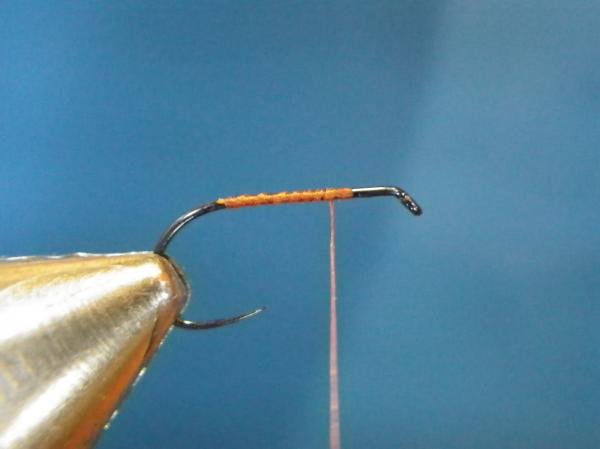
Start the thread at about the mid way point on the hook. Wrap to the bend and back up to the starting point..this will lay a thread base for the next material to bind to.
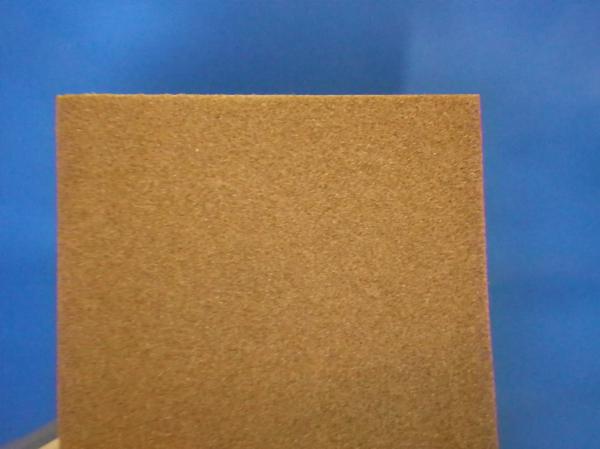
For this patttern, you can mix/match any color 2 mm foam/CDC wing/CDC hackle to imitate any species of caddis you desire. In this tutorial, I am shooting for a "plain Jane" tannish caddis. I have selected a dark brown 2mm foam for the process.

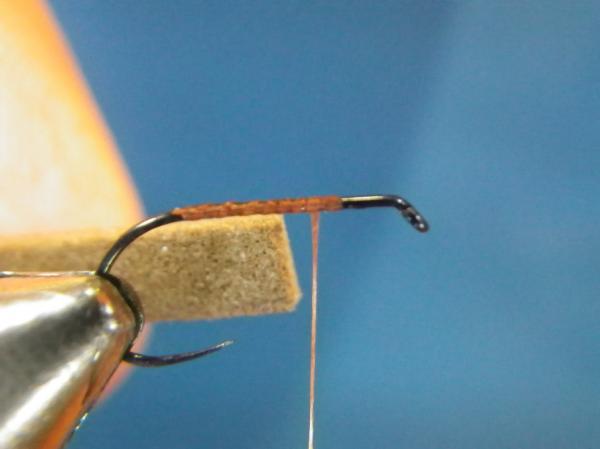
Cut a slip of foam roughly equal to 3/4 the gap of the hook.
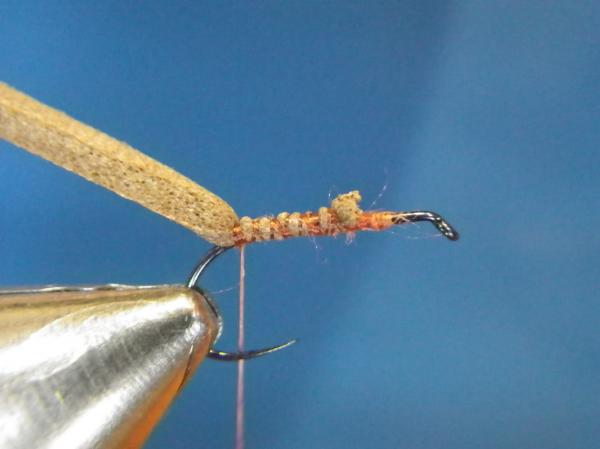
Secure the foam at the mid shank point and bind it, to the rear, with open wraps to the start of the bend. Reverse the wrap forward to the mid shank and then back to the rear. Be sure the foam does not spin. A drop of superglue will stop that nagging issue.
Pull the foam forward and take two wraps of thread to lock it down...
Pull the foam to the rear and advance the thread a tad...
Pull the foam forward again, and make another segment.
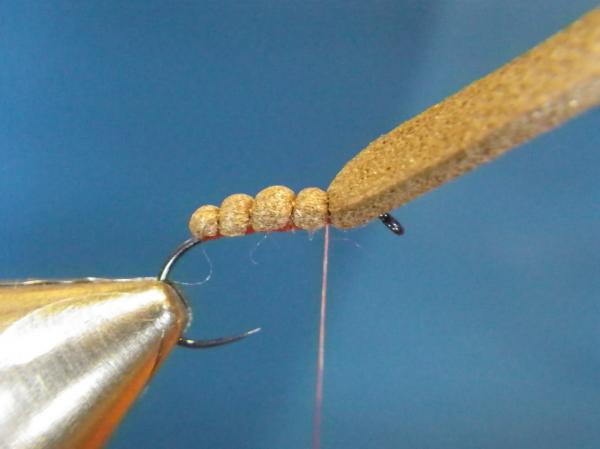
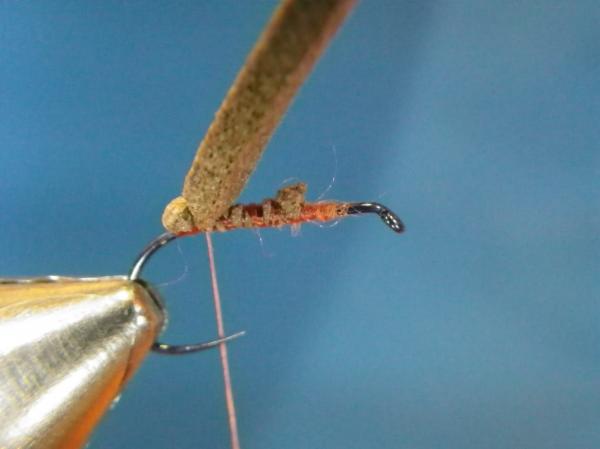
Repeat to make at least four (4) healthy segments.
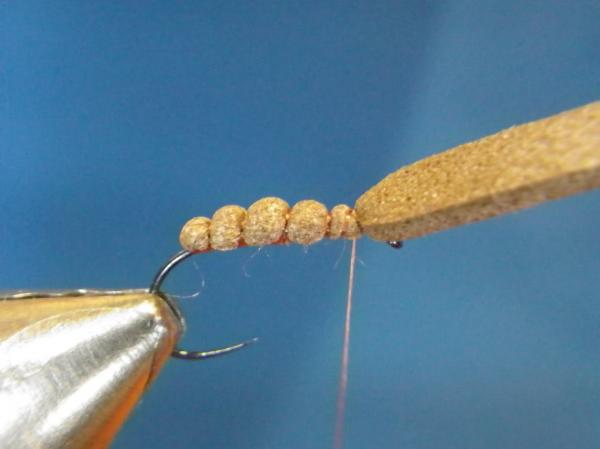
Wrap forward a few wraps will pulling the foam forward to thin it out.
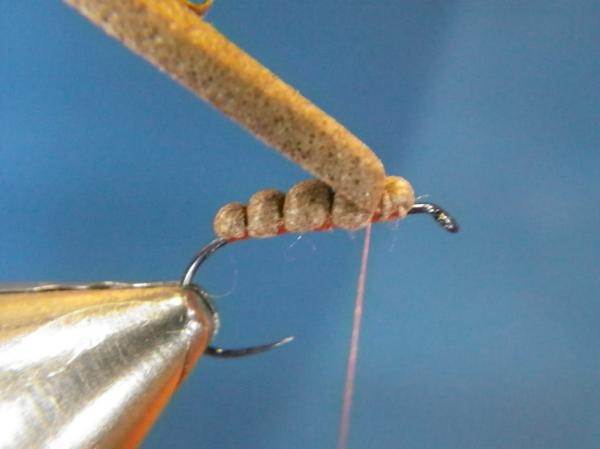
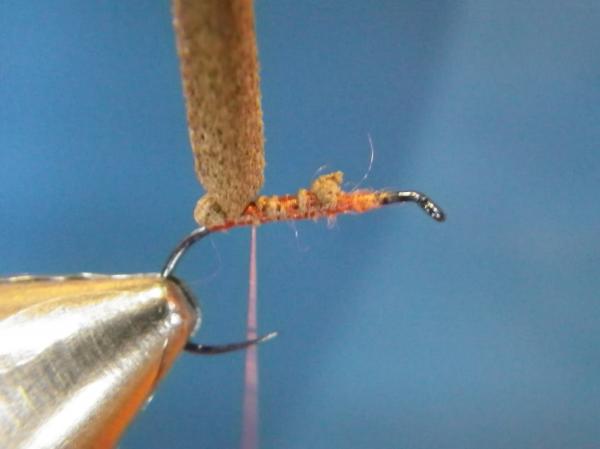
Pull the foam back tightly and secure by wrapping to the rear over the "hidden" segment you just made.

Cut the foam even with the rear of the hook bend.
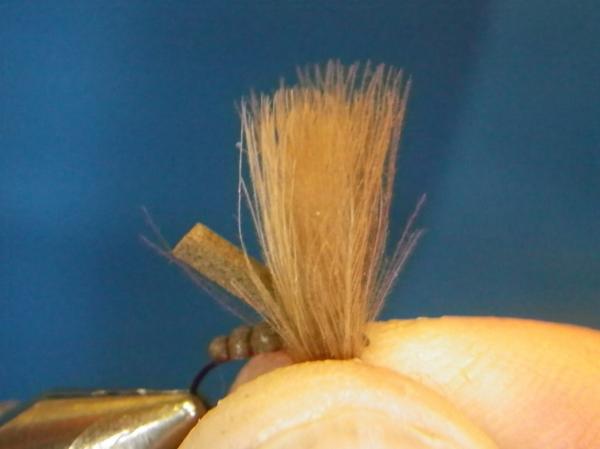
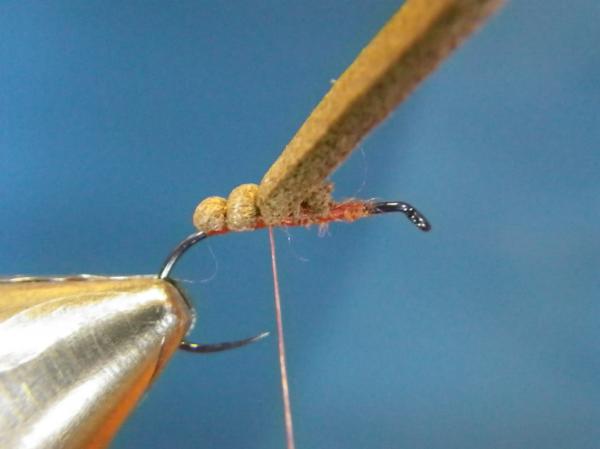
Select 5-6 natural CDC feathers and align the tips.
Secure the bundle over the "extra" foam segment.
Lift the butt ends and make a few wraps.
Clip the butt ends close.
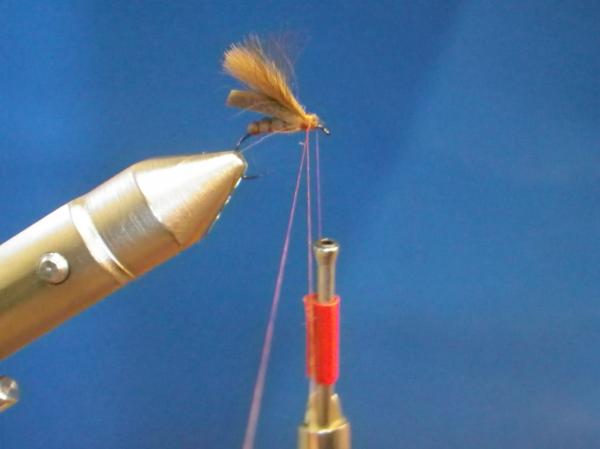
Build a short dubbing loop.
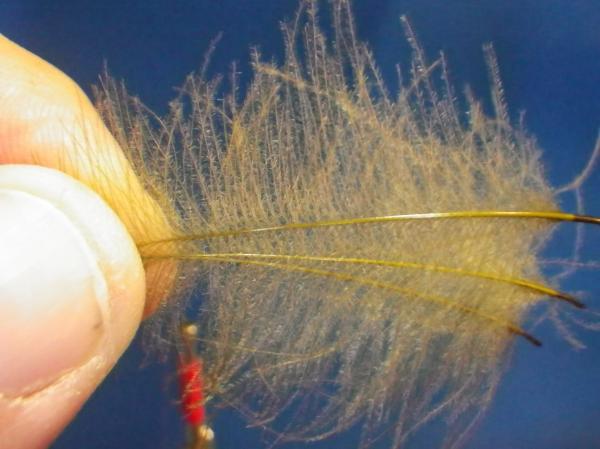
Align the tips of 2-3 olive CDC feathers. Stroke the fibers perpendicular to the stems.
Strip the fibers from one side and insert them into the dubbing loop.
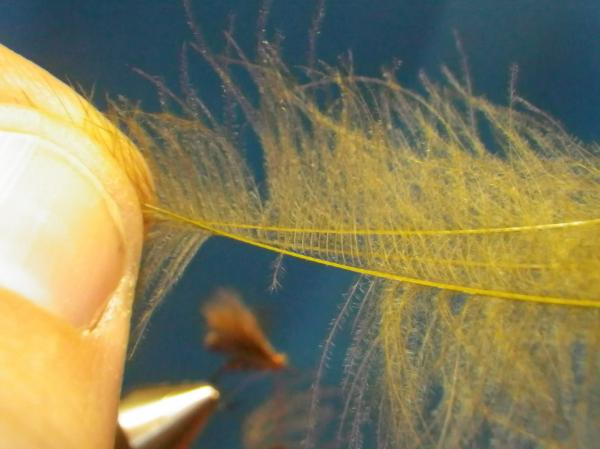
Repeat for the other side.
Insert into the dubbing loop.
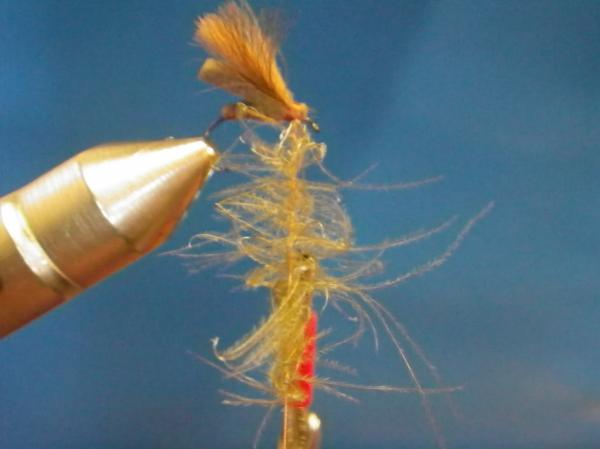
Spin the dubbing loop.
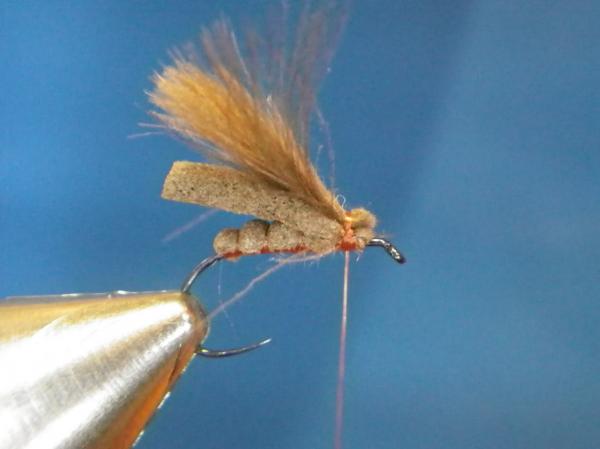
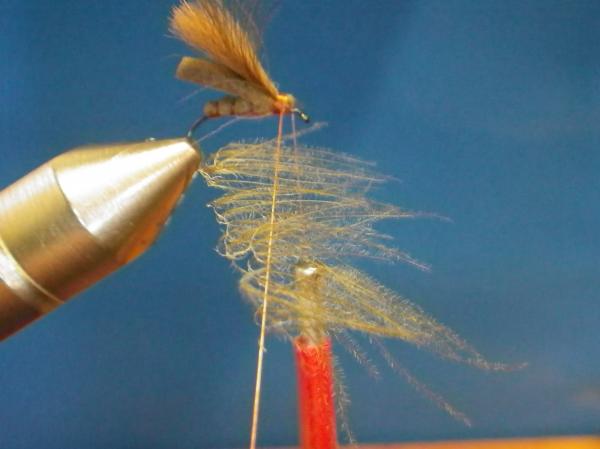
Wrap the "hackle" forward of the wing. Pull back the fibers between each wrap.
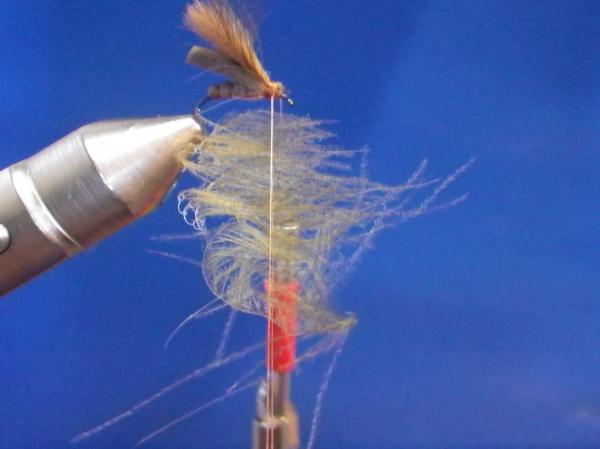
Gather everything to the rear and secure the dubbing loop wiith a few thread wraps then clip the excess.
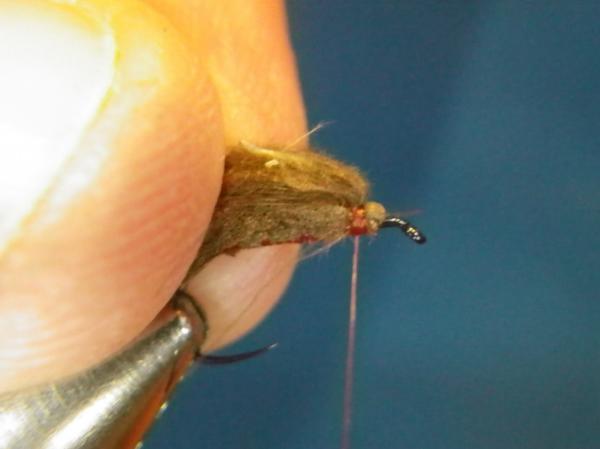
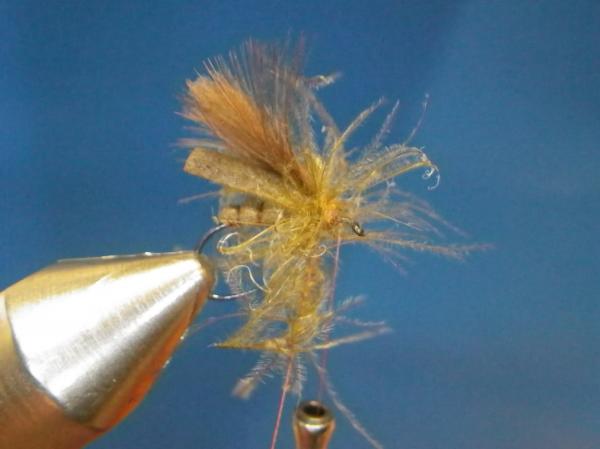
Using some Velcro, brush through the CDC to the rear.
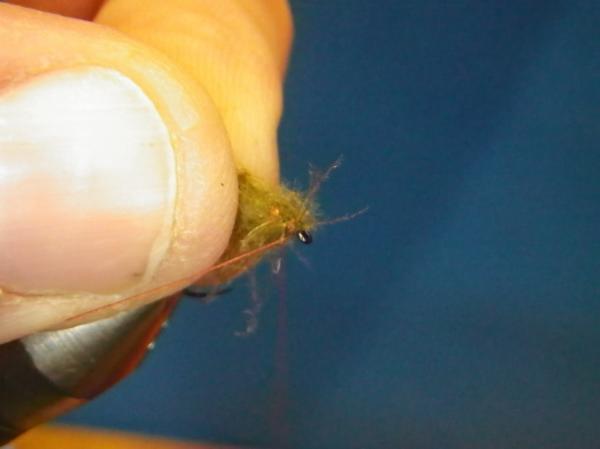
Build a small, neat thread head-whip and clip.
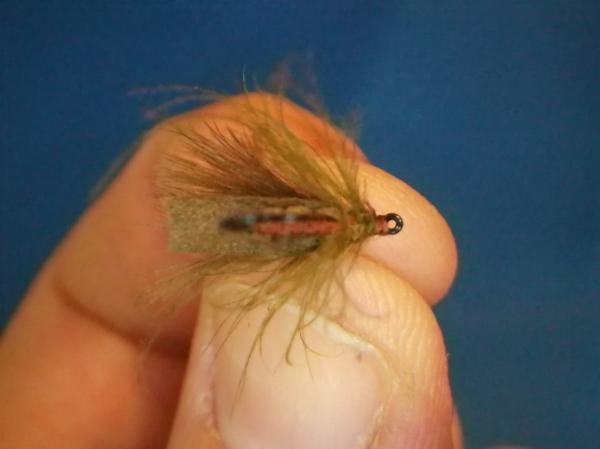
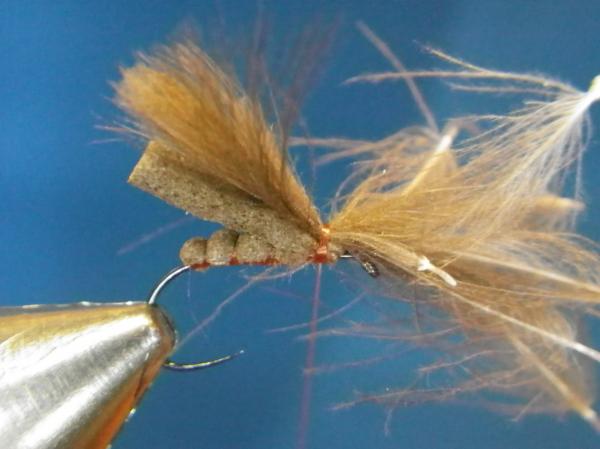
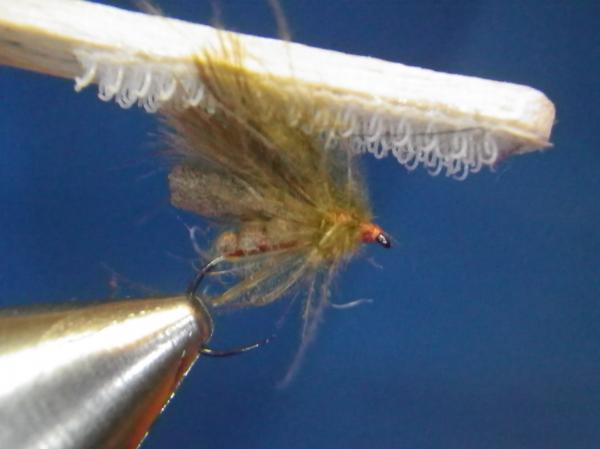
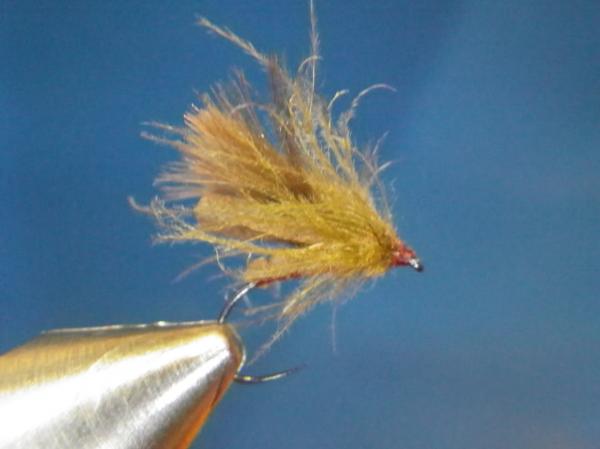
From beneath....pretty sexy if I do say so myself!