Archives of Loren Williams Fly Tying Tutorials.
Olive Klinkhamer Special
Fly and Photos by Loren Williams
In the middle 1980's Hans Van Klinken created the "Klinkhamer" for fooling his beloved grayling. In the years since the "Klink" as it has become known has fooled not only grayling, but trout and other surface feeding fish on most continents.
Like most successful patterns, the Klinkhamer has been bastardized to varying degrees through commercialism. This tutorial aims to reproduce the Klinkhamer as originally created, only using my preferred tying techniques. I must note that the GRS15ST has unique sizing since the shank length is so long the hooks will appear greatly oversized. For most US tying situations a #12 would be about as large as I'd go.
You can read more about the "Klinkhamer" in Hans' own words by clicking here.
MATERIALS
Hook: Partridge GRS15ST
Wing Post: Synthetic Yarn
Abdomen: Fly-Rite Dubbing #15
Thorax: Peacock Herl
Hackle: Large Grizzly Rooster
Click photos to enlarge!
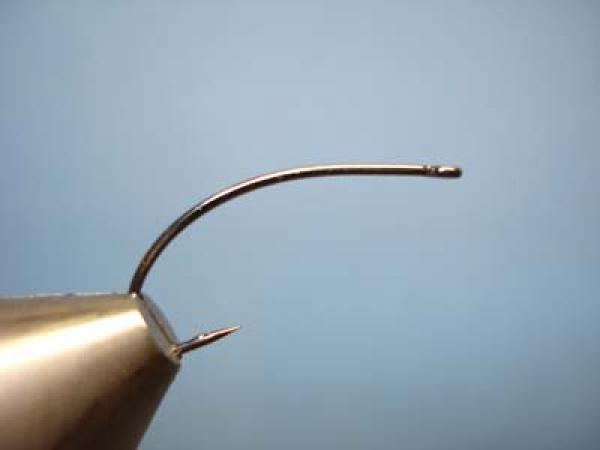
Place the debarbed hook firmly in the vise.
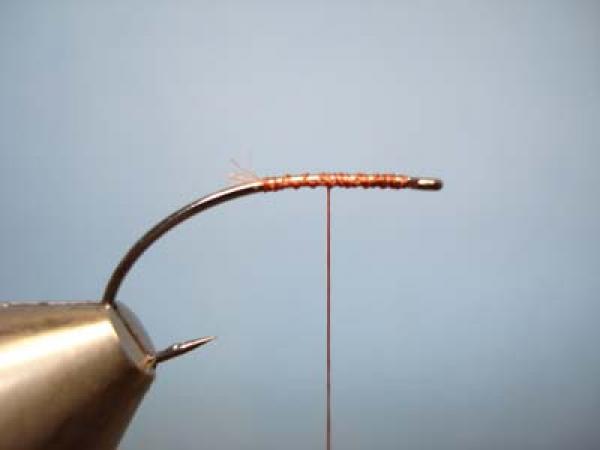
Lay a base of thread on the "flat" of the shank.
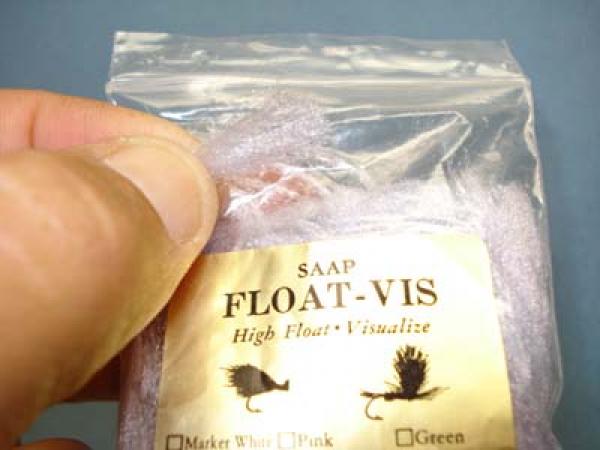
Select your favorite post material.
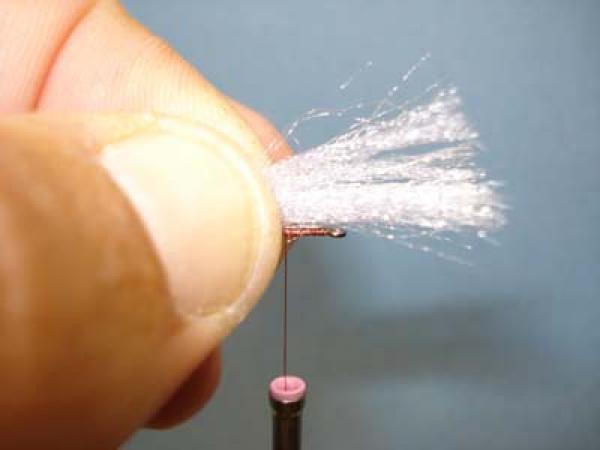
Get a healthy bunch of the material for the wing post.
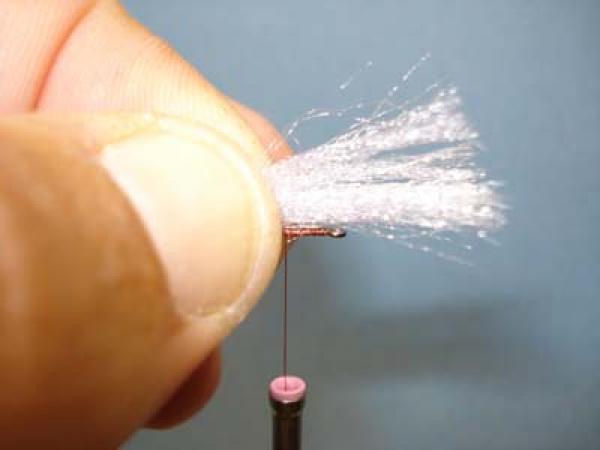
Using the pinch wrap, bind the material to the middle of the flat.
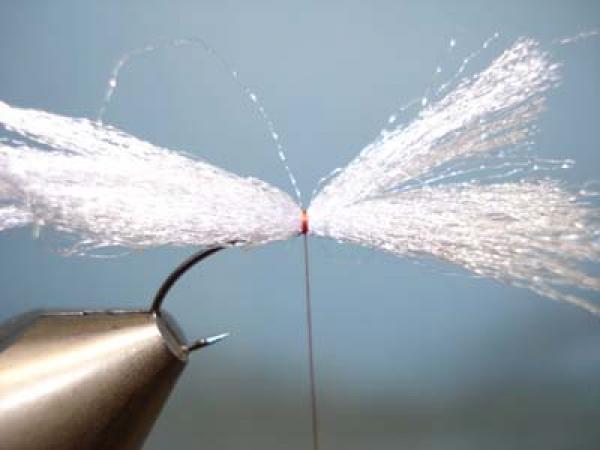
Wrap rearward down into the curved section of the shank to build the abdomen taper.
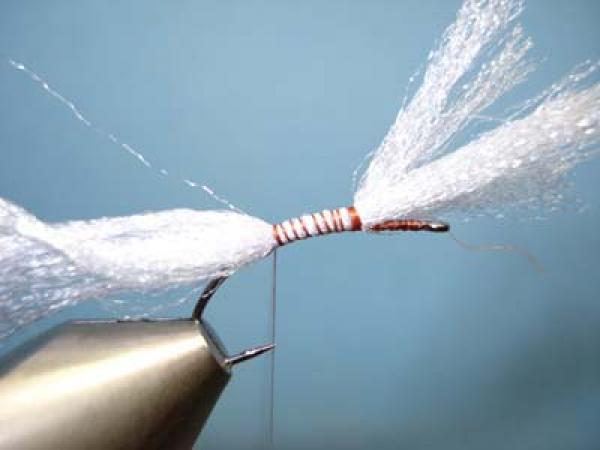
Wrap rearward down into the curved section of the shank to build the abdomen taper.
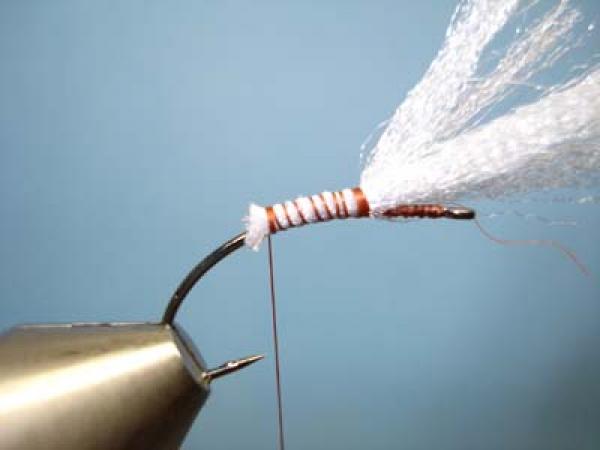
Clip the excess close and at an angle.
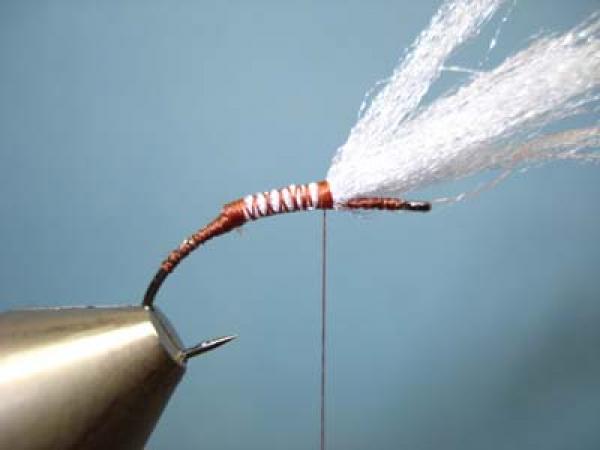
Lay a base of thread well down the shank to prepare for the abdomen, be sure to taper the area where you clipped the post material.
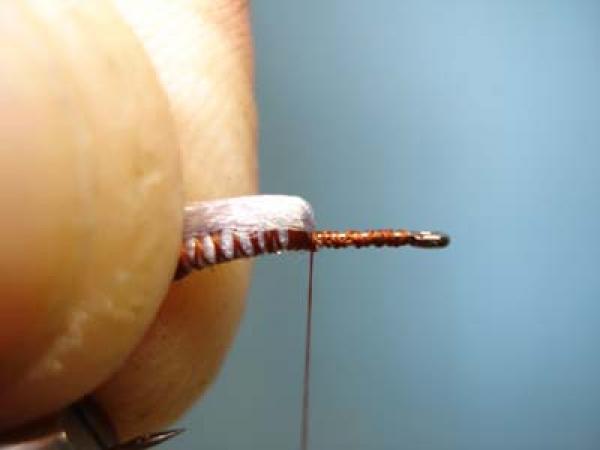
Advance the thread to in front of the post. Pull the post back hard and begin the build a thread dam in front.
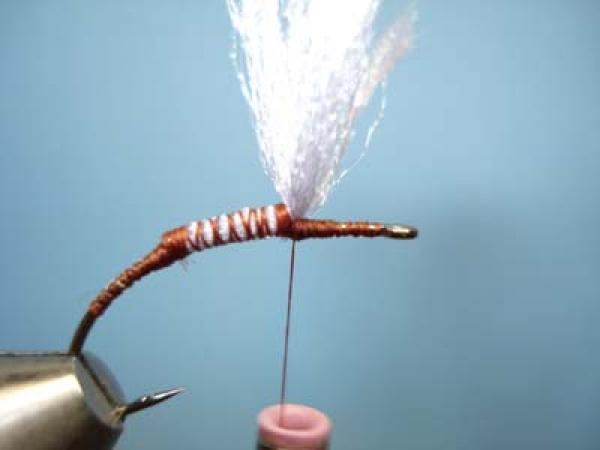
A well-tapered dam will help hold the post erect.
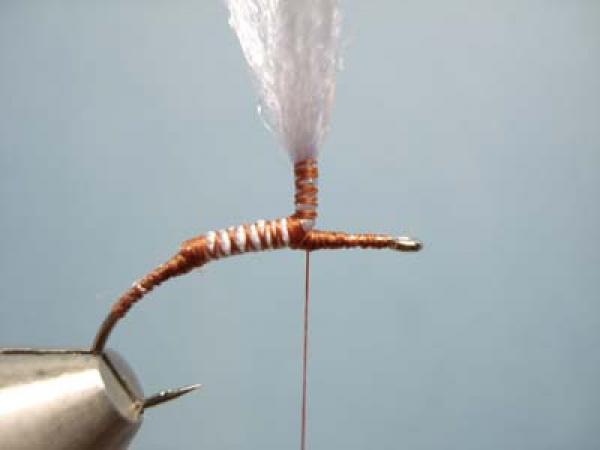
Wrap the thread well up the post to form a strong base for the parachute hackle.
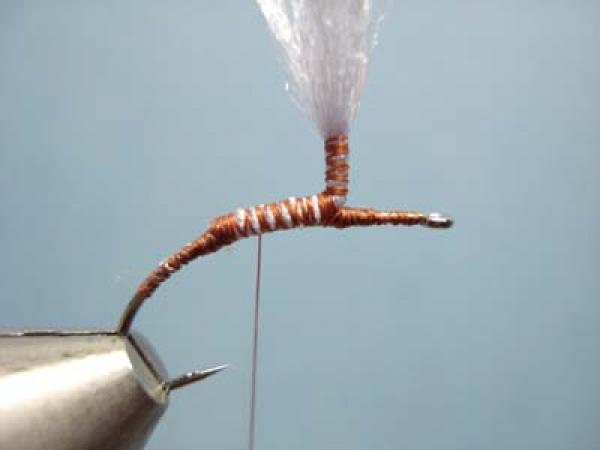
Advance the thread to the rear of the flat.
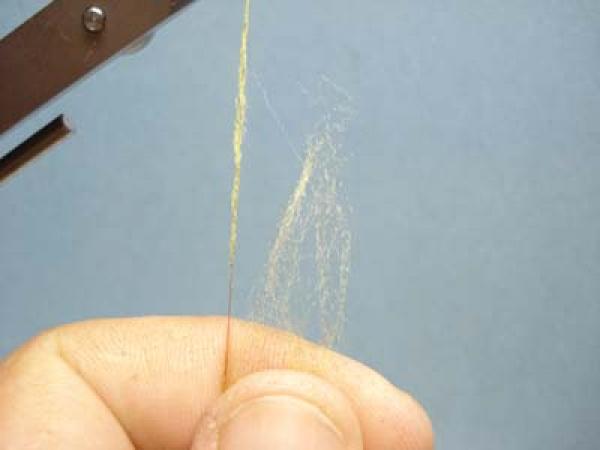
Apply dubbing by keeping the dubbing fibers long and parallel to the thread-apply by rolling onto the thread sparsely and in a clockwise direction.
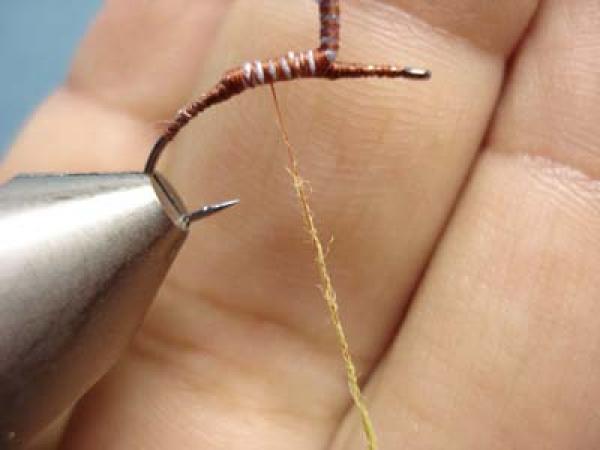
Notice how little dubbing is needed.
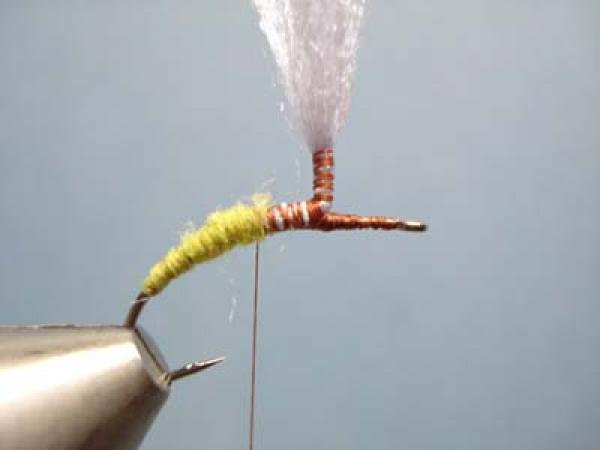
Dub a thin tapered abdomen. Stressing thin.
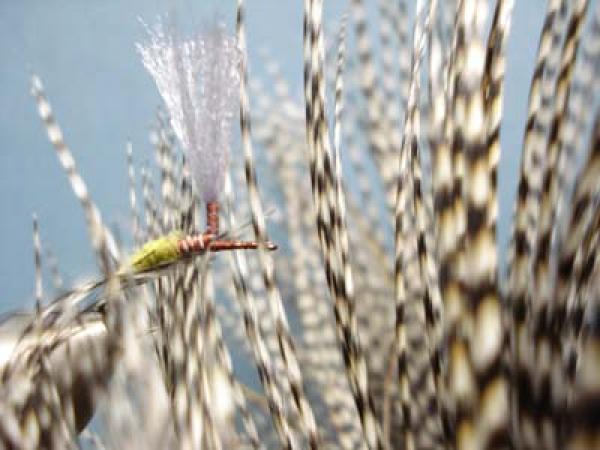
Select a quality rooster cape. I prefer to use grizzly hackle but the choice is yours.
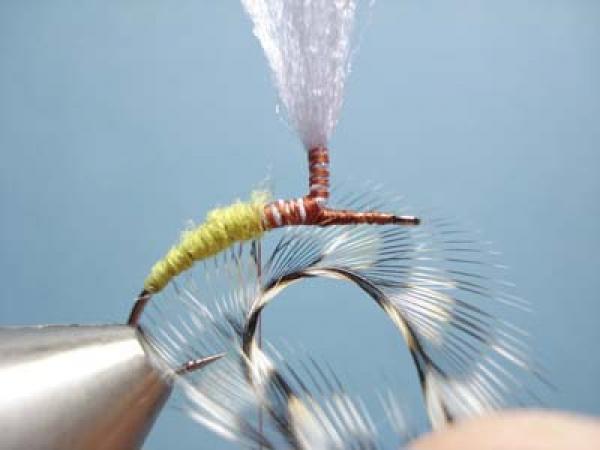
Select a hackle whose barbs are slightly longer than the shank's "flat."
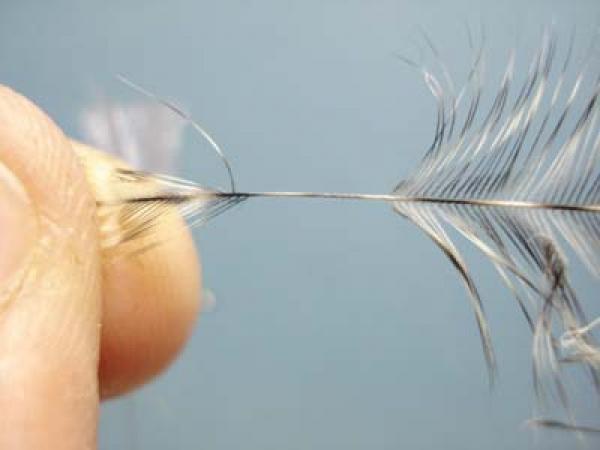
Expose the stem above the point where the webbing ceases.
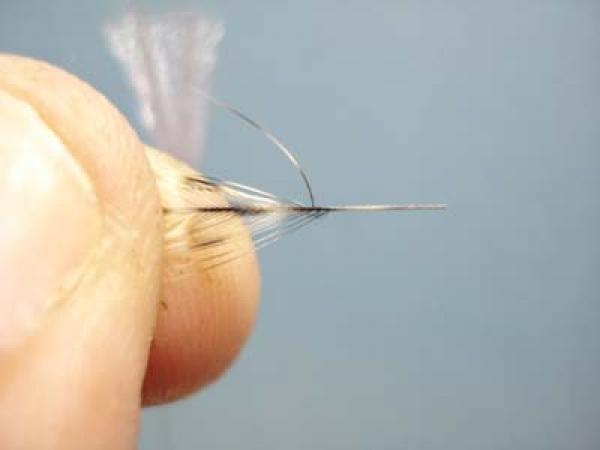
Clip off the rest.
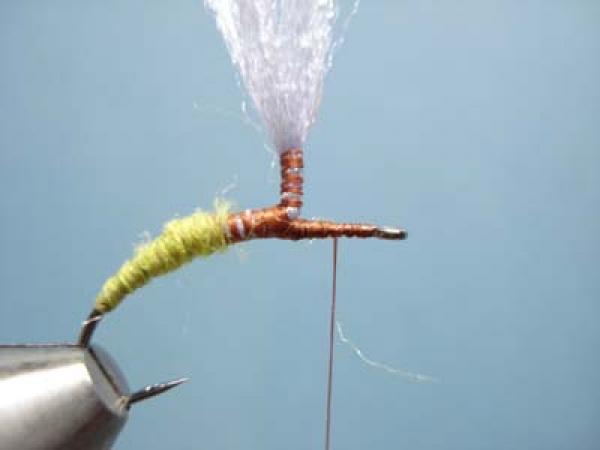
Advance the thread to a point between the eye and post.
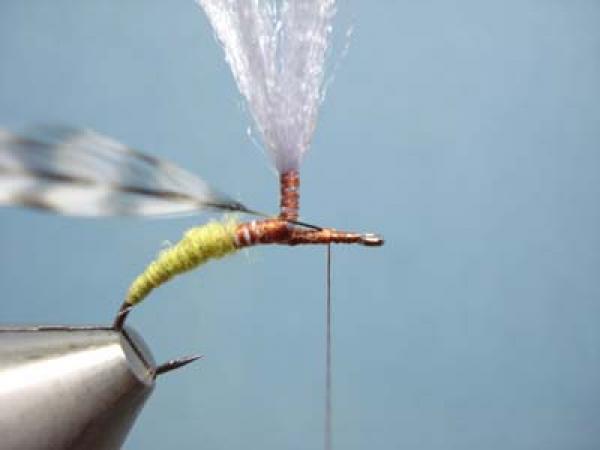
With the concave side facing you, catch-in the stem.
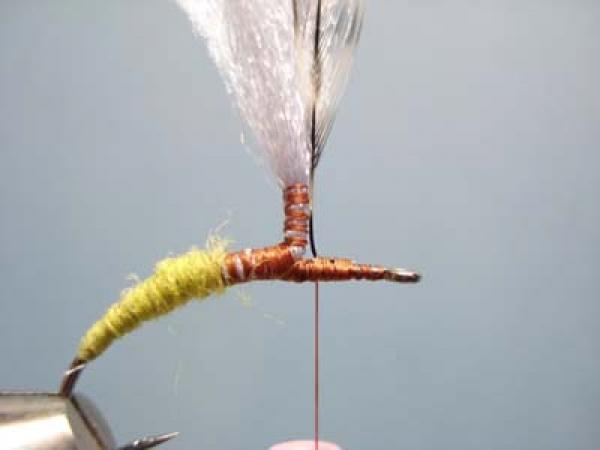
Lift the hackle erect as you bind the stem to the shank, keeping the concave side facing away from the post.
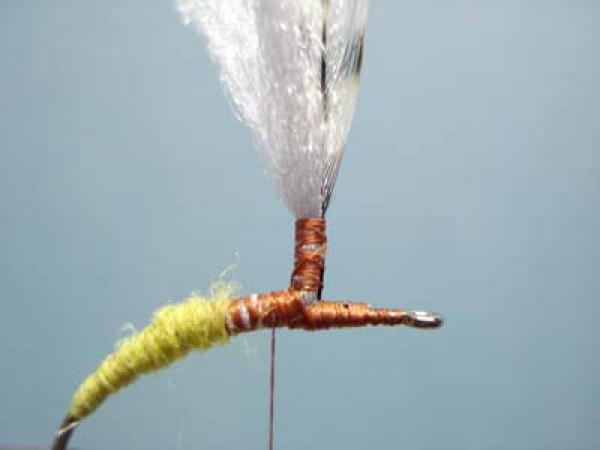
Wrap the stem to the post, still keeping the concavity away from the post.
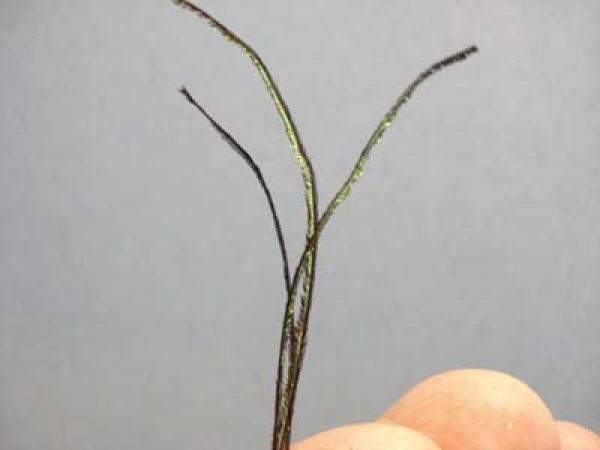
Select several quality peacock herls. Roughly align the tips.
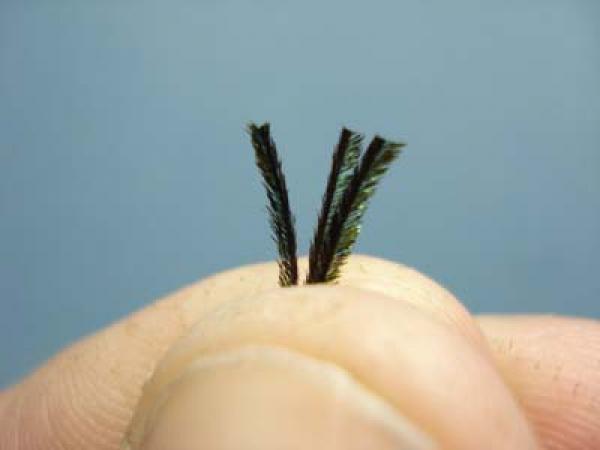
Lop-off the top inch or so.
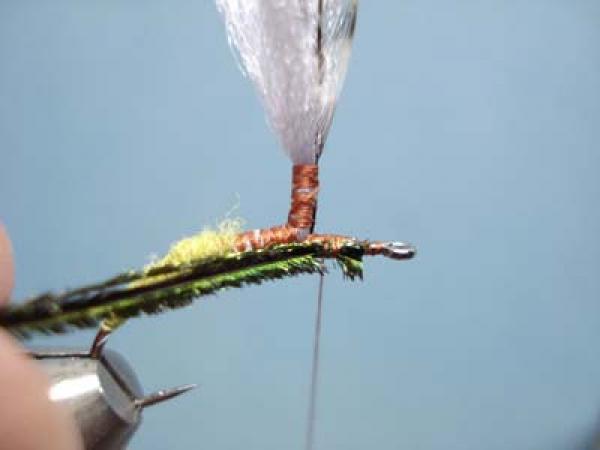
Catch-in the herl bundle in front of the post...
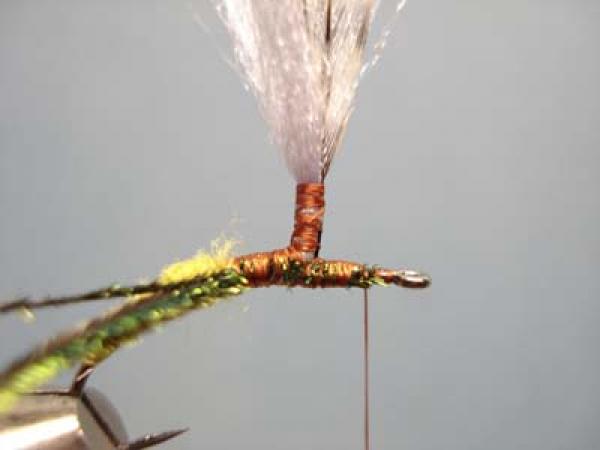
...and bind it back to the abdomen. Take the thread back forward.
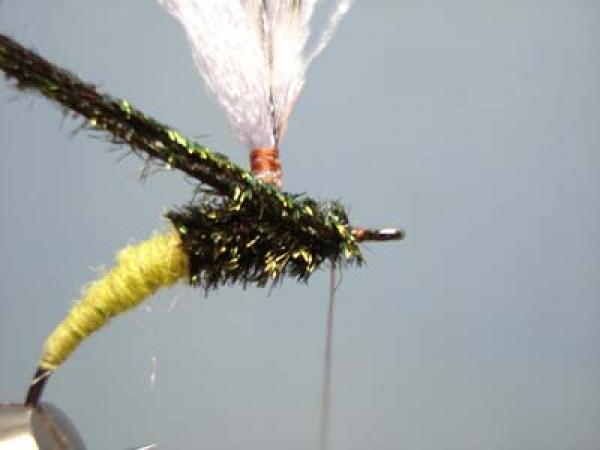
Wrap the herl bundle forward , the final pass goes over the shank, in front of the thread, under the shank and back up and to the rear. Two wraps of thread will neatly secure the herl.
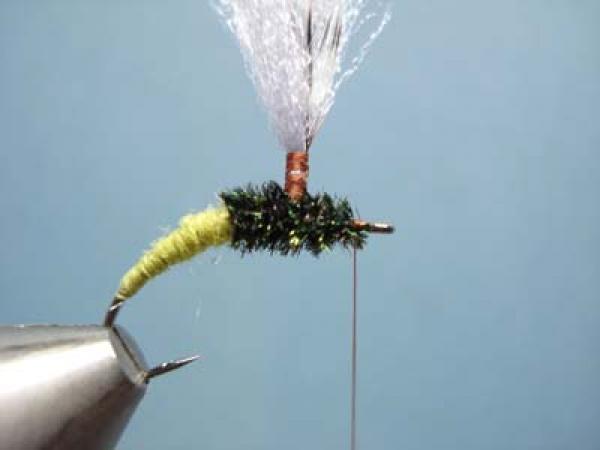
Clip the excess herl.
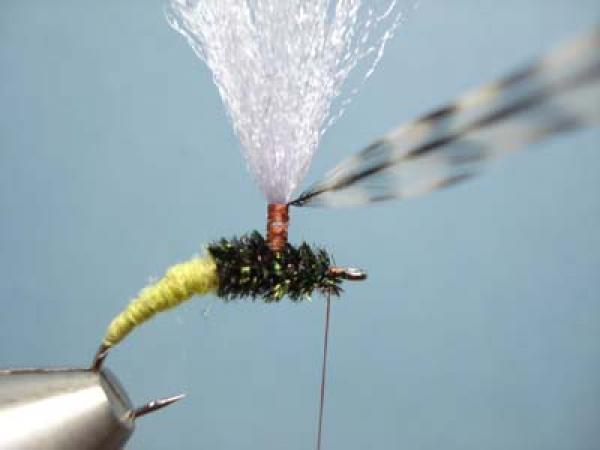
Crease the hackle stem by pulling it downward. This will make the first wrap behave.
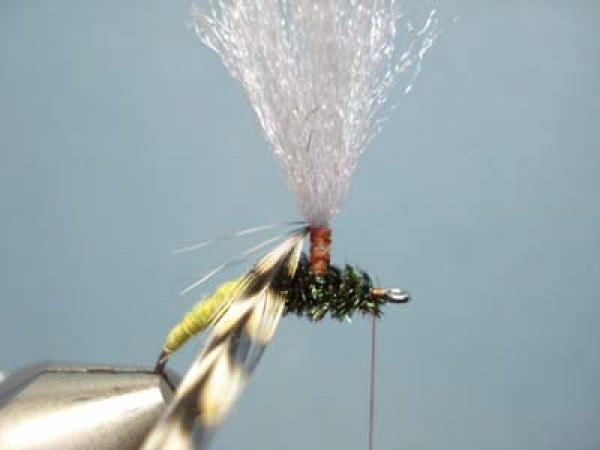
Make the first hackle wrap in a counterclockwise direction, being sure that the concavity of the barbs is oriented downward.
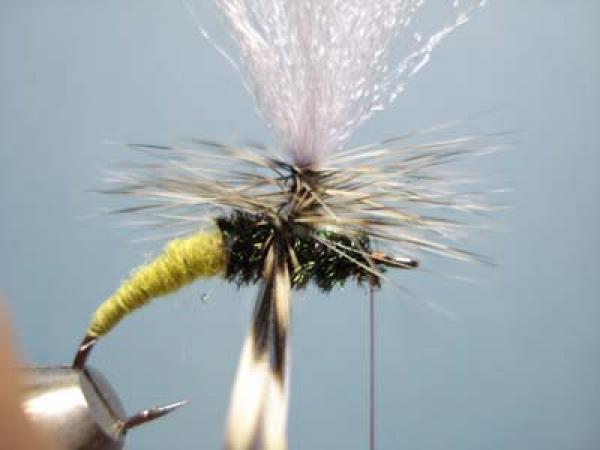
Continue with subsequent wraps, each under the previous.
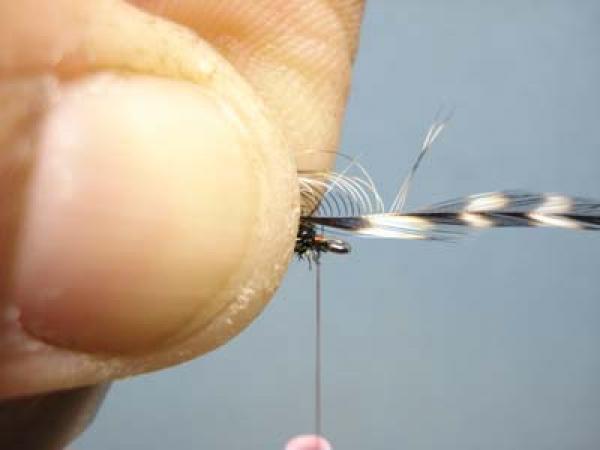
The final wrap passes to the far side of the shank. Grasp the hackle tip and pull back the barbs--while pulling the wrapped barbs back too--to expose the stem and head.
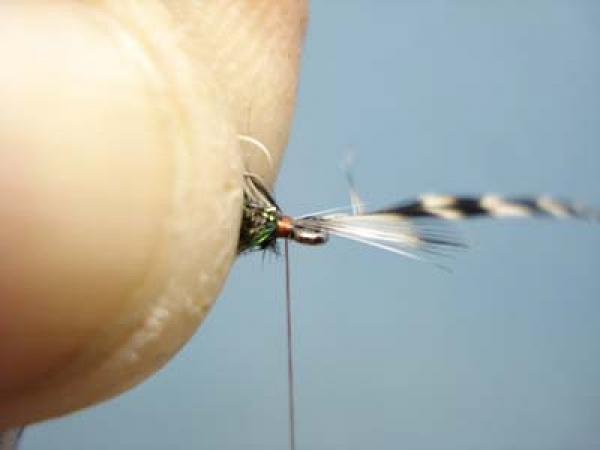
Secure with three wraps of thread.
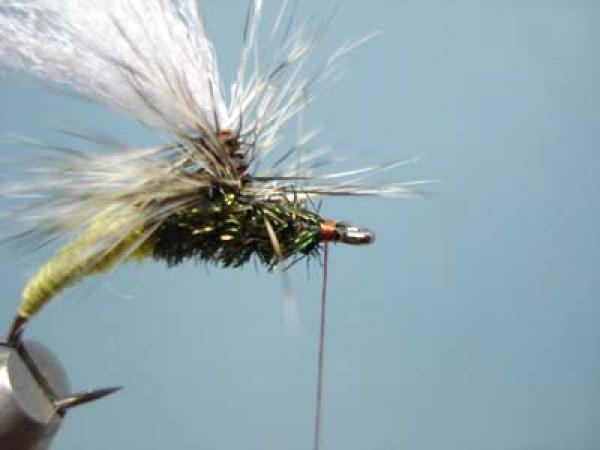
Break or snip the excess.
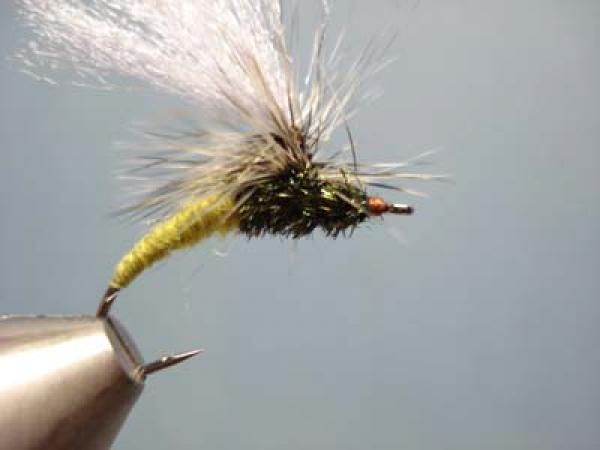
Finish with a neat head. Whip finish and clip the thread. With a hand whip you can sneak each turn easily under the hackle barbs.
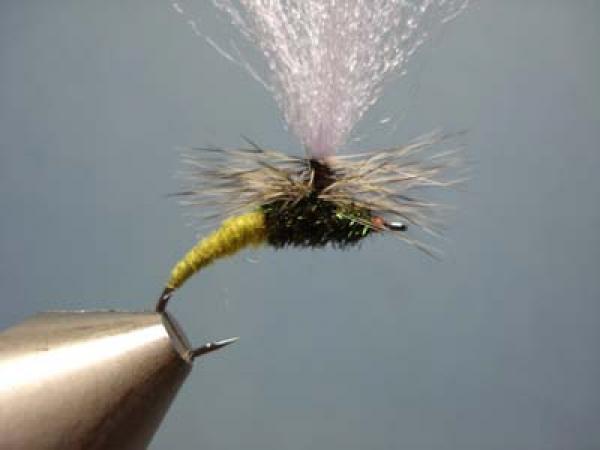
Dress the fly by stroking the barbs back into position, an easy chore with quality hackle.
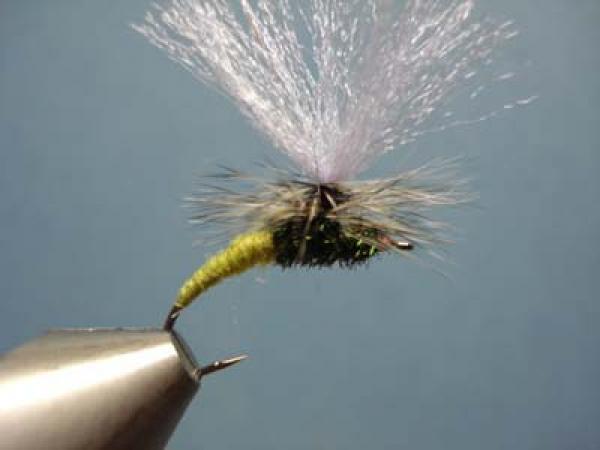
Using two hands, pull the post apart, like a girl's ponytail, to force the hackle wraps toward the hook shank.
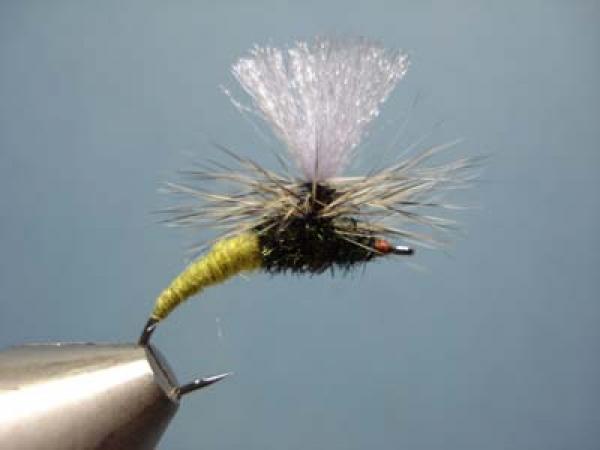
Clip the post to your desired length and you have...
...a completed Olive Klinkhamer!