Archives of Loren Williams Fly Tying Tutorials.
LW's Q-Tip
Fly and Photos by Loren Williams
I have been tying and fishing this pattern for a few years now. It has been tweaked, and tweaked again as I try to build a dry fly that is all of these: easy to tie, attractive to trout, castable, and supports a nymph under various hydraulics. I should add that I fish dry/dropper very often using a leader-only cast and my dry is off a tag so the weight of the nymph is in the front. I think I have succeeded!
Naming the fly was simple! I used to refer to it as a "snowshoe caddis" but never formally. Recently, I was guiding Frank, showing him some advanced nymphing techniques. When we explored dry/dropper skills for conquering specific short drift areas he began calling the dry fly a "Q-Tip." That is a proper fly name if there ever was one! Thanks Frank!
The Q-Tip consist of one material that is cheap and easy to find. Snowshoe rabbit feet can be dyed many colors. I use natural, dun, orange, and chartreuse to cover different lighting conditions. The finished product floats like a cork, takes Frog's Fanny when needed, and gets eaten. Trout eat it blind, they eat it during caddis hatches, they eat it during mayfly hatches, and they eat it during stonefly hatches. Finally, it casts easily on leader only application as it has some mass but virtually no weight.
Hope you like it!
MATERIALS
Hook: Mustad R50X (#10-#14)
Thread: Olive
Abdomen: Snowshoe Rabbit Underfur
Wing: Snowshoe Rabbit
Head: Snowshoe Rabbit (butt ends from wing)
Click photos to enlarge!
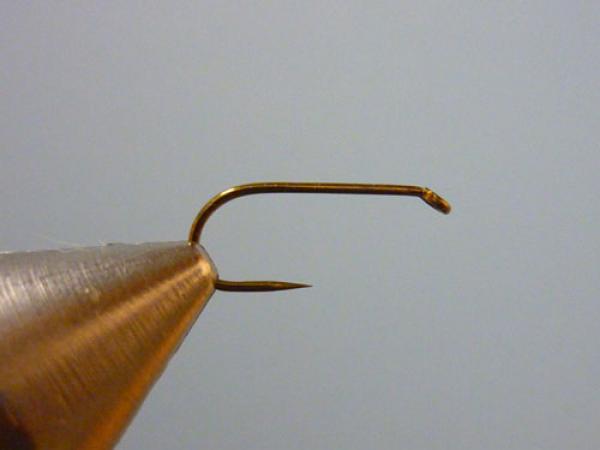
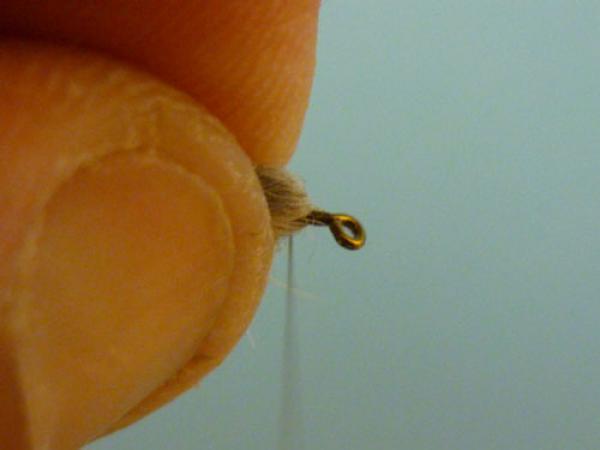
Place hook firmly in your vise.
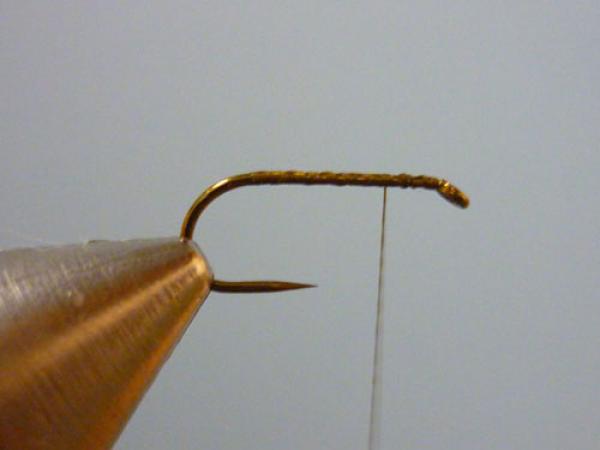
Attach thread behind the eye and clip the tag.
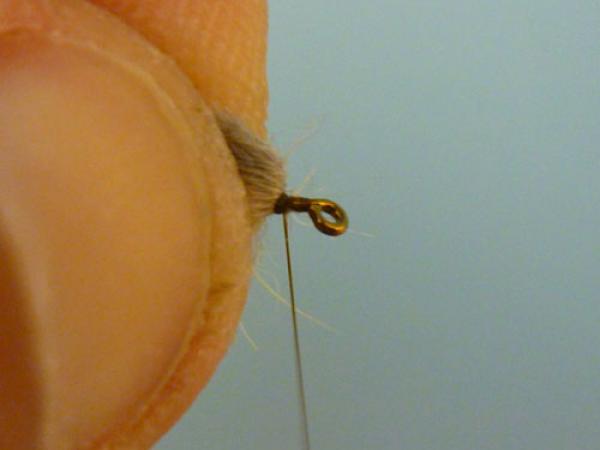
Form a thread base by wrapping to the rear and forward again. Then apply a tacky dubbing wax to the thread by stroking it on with several applications.
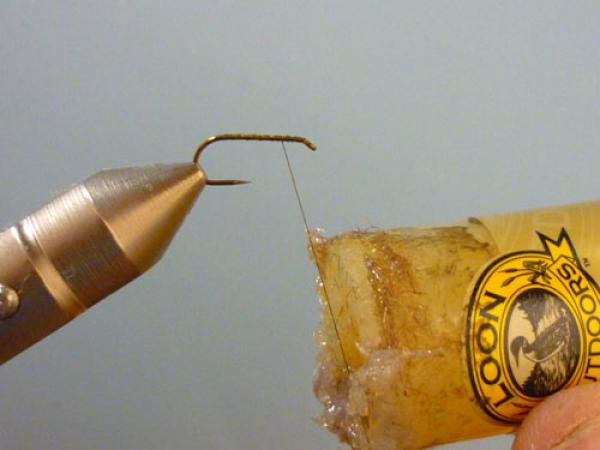
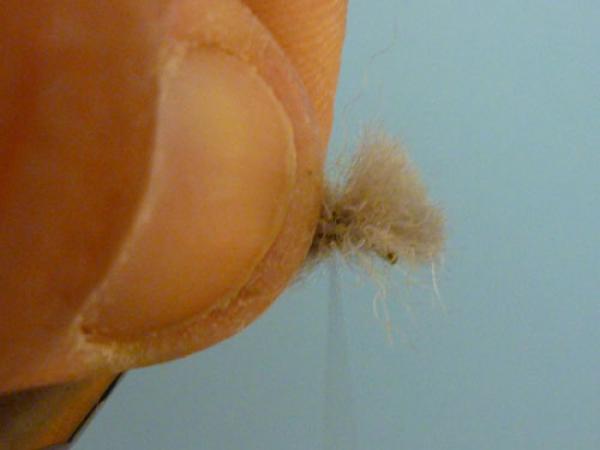
Collect some snowshoe rabbit foot underfur, that is the stuff that is right against the bone. Gather it into a ball and touch the ball lightly against the waxed thread, allowing the wax to grab the fur as it will.
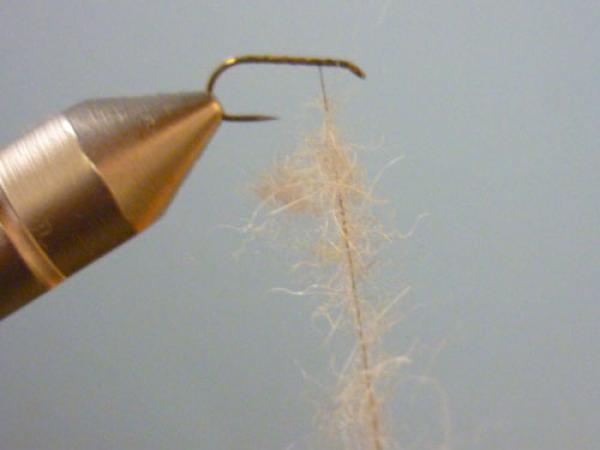
You should have something like this.
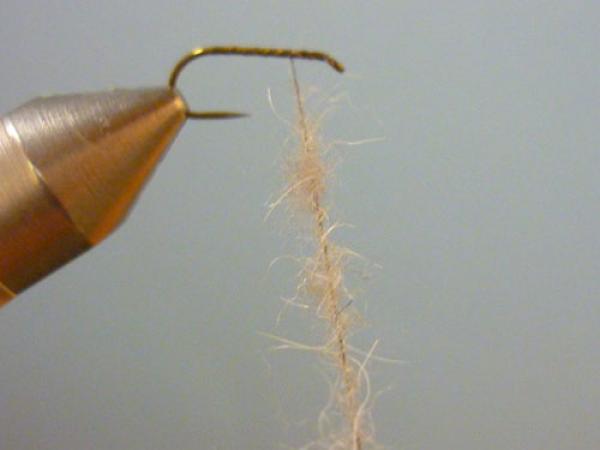
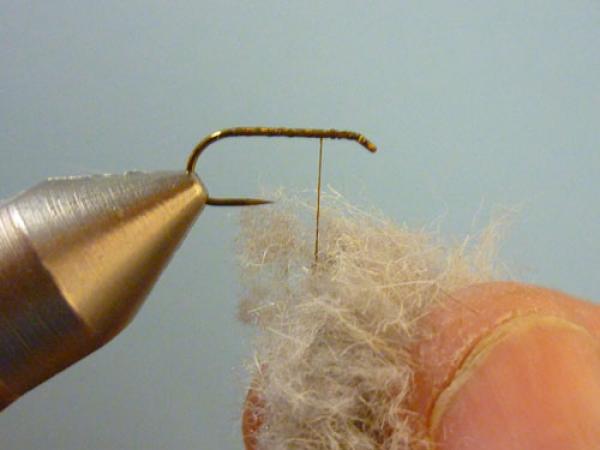
Spin the thread to trap the fibers.
Dub a robust body by wrapping to the rear and then forward again Stop well short of the eye to leave room for the wing and head.
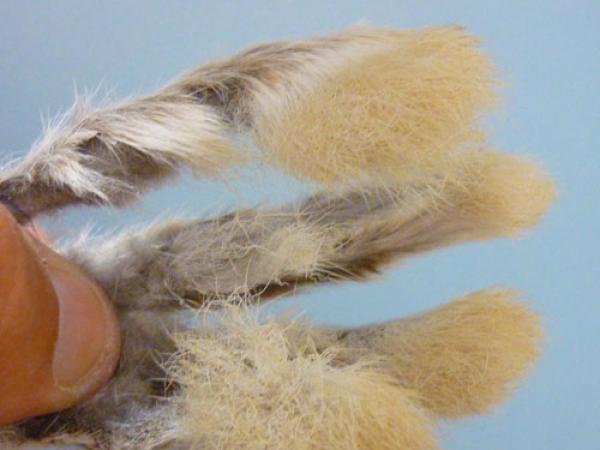
Prepare a rabbit foot by splitting the toes with a screwdriver shaft. Mike Hogue from Badger Creek Fly Tying taught me this trick in order to gain better access to the crinkled fur.
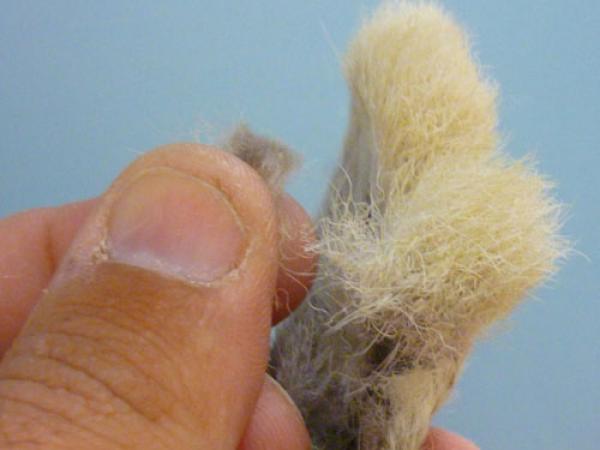
Clip out a healthy dollop of guard hairs from the front section of the foot. The longest fibers will be nearer the toes-so select based on hook size. I am tying this sample on a #12. If I were tying a #14 I would be using fur from the middle section on toward the heel. The trick is to select a dollop that has underfur in the butt sections-do not try to tie this step with only guards as it will nto "spin" properly.
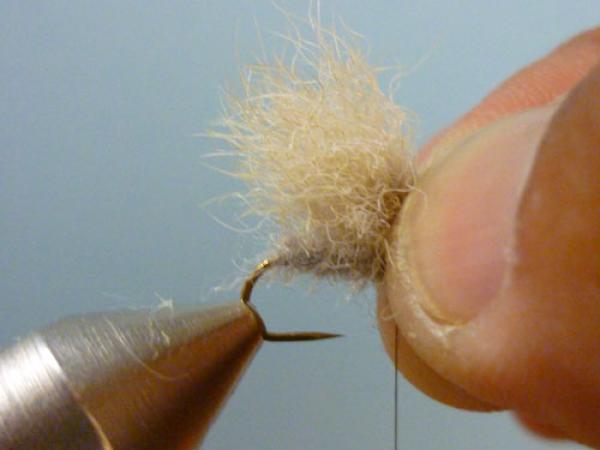
Measure the wing length. I stick to standard caddis wing proportions of the tips just reaching past the hook bend.
Expose the butt ends and trim them square just beyond the hook eye. Any excess can be used for the abdomens of future bugs!
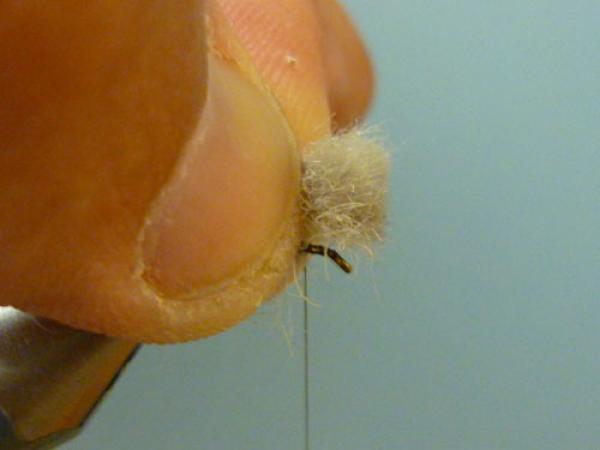
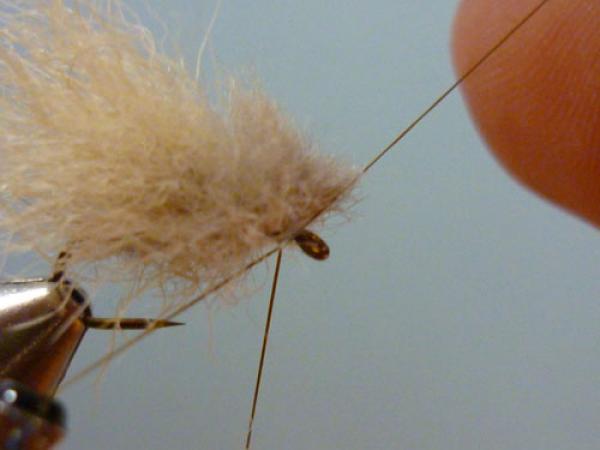
Make one loose wrap of thread around the wings, with that wrap placed well back from the eye.
Make a second wrap and pull tight while keeping a grip on the wing. What we are doing is "spinning" the front portion of the wing while keeping the wing itself atop the shank. Snowshoe will not truly spin like deer hair will, but it will flare a bit. Make a third solid wrap at this location.
Let go of the wing and pull on the thread to be sure the wing does not spin. If it does, undo things and give it another go. If the wing is stable then proceed.
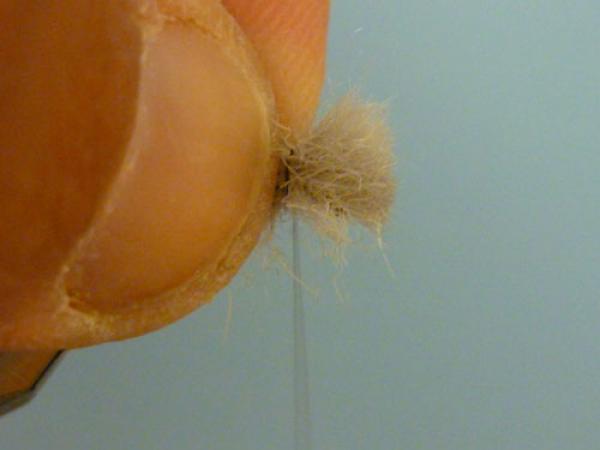
Pull back approximately 1/2 of the butt ends...
...and lay 2 tight wraps of thread in that location. This will make things even more solid.
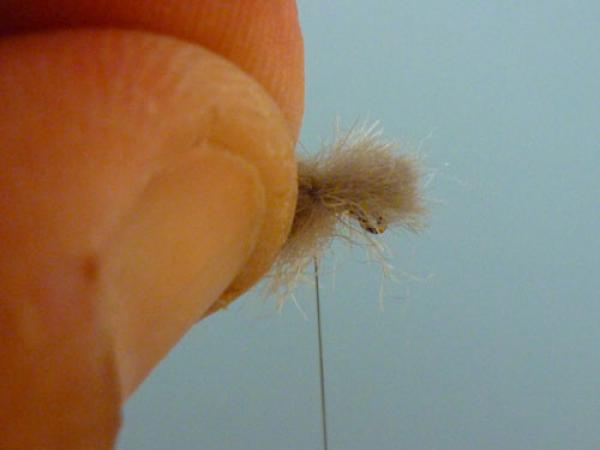
Finally pull back all the remaining fibers, with confidence!
Make several tight thread wraps directly in front of the fibers to form a solid wedge wrap. This will nail in the "spun" head and make the front end stand erect.
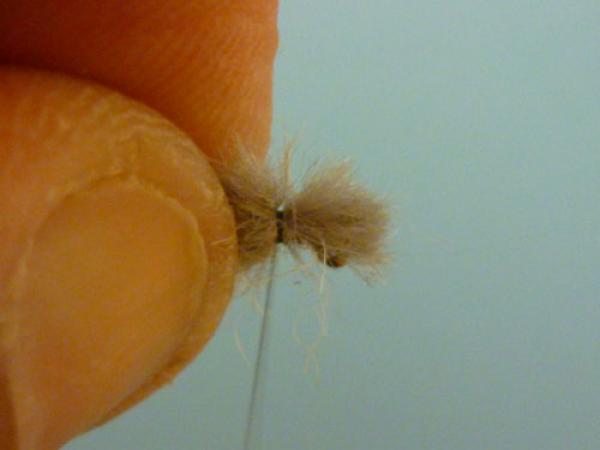
Whip finish!
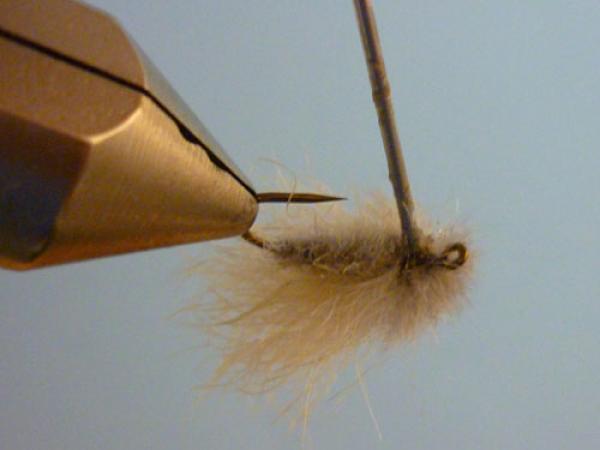
Turn the fly upside down and drop some cement on the thread wraps and allow it to soak into the fur a bit.
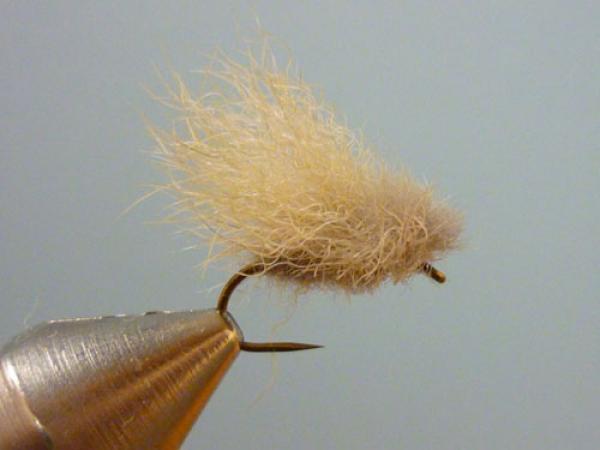
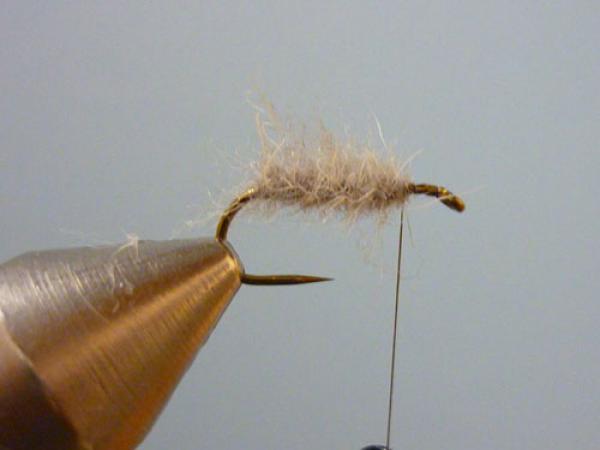
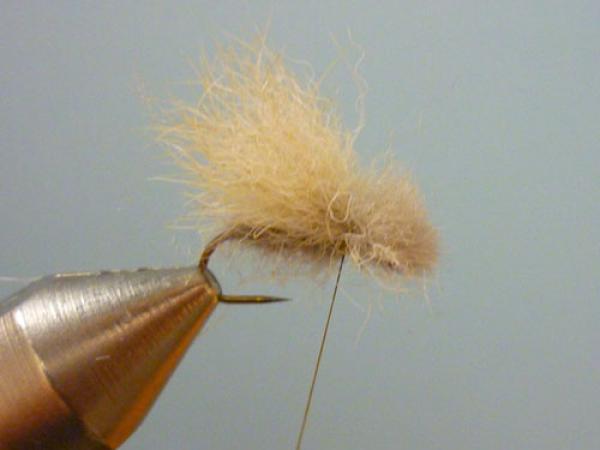
The finished product!
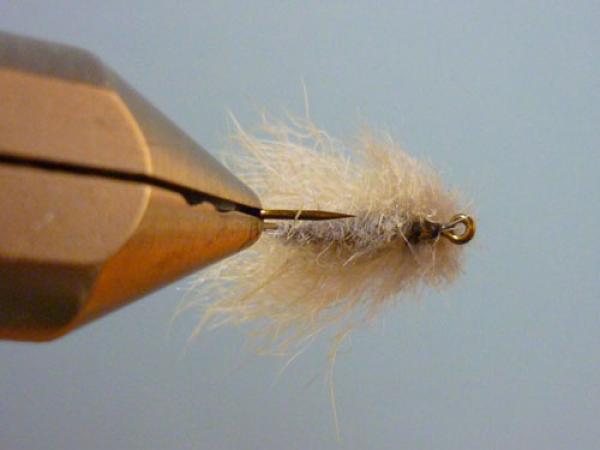
From below you can see how the head spreads the weight across a broad surface area.