Archives of Loren Williams Fly Tying Tutorials.
Bear's Crystal Egg
Egg patterns are getting to be about as numerous as the number of species of fish that lay them! It's all good since they are an important food item and very worth imitating. However, there is a subset of egg patterns that I feel are more appropriately called "attractor eggs" since, aside from the general shape, far from imitate eggs. The "Crystal Meth" or any obese, hot colored egg pattern fits the bill nicely.
Real eggs are on the small size (pencil eraser or smaller), golden when first deposited and then becoming creamy and opaque when not fertilized and covered with gravel. These are the most commonly eaten by fish. Unfertilized eggs will go through a decomposition where the color may vary, but generally they remain pale and tough.
Real eggs also tumble along the rocks, rarely do they float or drift.
That said, I find it hard to convince myself that trout and steelhead take some of the "egg" patterns we throw as real eggs. Chartreuse? Estaz? Braid? C' mon! More likely, the patterns' success is due to some appealing nature that only the fish know. In fact, I think many of these patterns work precisely because they do not look like the hundreds of real eggs tumbling by. They get the attention of the fish, and the fish react by taking the fly. If you are lucky, you recognize the take and set the hook...in time.
Veiled eggs are far from new. This egg pattern, which I called the YumVee when I thought I created it, has been credited to Bear Andrews.
MATERIALS (as shown)
Hook: Scud Hook (#6-#10 for steelhead)
Thread: Hot Orange 3/0
Tail: Orange Krystal Flash
Body: Orange Estaz
Veil: Roe Glo Bugs Yarn
Click photos to enlarge!
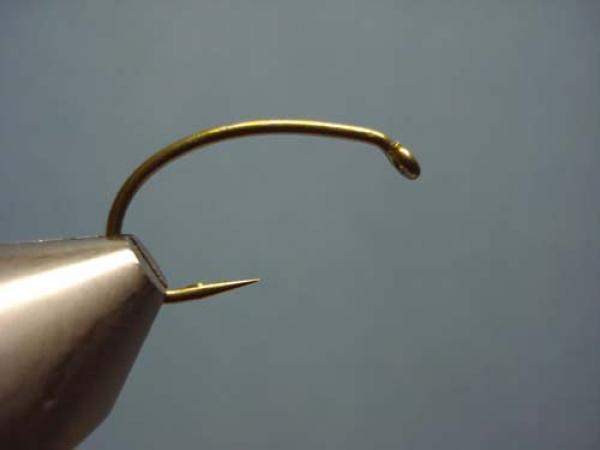
Place barbless hook firmly in your vise jaws.
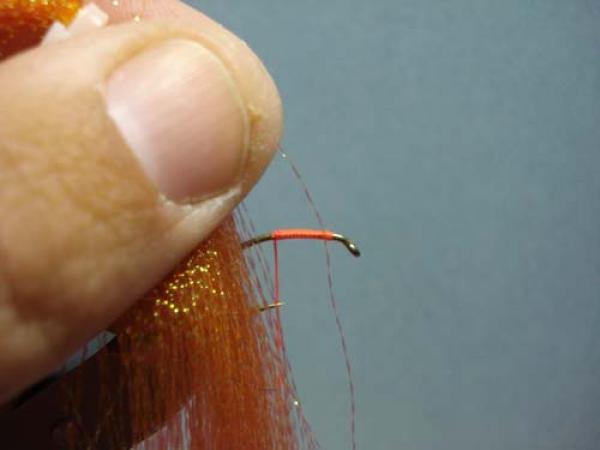
Start your jamb knot behind the eye and lay a base of thread 1/2 to 2/3 back on the hook shank. Select a single strand of Krystal Flash.
Note: When tying multiple flies I will select 4 strands of flash and omit the next step.
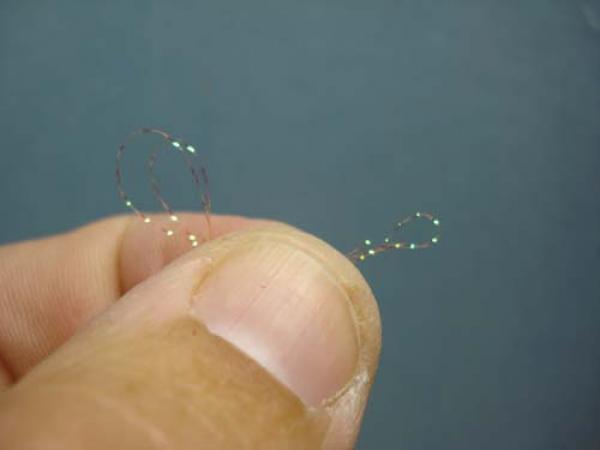
Fold the KF on itself twice.
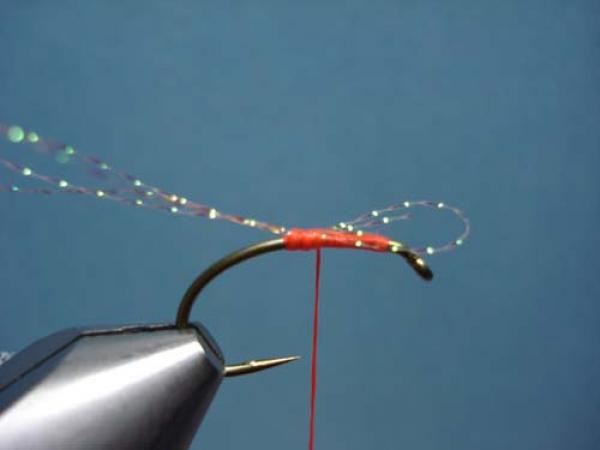
Secure the folded KF at the rear.
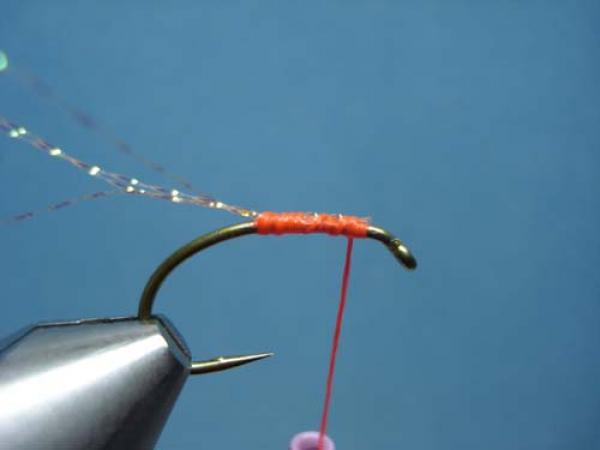
Bind it forward and clip the excess.
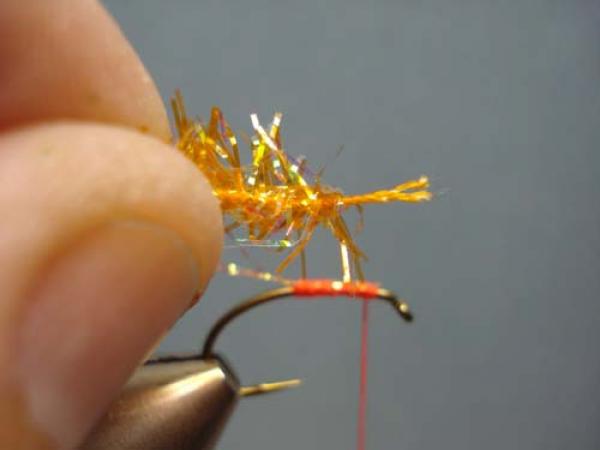
Select a strand of Estaz and remove the fibers from the core for to expose the core.
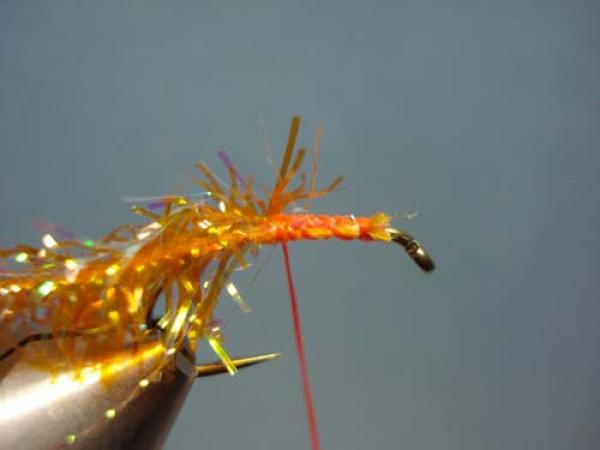
Secure the core to the hook, binding it to the rear.
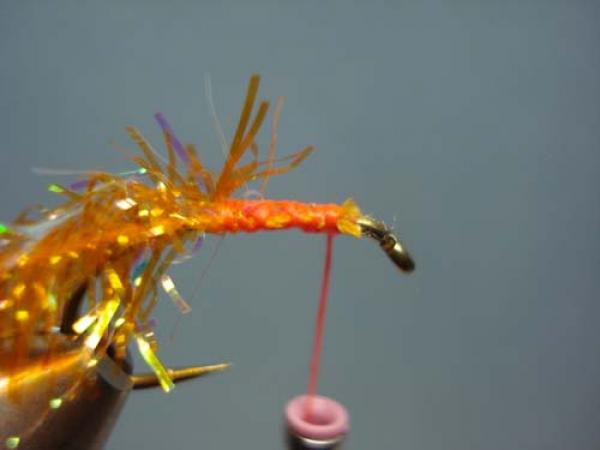
And to the front again.
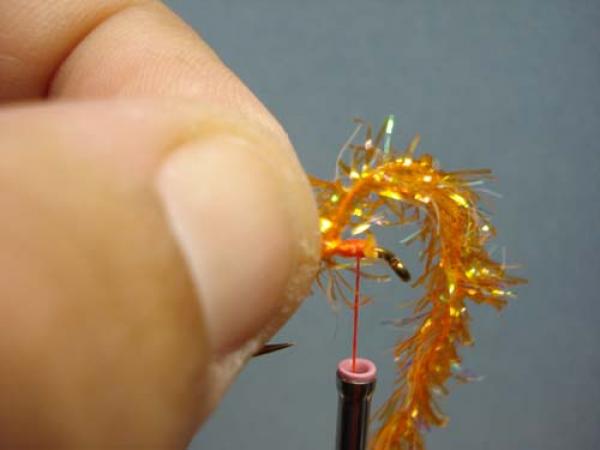
Wrap the Estaz forward in tight wraps. Between each wrap fold/hold the fibers back with your other hand.
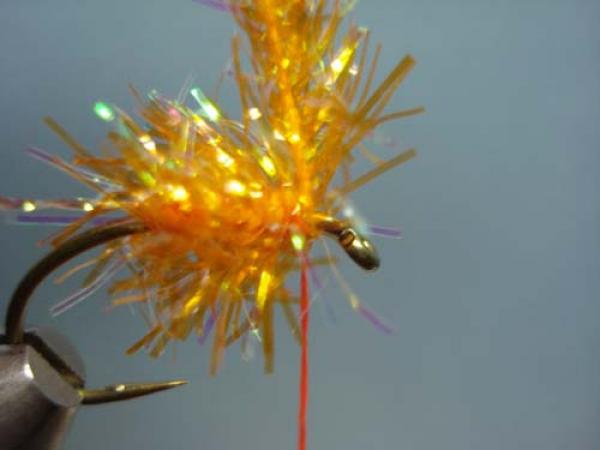
About 3 wraps should do it. Take one wrap of thread around the estaz to hold it.
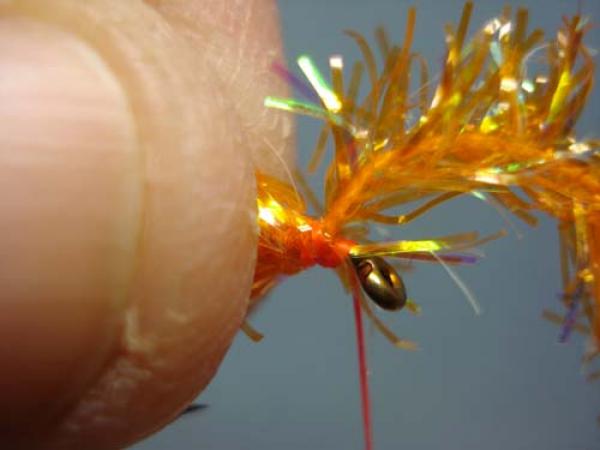
Lift the estaz up and take a thread wrap in front, then behind, then in front again. This "wedge wrap" is useful with estaz and chenille since it locks the material with a minimal number of wraps, yet exposes the material with the thread in front so....
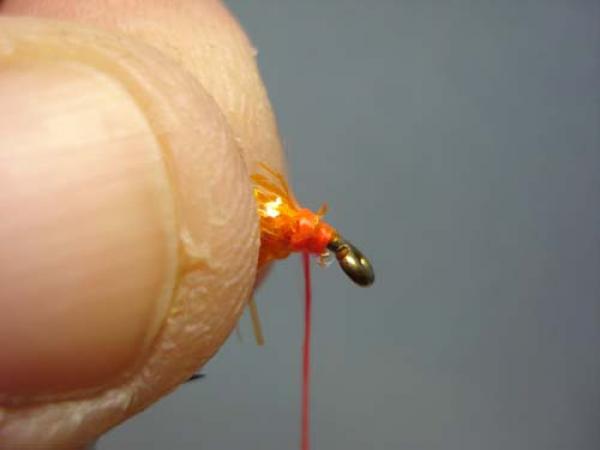
...you can clip it close without cutting your thread! Fold back any excess fibers and tie them back with a wrap or two of thread as shown.
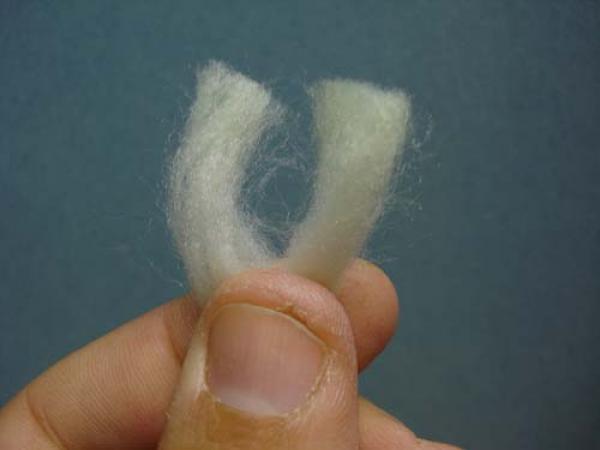
Select a section of egg yarn and split it in half.
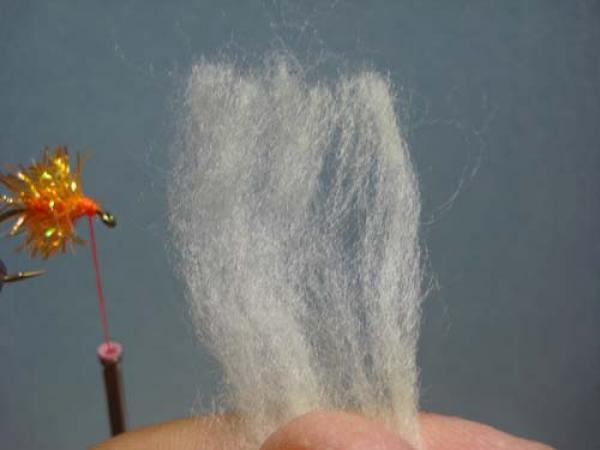
Spread the fibers a bit.
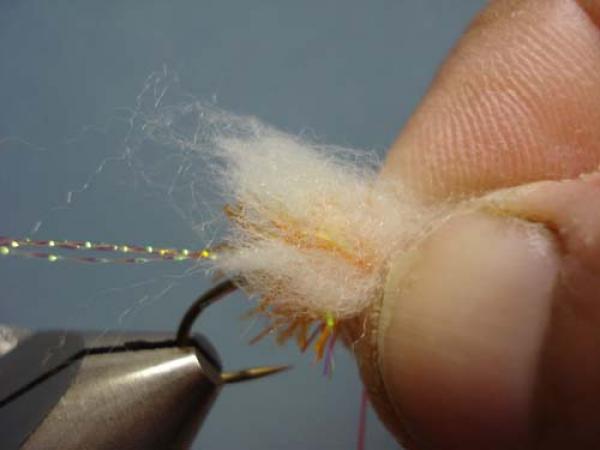
Place the yarn atop the fly in a wing position as shown so that the yarn encircles the top portion of the fly (see next photo). Then yarn should extend to just past the estaz body.
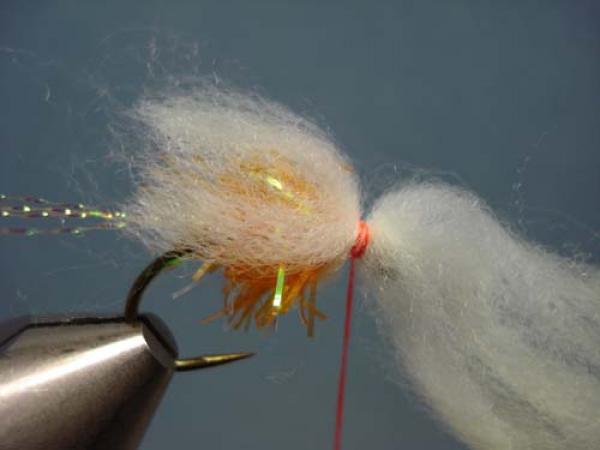
Secure with a few tight wraps.
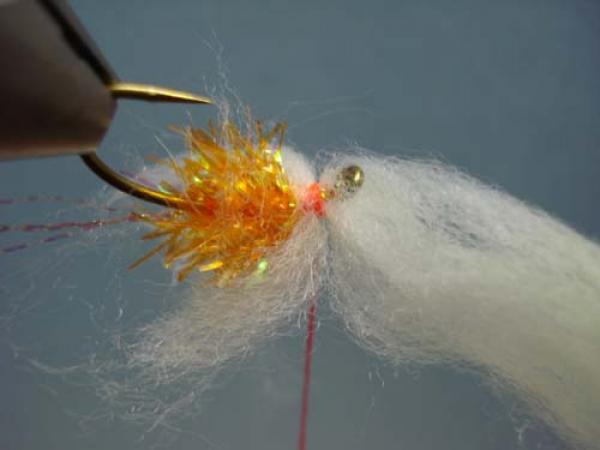
Rotate your vise to expose the bottom of the hook.
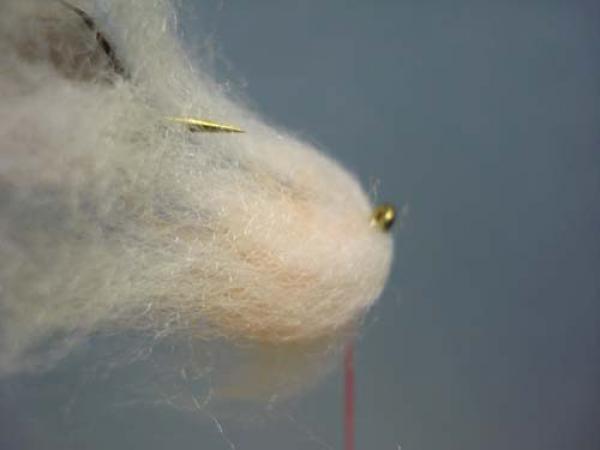
Fold the remaining yarn over the eye and to the rear as shown.
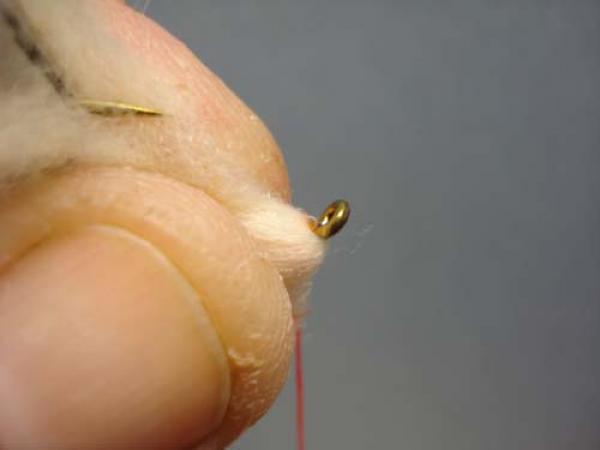
Pull it back with your fingers to ensure it's even distribution.
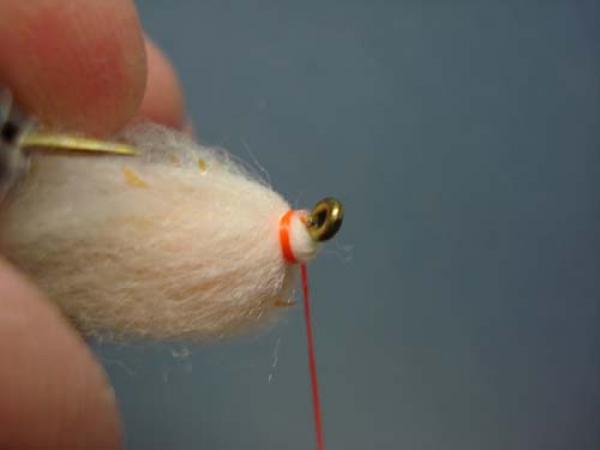
Secure with one wrap of thread.
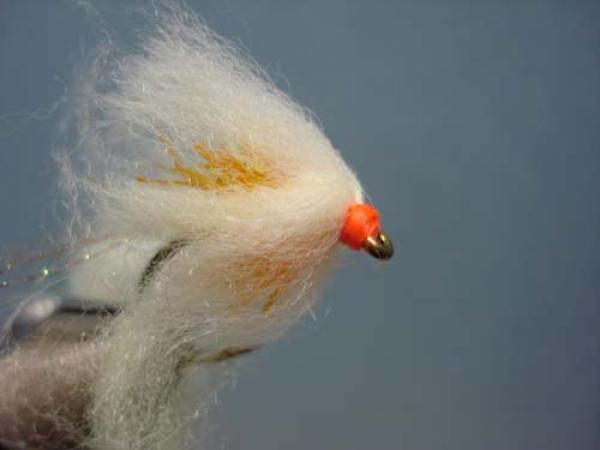
Rotate the hook back to normal and finish with a neat head. The head will also act as a hot spot.
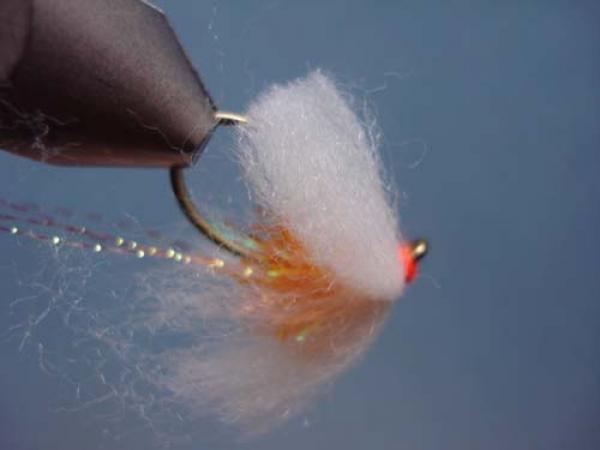
Clip the bottom portion of the veil to equal the top length.
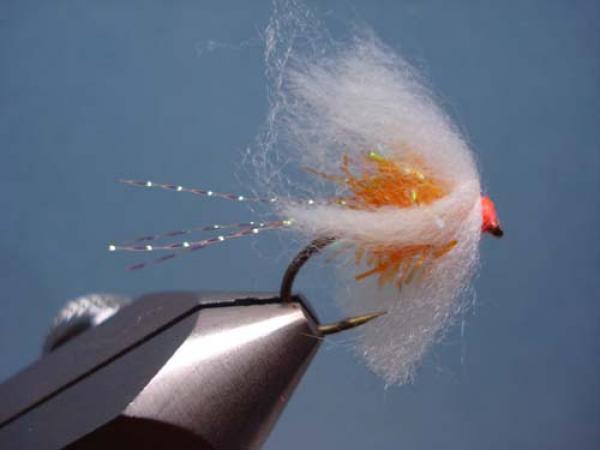
Clip the tails to length, I prefer them rather short.
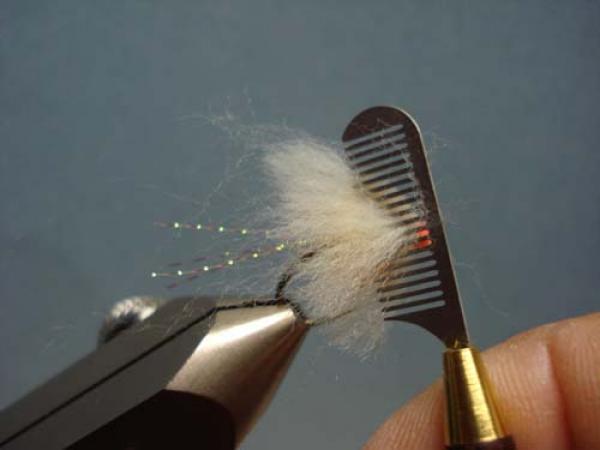
Comb-out the veiling so that it appears uniform and rather transparent.
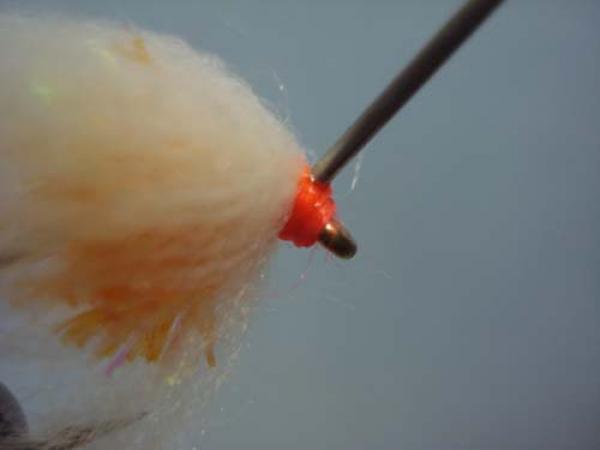
A drop of head cement....
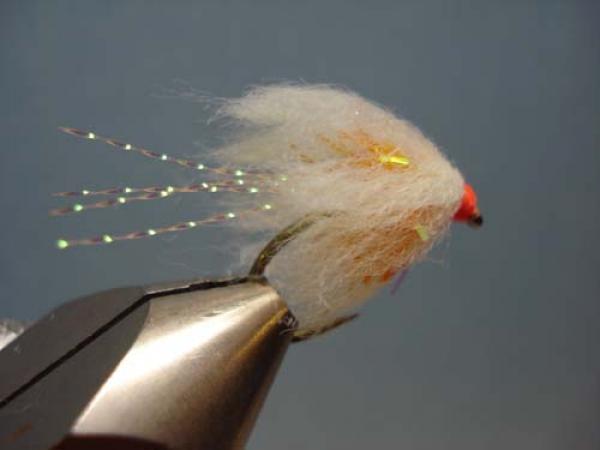
...and you have a completed Crystal Egg!