Archives of Loren Williams Fly Tying Tutorials.
LW's Baron
Fly and Photos by Loren Williams
Some of you might detect a similarity between this pattern and another very successful (and popular) pattern of mine, the Bead Head Biot nymph. You are correct. The Baron has resulted from an evolution in my ever-present scheme to reduce the number of patterns I carry to the stream without sacrificing the effectiveness and versatility of my nymph box. Simply, the Biot was a bit involved to tie, and miserable to build on small hooks. I ended up creating an entirely new pattern (the Red Devil) to cover the very small nymphs I like to fish.
The biot nymph was derived from investigating Mike Mercer's use of biots to form attractive nymph abdomens. I added some features that I felt to be important triggers in order to build a confidence pattern I could rely on. The Red Devil incorporated the same basic pattern into a stripped-down version that I could build easier on small hooks. The addition of a hot spot thorax really made the fly solid. The more I utilized both flies, the more I reduced the recipes. As I eliminated features, changed hooks, and substituted materials, they ended up evolving into a single pattern which is faster to tie across all hook sizes, more durable, and seems to catch more fish!
The Baron is the name I have given to this updated version of my old friends. You can add a fire red thread collar, a' la the thorax on the Red Devil, and you have the Red Baron. Try them, you WILL like them!
Please Note: I have been receiving numerous emails asking how to obtain Siman dubbing products in the USA. Kevin Compton of Performance Flies carries the products (and much more); he can be reached at info@performanceflies.com
MATERIALS
Hook: Barbless; Curved-shank (#12-#18)
Bead: Gold Tungsten
Weight: Lead Wire
Thread: Brown
Tail: Wood Duck Flank (I have since switched to Coq de Leon)
Abdomen: Rust Brown Turkey Biot
Thorax: Siman Peacock Eye
Click photos to enlarge!
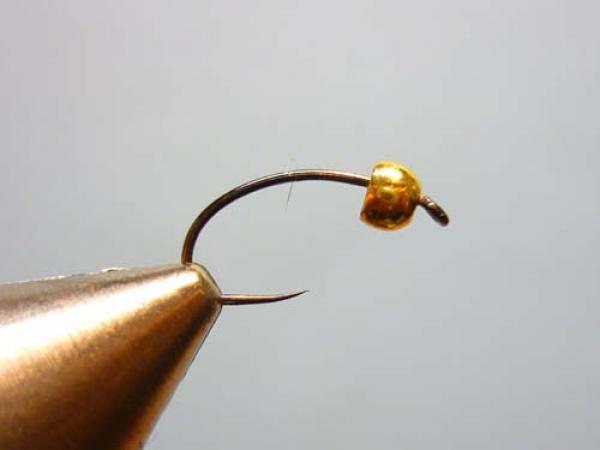
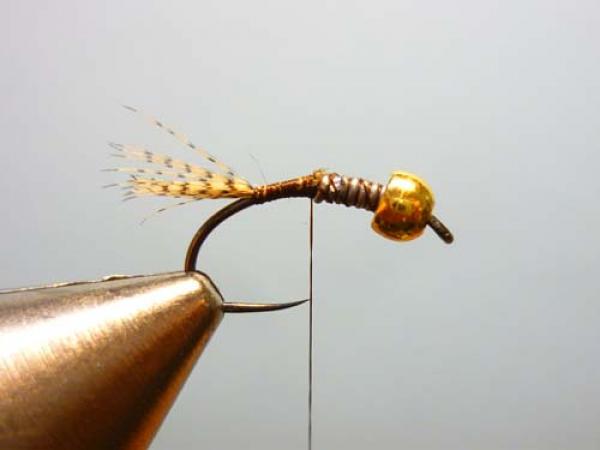
Place beaded hook firmly in your vise.

Wrap 7 or 8 turns of lead wire to the middle of the shank.
Stuff the lead wire up into the bead cavity.
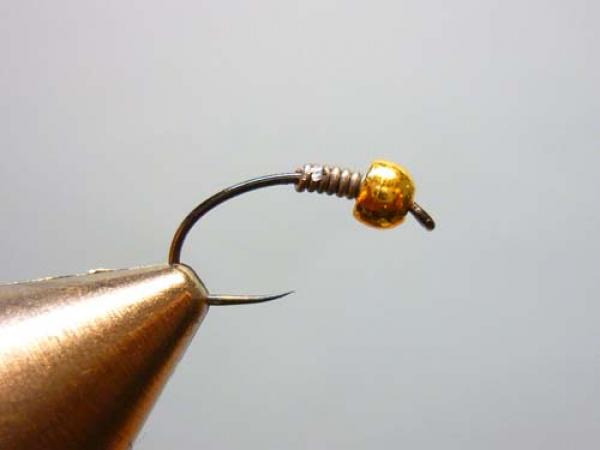
Attach your thread behind the lead wire, secure the wire, and begin to build a taper at the rear of the wire.
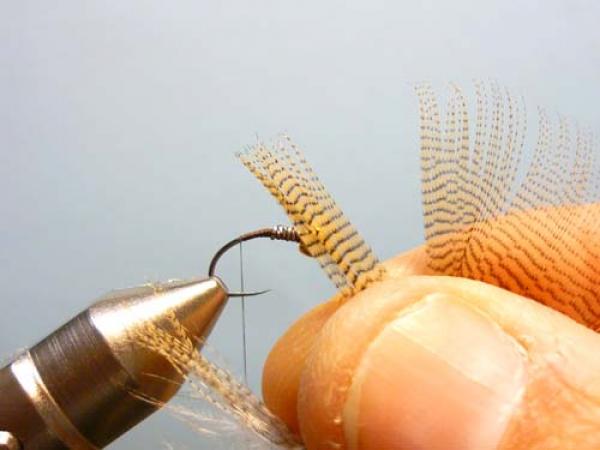
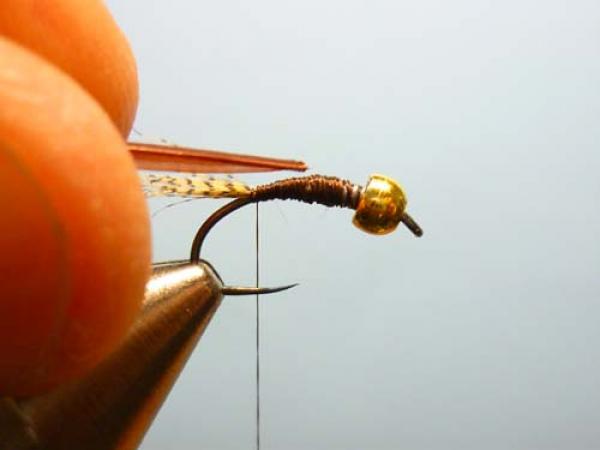
Select a small bundle of flank fibers from a drake wood duck flank feather, keeping the tips even.
Switch hands if needed and snip off the fibers, keeping the tips even.
Measure the bundle to be equal to about 1/2 to 3/4 the length of the hook.
Secure to the shank as shown. Try not to make the fly too long.
Bind the but ends up to the end of the wire, this will help build the tapered underbody.
Snip off the excess.

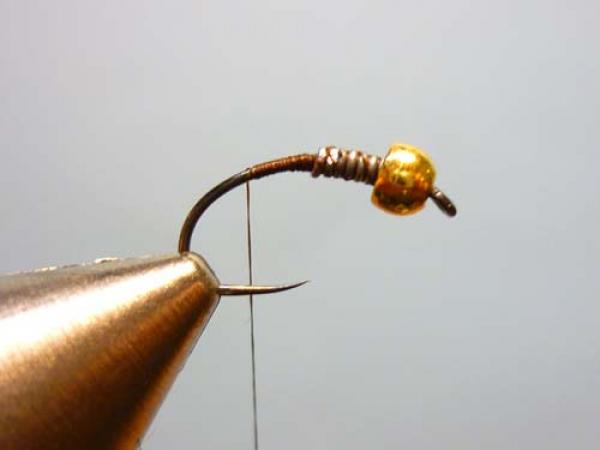
Take a moment to polish the taper with your thread (you can see that I have done so in the background).
Select a turkey primary that has been dyed a rusty brown. Separate out a long biot with a nice wide profile.
You will see that one edge is flat, and one edge comes to a knife edge. Orient the biot with the flat edge on top.
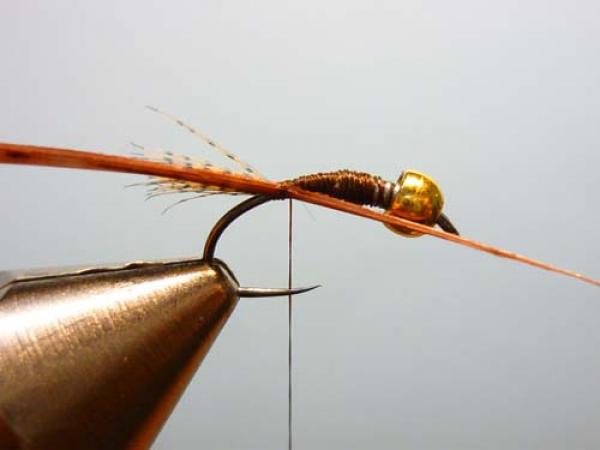
With the tip facing forward and the flat edge on top, secure the biot to the rear edge of the abdomen. No thread gap between it and the tail.
Bind it forward (notice the smooth taper!) and remove the excess.
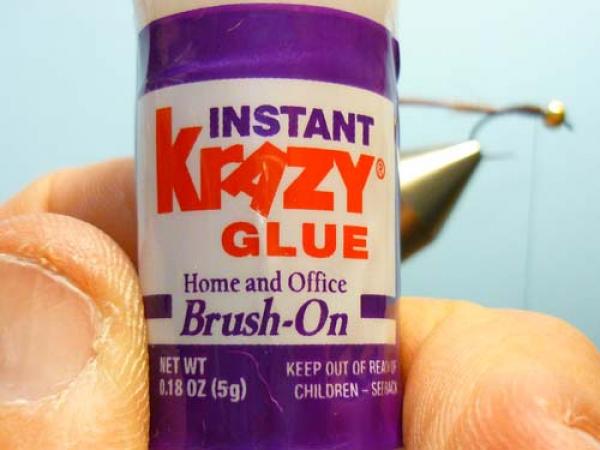
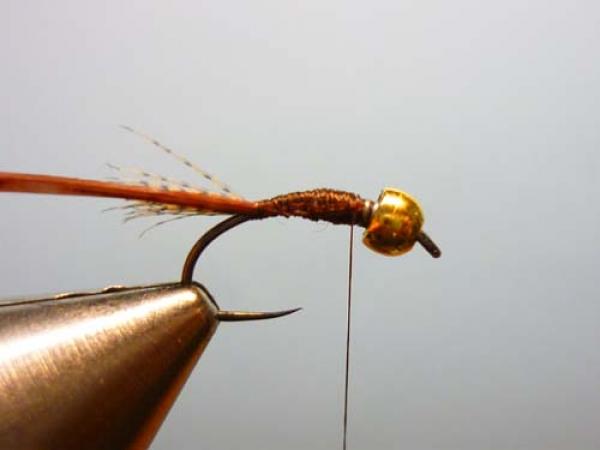
Find your brush on superglue.

Add a small coat to the thread.

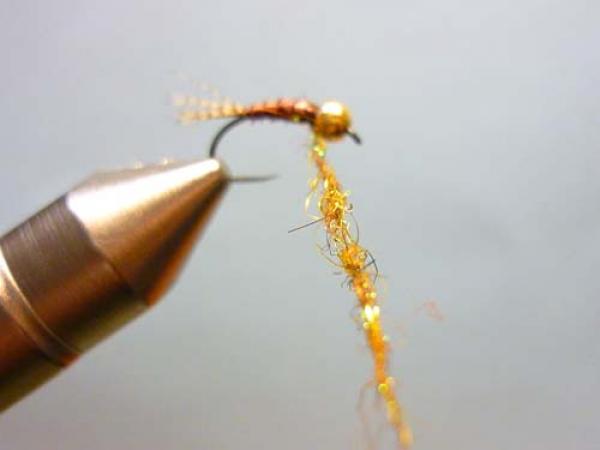
Wrap the biot forward in even and touching turns, ending behind the bead. I find that wire testers make the best pliers for this task. Notice how a raised rib appears.
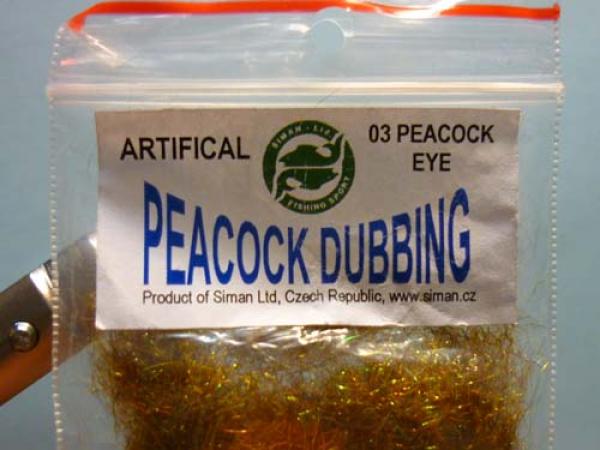
Siman's Peacock Eye dubbing is what I prefer for the collar, but you can play around.
Dub a short section of thread.
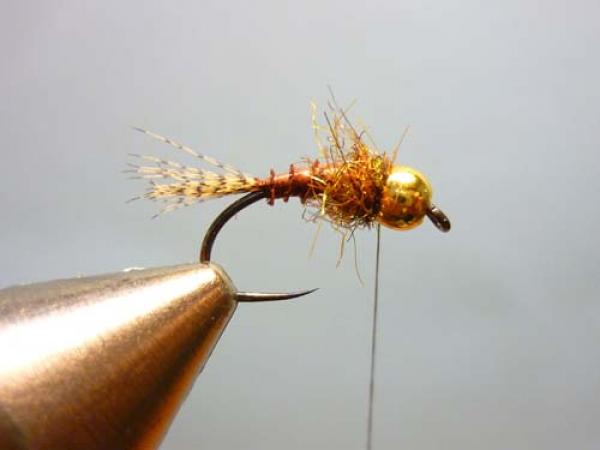
Wrap a nice little collar behind the bead. I like it to be a bit spiky so it will fold back slightly over the abdomen in the water. Whip and clip.
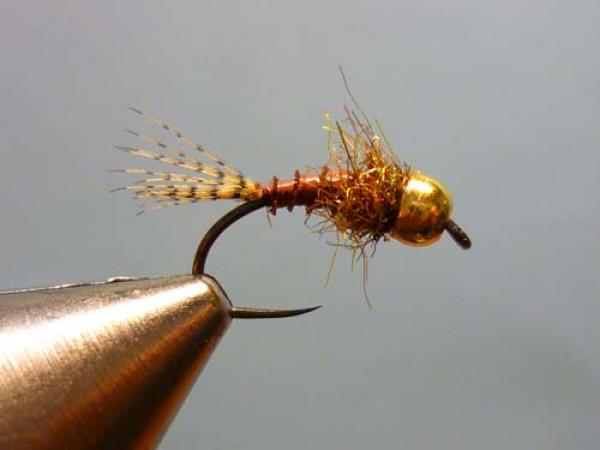
A finished Baron! Killer, absolutely killer!