Archives of Loren Williams Fly Tying Tutorials.
LW's Light Frontliner
Fly and Photos by Loren Williams
This pattern is based heavily on Chauncey Lively's Woven Perla Stonefly. I wanted a simple, yet accurate generic nymph to use for heavy pocket water. Many of the mayfly nymphs that inhabit those areas have prominent dorsal and ventral colors that I suspect show well when a clinger-nymph gets dislodged. I wanted the nymph to have a tight body in order to penetrate the water column readily and stay down once there. I also wanted the nymph to maintain action while being fished. Lastly, the nymph needed to be able to represent as many nymph species as possible. The following is what I have settled on-and hundreds of trout seem to have approved, with many more to come I suspect
I also tie a dark version for when I suspect, or know of, strong populations of Pteronarcys stoneflies or Isonychia mayflies or for low visibility conditions. I believe the light version is mistaken for juvenile golden stonefly nymphs or larger mayfly nymphs like those of March Browns or Quill Gordons, while dark versions probably get eaten for Hendricksons, Isonychias, juvenile Pteronarcys, or large BWO nymphs.
When your world is moving at 4 fps or beyond, you cannot afford to be too choosy with your meals. This pattern has all the traits of most mayfly and stonefly nymphs bundled into one tight package that will get to, and stay with, the trout that inhabit the oh so productive pocket water habitat. It'll get eaten too.
MATERIALS
Hook: Mustad R72 (#12-#14)
Bead: Gold Tungsten; Black for dark version
Weight: .015 Lead Wire over thorax
Thread: Brown
Tail: Brown Sili Legs
Abdomen: Woven Brown over Pale Yellow Embroidery Floss
Wingcase: Turkey Tail
Legs: Same as Tail
Thorax: Natural Hare's Mask (touch-dubbed)
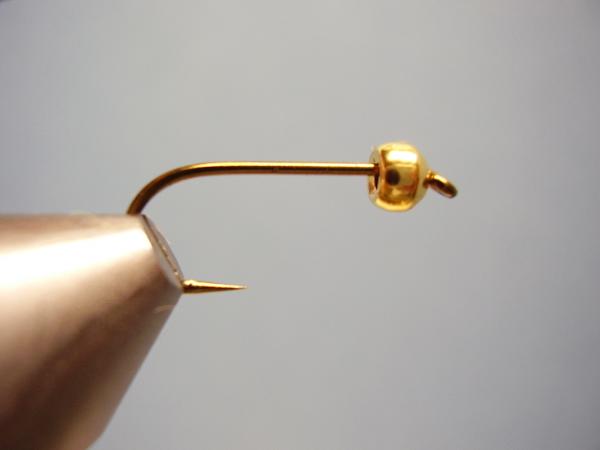
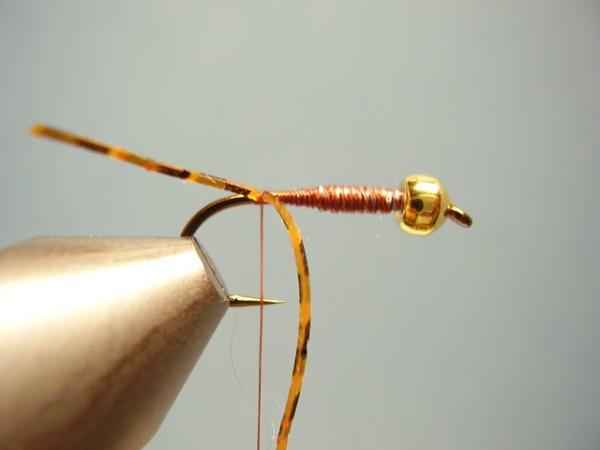
Place the beaded barbless hook well into your vise jaws
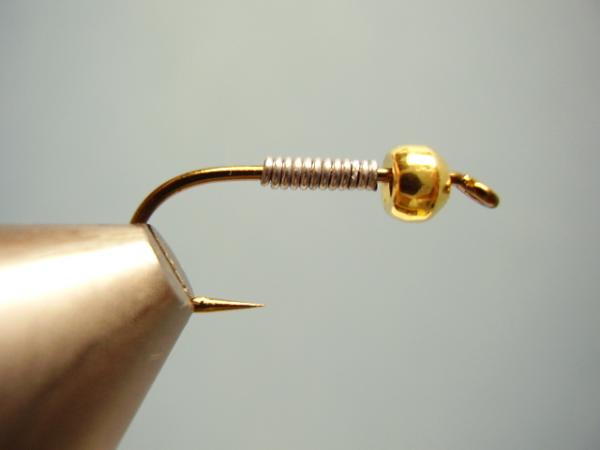
Cover the middle 2/3 of the shank with .015 or .010 lead wire.
Slide the wire forward into the bead.

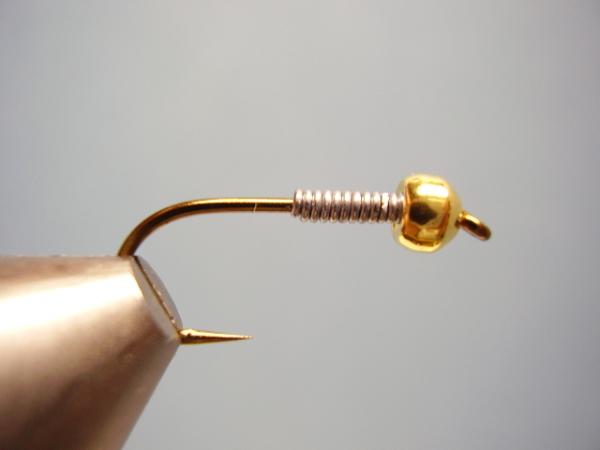
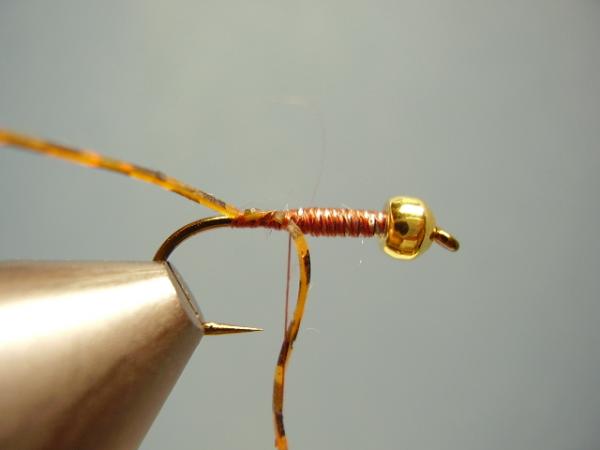
Start your thread behind the wire...
... then proceed to cover the wire and taper the rear end before laying a base of thread to the rear.
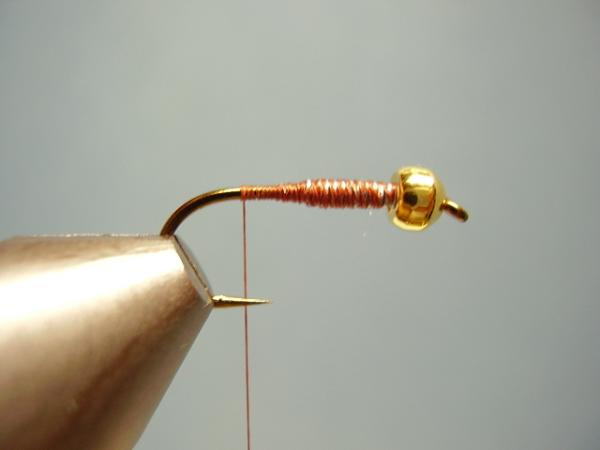
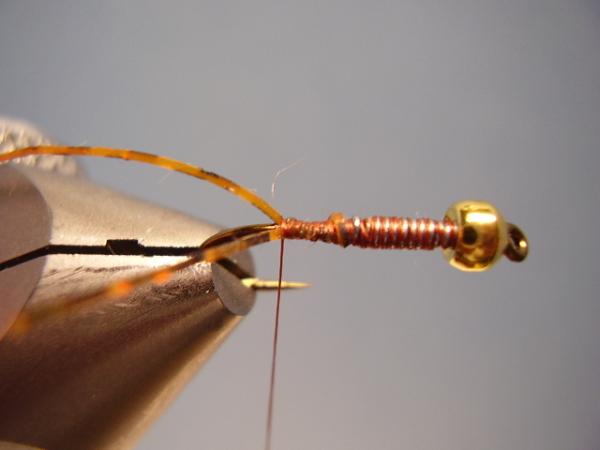
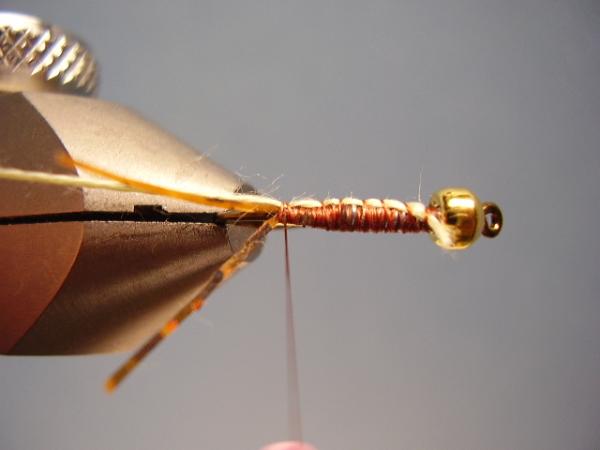
Affix a strand of sili legs to one side of the hook with the tip pointing to the rear.
Bind the material forward until you reach the lead wire.
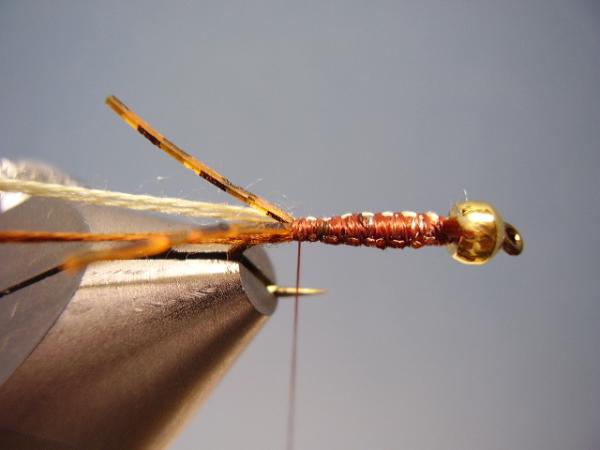
Fold the material around the top of the hook and bind it back to the rear on the far side creating a split tail.
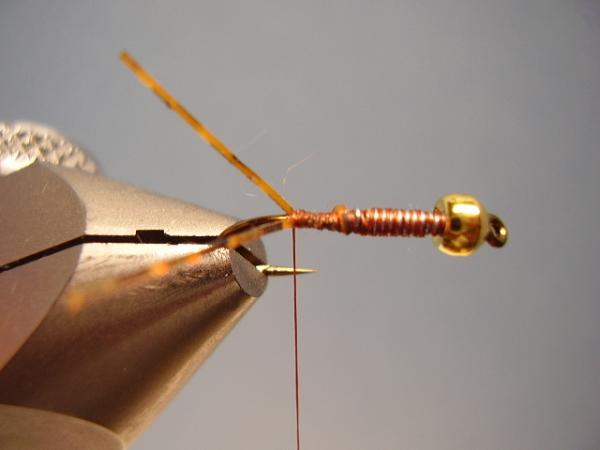
Clip the tails to length. I like them about equal to the hook shank to maximize action.
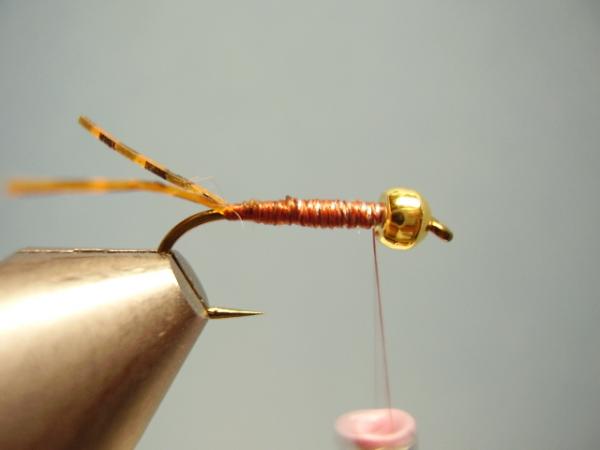
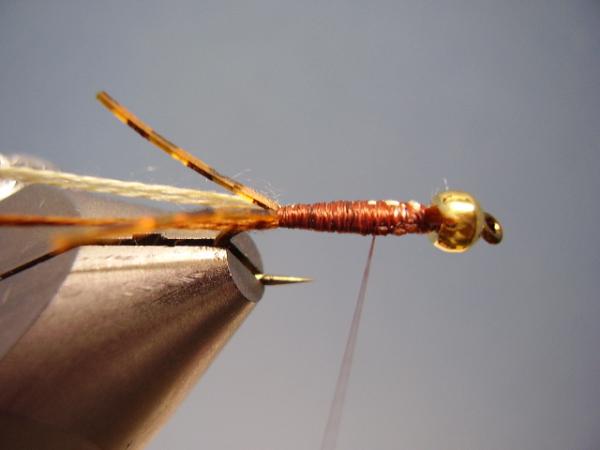
Use your thread to even-out the abdomen in preparation of the weave.
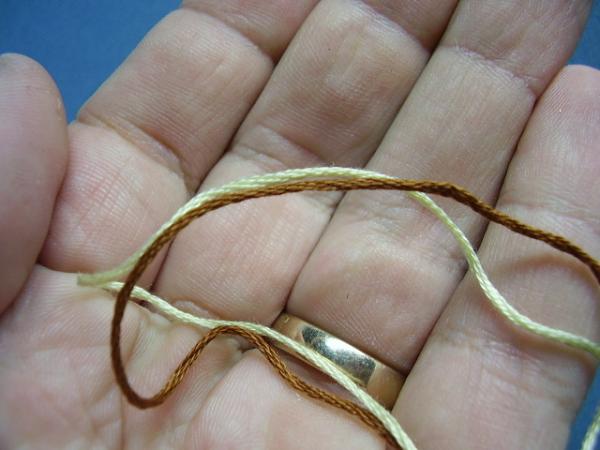
Select a rich brown and pale-yellow embroidery floss. Cut about a 12-inch section of each color.
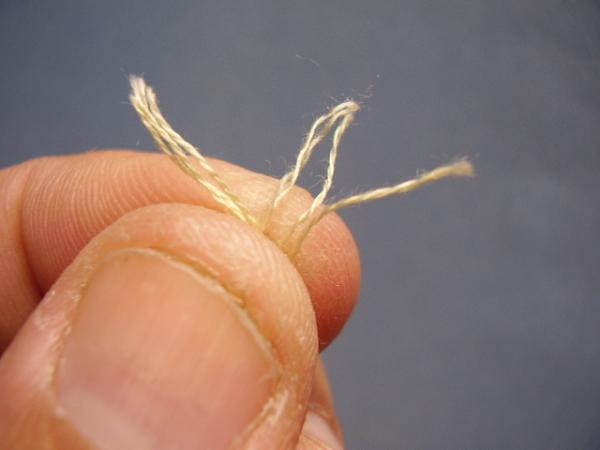
Flare the ends to expose all 6 strands
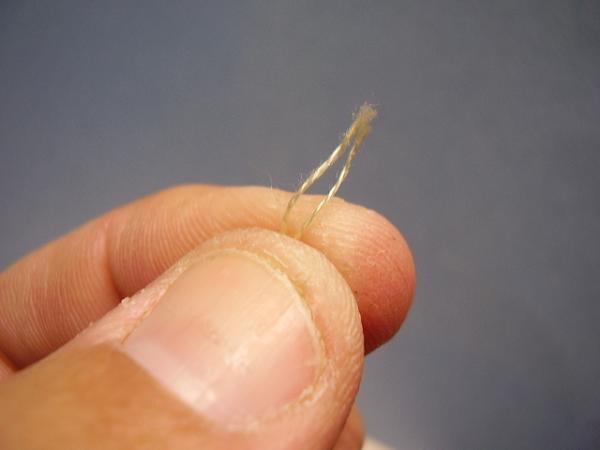
Separate-out 2 strands.
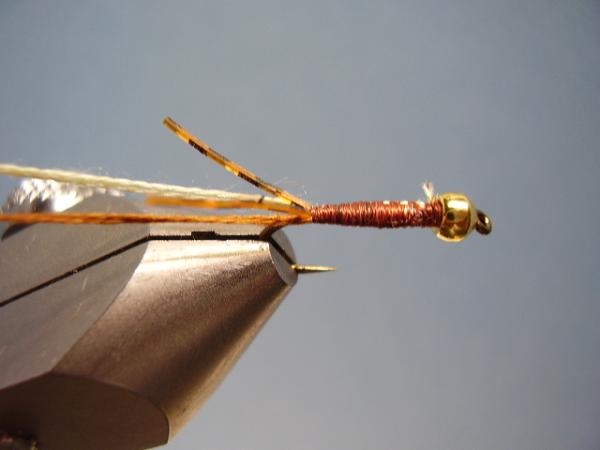
Bind the light (bottom) color to the far side of the hook starting behind the bead and securing it to the rear. This will act to beef-up and even-out the underbody.
Repeat on the near side with the dark (top) color.
Smooth the body again.
Whip finish and cut the thread.
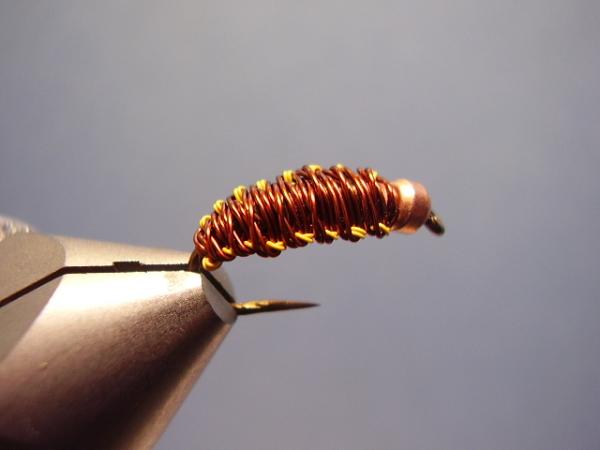
Go to my tutorial on the Shuttle Weave. Follow the steps on the actual weave. Once you knot the material return back to this tutorial.
At this point you have returned form the Shuttle Weave tutorial . The floss has been woven and knotted behind the bead.
Reattach your tying thread to secure the floss. If your knot is very large or you have left long tag ends go ahead and untie/clip now. Otherwise secure the tying thread to the middle of the hook.
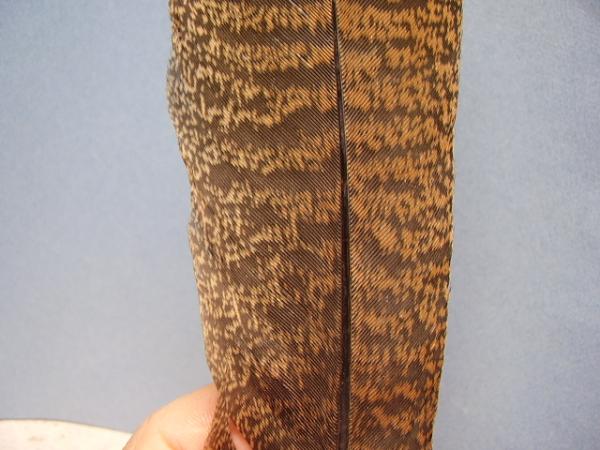
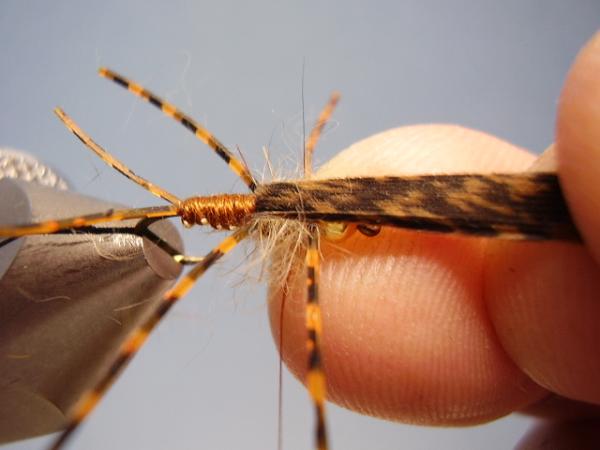
Select a well-marked wild turkey tail feather.
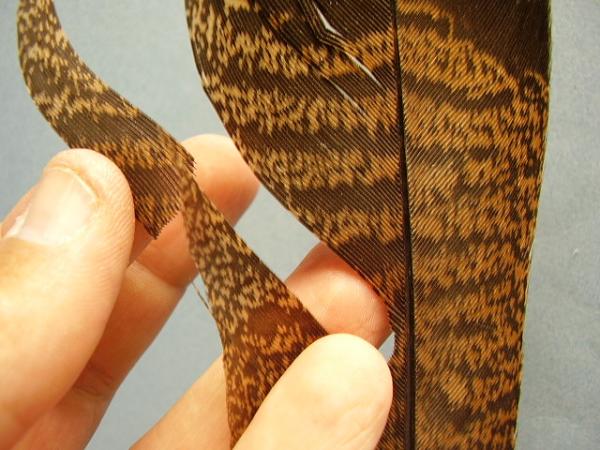
Cut out a slip approximately twice as wide as the hook's gap.
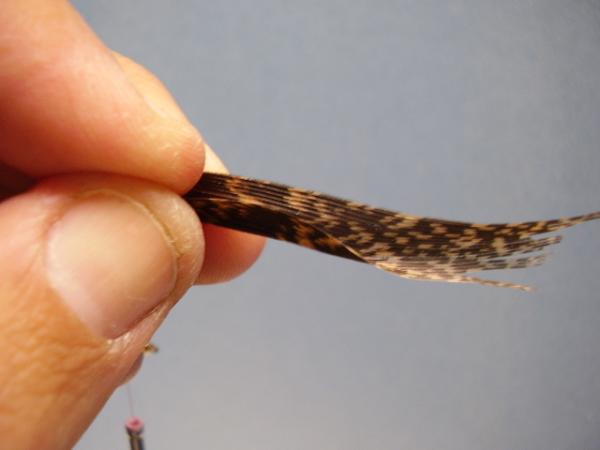
Fold the slip in half so that the undersides touch leaving the top of the slip exposed on both sides.
The slip should now be doubled and about as wide as the hook's gap. Thread should be in the middle.

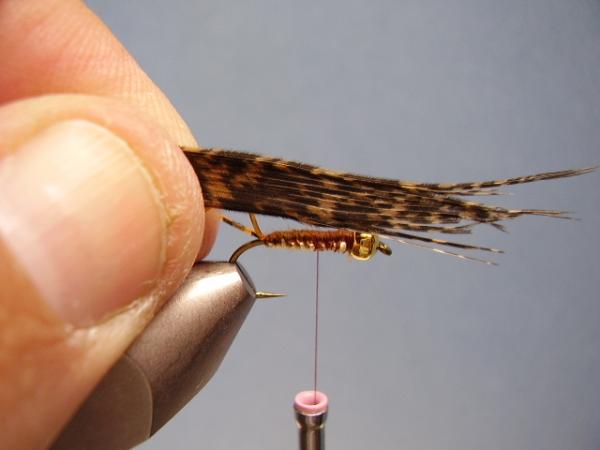
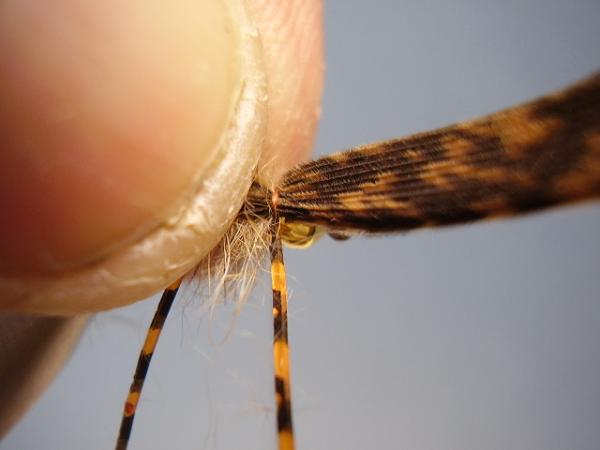
With the tips pointed forward, secure the slip to the middle of the hook. Bind the tips forward stopping short of the bead.
Clip the excess tips.
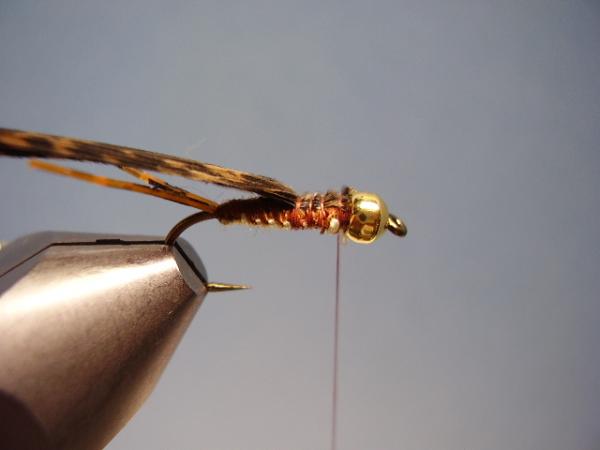
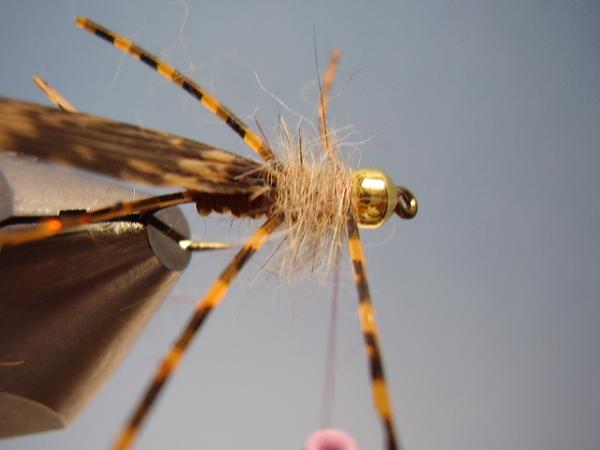
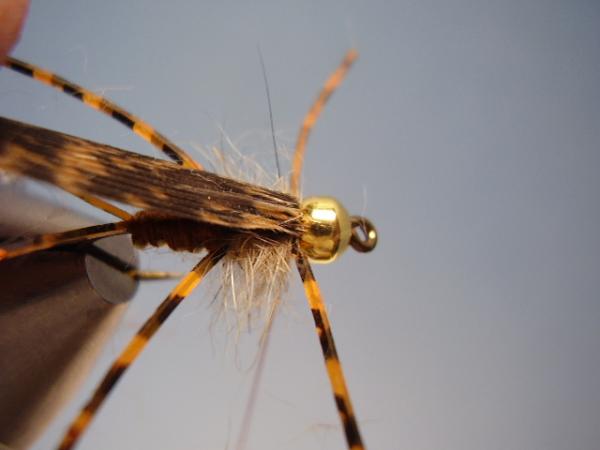
Secure a section of sili legs a bit behind the bead and bind back, along the side, to the middle of the shank. This will form the legs. Clip-off what you do not need, but leave the legs a bit long for now. It will help you to wait until the fly is complete to gauge the final trimming length.
Repeat on the far side. Notice I did not sink the legs into the gap immediately behind the bead, doing so will cause the front legs to angle to the rear.
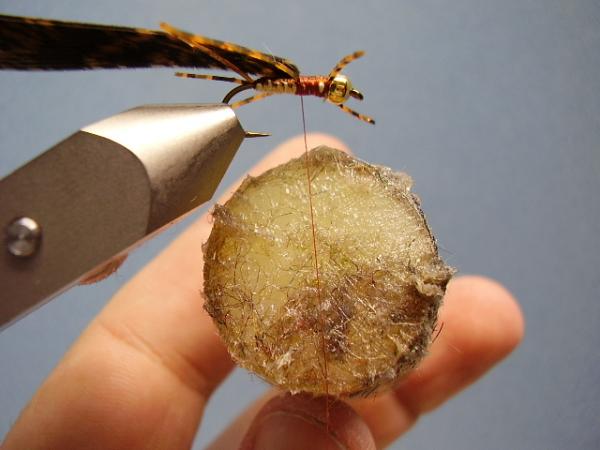
Stroke some tacky dubbing wax two or three time across four or five inches of tying thread.
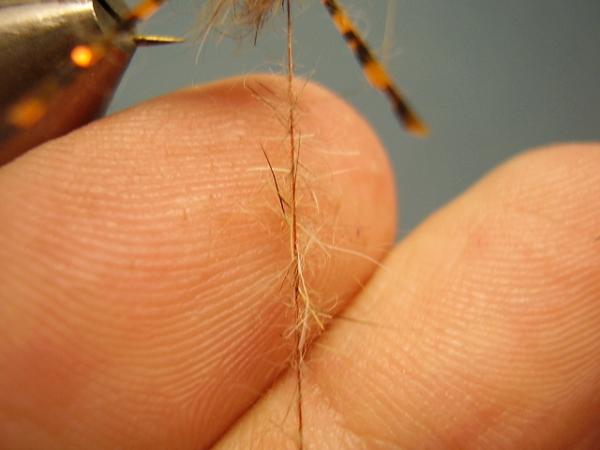
Get a pinch of natural hare's mask dubbing and lightly dab it to the waxed potion of thread. Allow the wax to grab the dubbing, do not force it on.
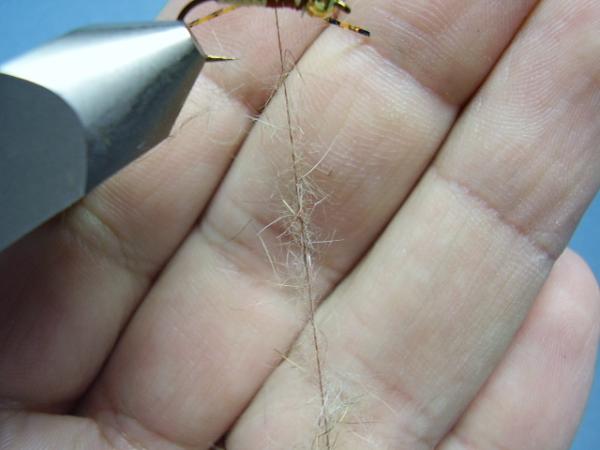
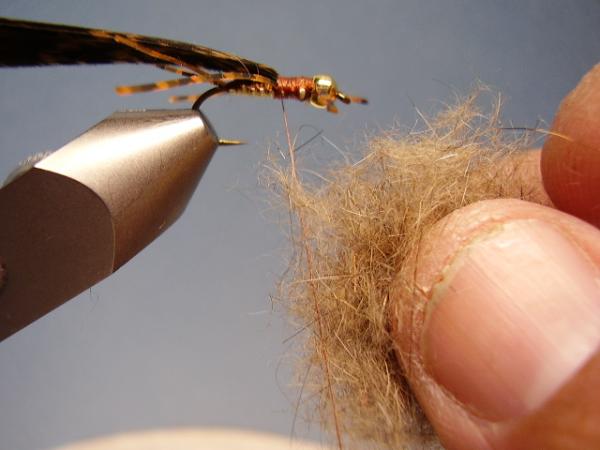
Here is what you are shooting for.
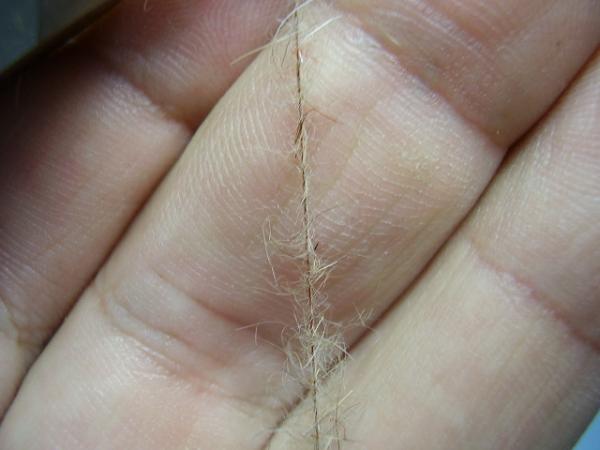
Give your bobbin a good clockwise spin to distribute and lock-in the dubbing. You're left with a sparse but spiky dubbing rope.
Wrap the dubbing on the thorax, being sure to make a wrap or two back on the wingcase-behind the rear legs.
Pull the wingcase forward.
Press the wingcase down with your thumb while you make 2 tight wraps securing it behind the bead.
Lift the wingcase and pull it to the rear. Make a thread wrap in front then clip the wingcase close without worrying about cutting the thread.
Touch-dub a bit of Hare's Mask to the last inch or so of thread.
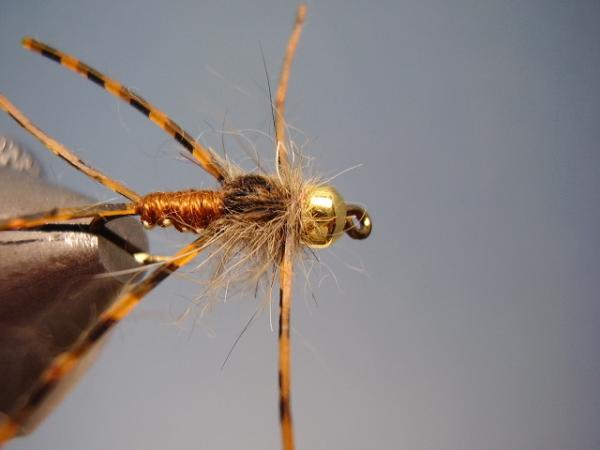
Wrap a neat little collar to hide the thread wraps. Without making any addition thread wraps, whip finish and clip the excess.
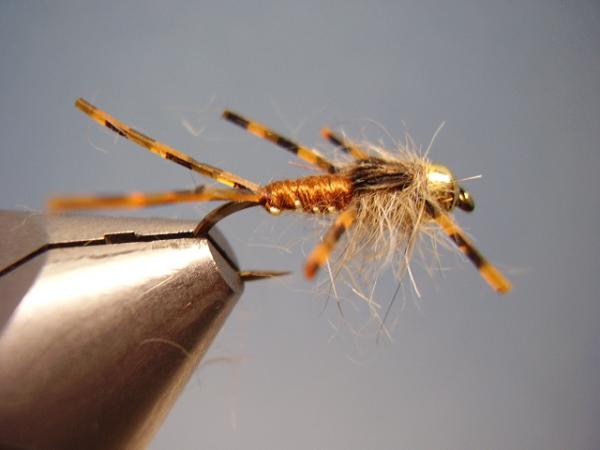
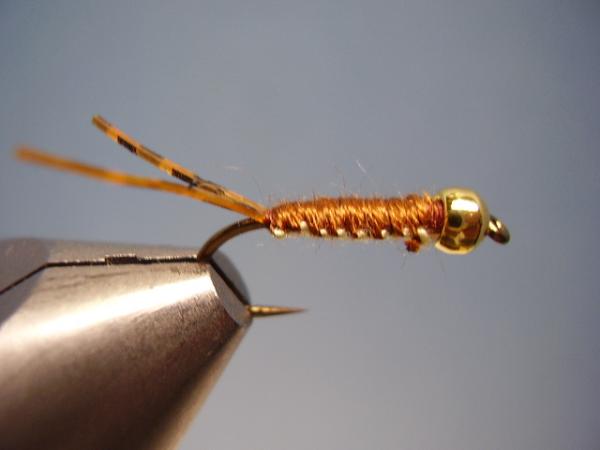
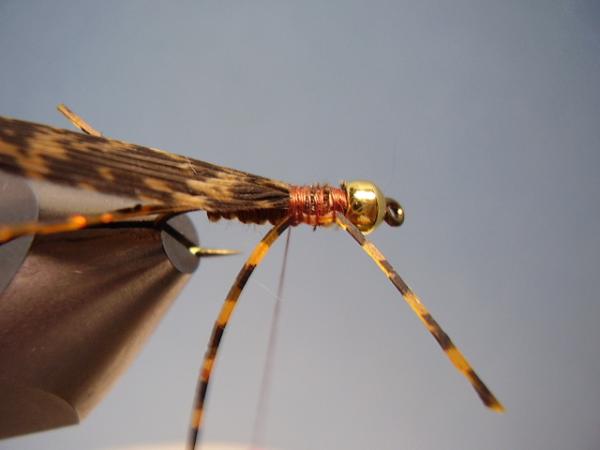
A finished LW's Light Frontliner.
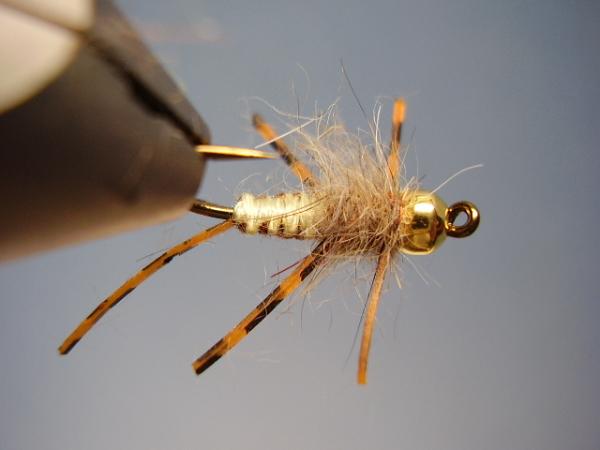
Ventral view.
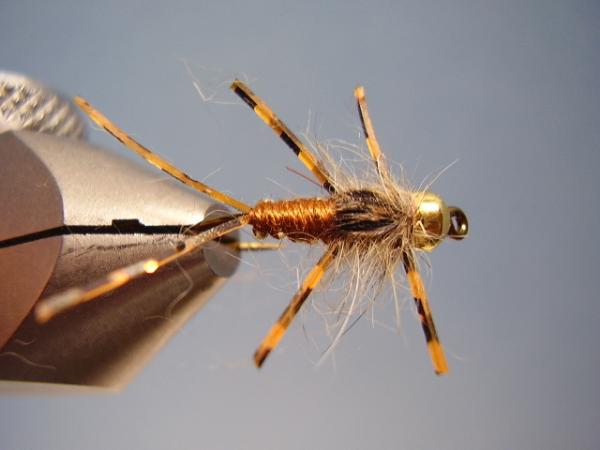
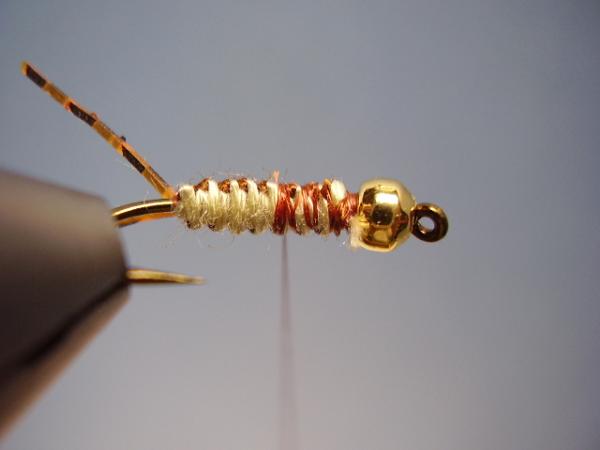
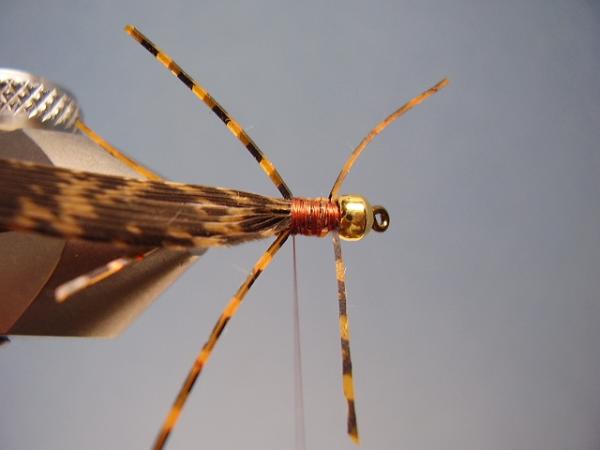
Dorsal view.
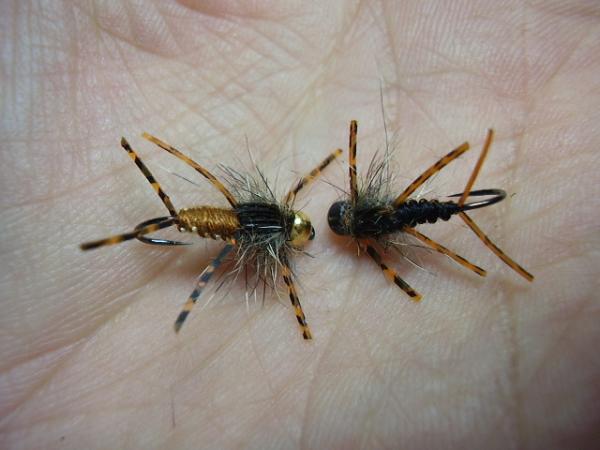
The Light and Dark Versions.