Archives of Loren Williams Fly Tying Tutorials.
Olive Gold-Ribbed Hares Ear
Fly and Photos by Loren Williams
I am not sure about the origin of the extremely popular Gold-Ribbed Hare's ear aside from speculation that it is simply a modification on the long-lived Gold-Ribbed Hare's Ear wet fly. Background aside, this nymph in it's natural hare's ear guise has been so successful a few reasons.
First, the pattern is buggy and the color scheme represents many of the natural food items available to fish. Second, the materials are easy to obtain. Third, the pattern can be used at any time of the year and during most conditions with confidence. Lastly, the pattern lends itself well to modification.
During a recent Fly-Fishing Team USA trials event, I was able to win a river session on the difficult Kings River in the California Sierra's using a very highly modified hare's ear pattern. The pattern was so modified that it did not contain one strand of bunny pelage! Even so, the tying and overall aesthetics were based around this pattern and a few other tricks I've learned over the years to draw fish to my fly.
Following the tutorial you'll see but a few successful variations of the GRHE nymph. No, the pattern I used on the Kings is still only known to but a few. Shown in the following tutorial is an olive version of the original. This pattern can be killer in stillwaters where dragonfly and damselfly nymphs are present or anywhere the substrate has an olive cast or harbors vegetation.
MATERIAL LIST
Hook: Mustad 3906B, or any 1XL nymph hook
Weight: Lead wire
Thread: Dark Olive
Tail: Olive Dyed Cock Pheasant Tail Fiber tips
Abdomen: Olive Hare's Mask (taken directly from the mask and blended)
Rib: Gold embossed tinsel
Wingcase: Turkey Tail
Thorax: Same as Abdomen
Legs:Guard Hairs from Thorax
Click on photos to enlarge!
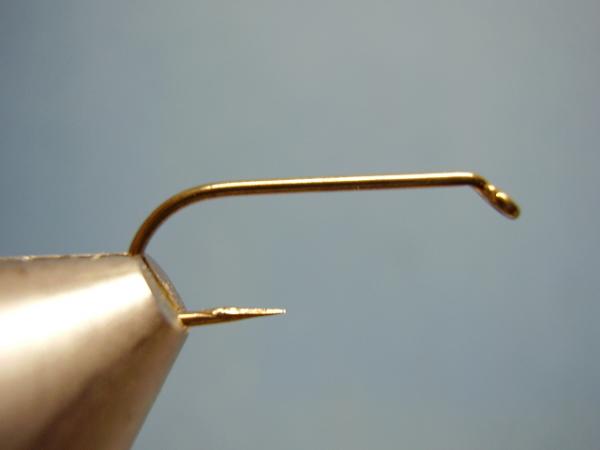
Mount debarbed hook in vise.
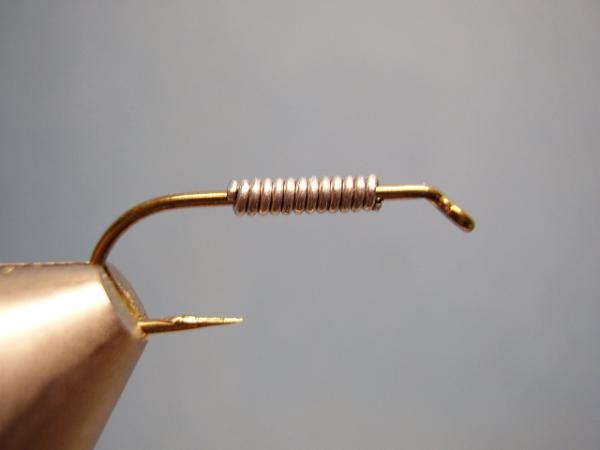
Cover middle 2/3 of the hook shank with lead wire to match the hook wire in diameter.
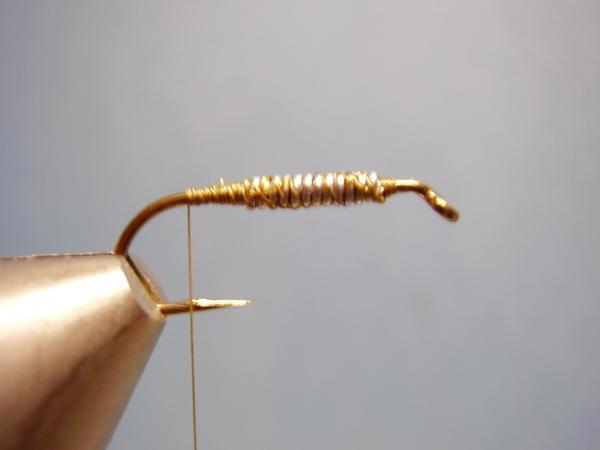
Secure and taper the wire base with thread.
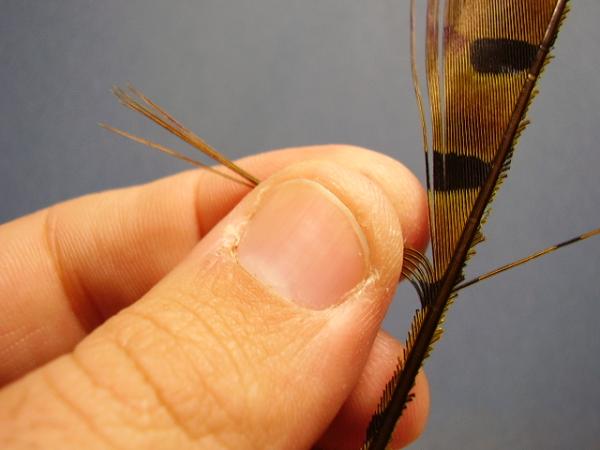
Select 4 or 5 fibers from a cock pheasant tail that has been dyed olive. Be sure to keep the tips of the fibers even.
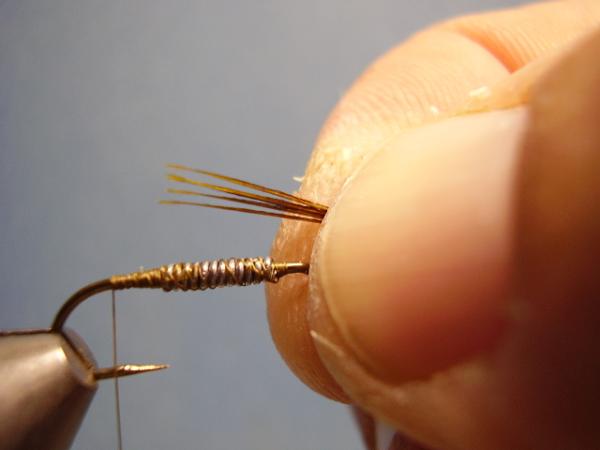
Cut, do not pull, the fibers away from the stem and measure them to be equal to 1/2 the hook in length.
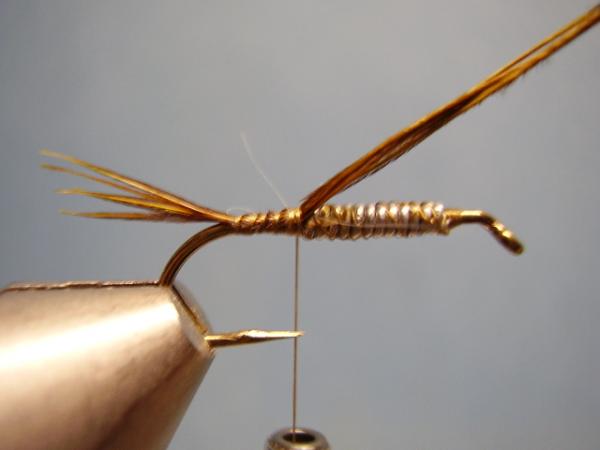
Secure them just above the barb location and bind them to the shank up to the rear edge of the wire base. Clip the excess.
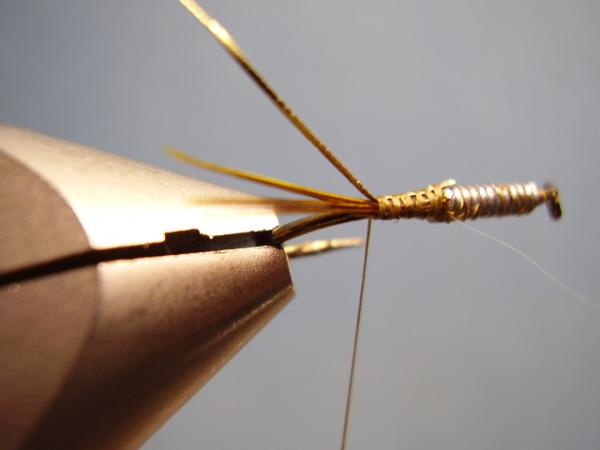
Catch in a section of ribbing material at the rear edge of the lead wire and bind back to the start of the tail. Be sure you bind the tinsel in on the back side of the hook.
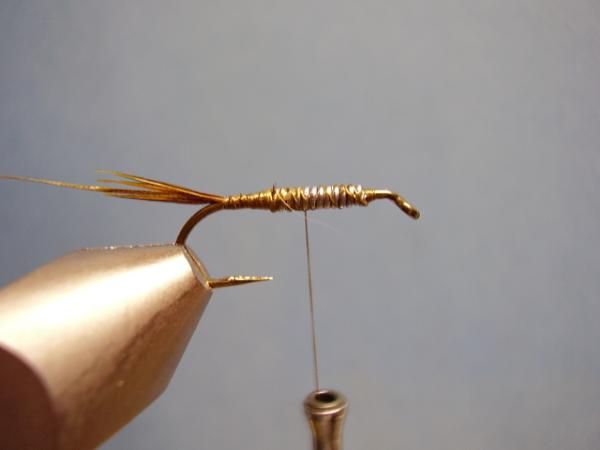
Return the thread to the middle of the hook shank.
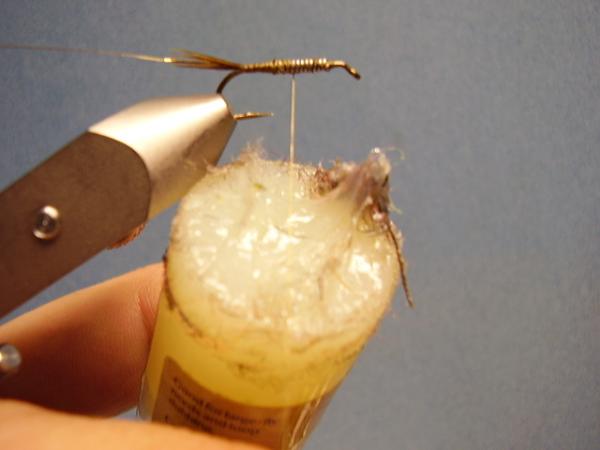
Apply, with downward strokes, some very tacky dubbing wax to all sides of the thread. Here, I am using Loon's High Tack Swax.
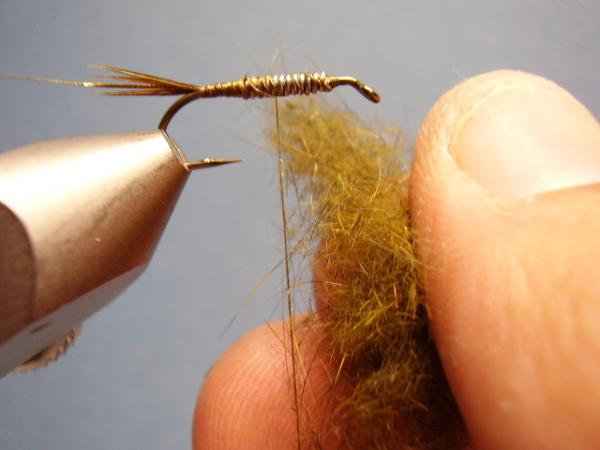
Using scissors, or my preference, electric hair trimmers, remove the fur from a dyed-olive hare's mask. Blend the fur in a coffee grinder or kitchen blender. I do this process well in advance, shaving an entire mask, and I store the material for later use.
Grasp a healthy pinch of dubbing and loosen it up, then touch it to the thread. The nice thing is that the thread will only accept "so much" dubbing so it's hard to over apply, a common mistake with ropes.
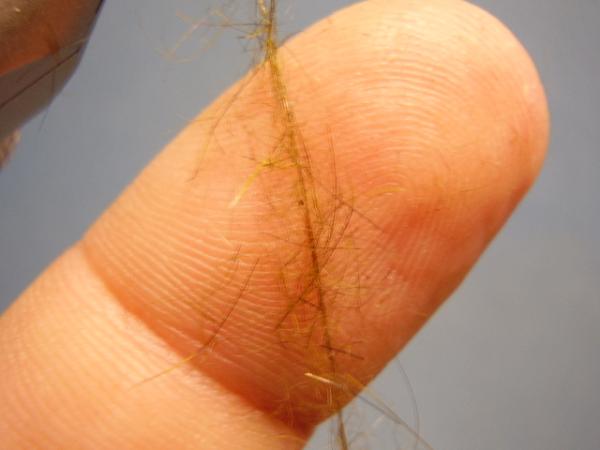
You should end up with something like this.
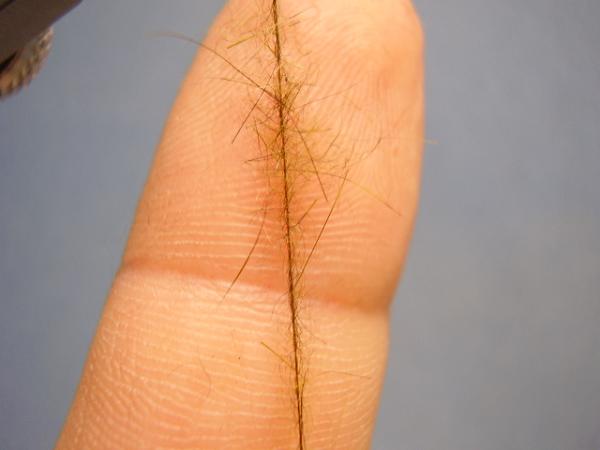
Give the bobbin a good clockwise twist to lock the fur onto the thread and give it a good dispersion.
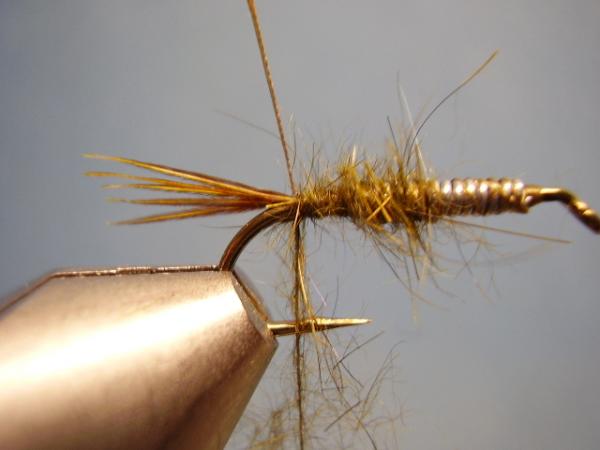
Wrap the touch-dubbed thread back to the tail, making the final turn BEHIND the ribbing material to keep it from sliding off the rear of the abdomen later. Then advance the dubbed thread forward. Re-apply dubbing as needed trying not to dub much more than 3 or 4 inches of thread at a time. This will maintain maximum control.
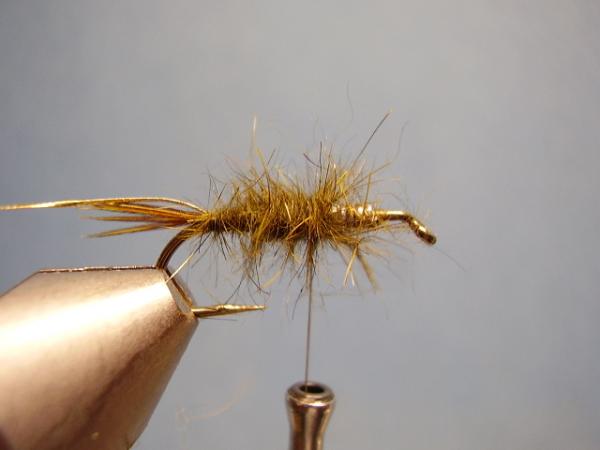
End the abdomen at the middle of the shank. Don't worry if a few hairs poke forward, use your thread as your measuring point.
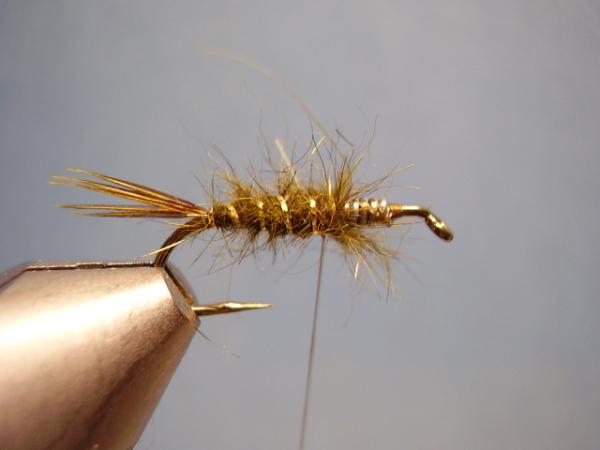
Counter-rib the gold tinsel forward. Wraps 3 and 5 are off and it's going to bug me whenever I review these photos!
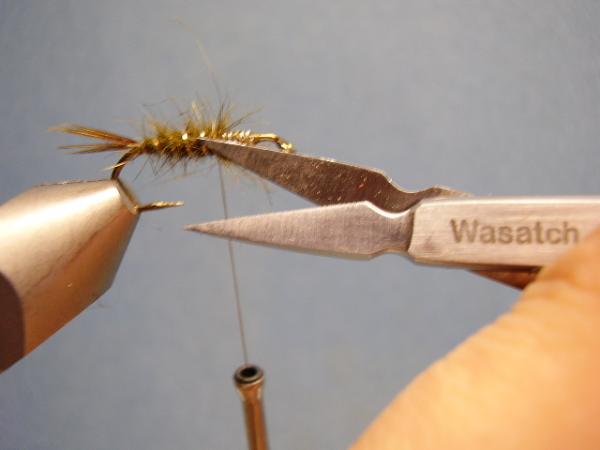
Open your scissors blades to about 2-times the width of the gap.
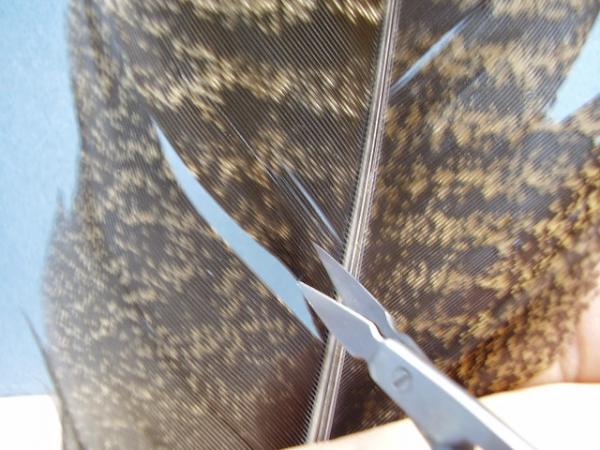
Poke them into a turkey tail feather, near the stem, and snip out a slip of barbs (or "quills").
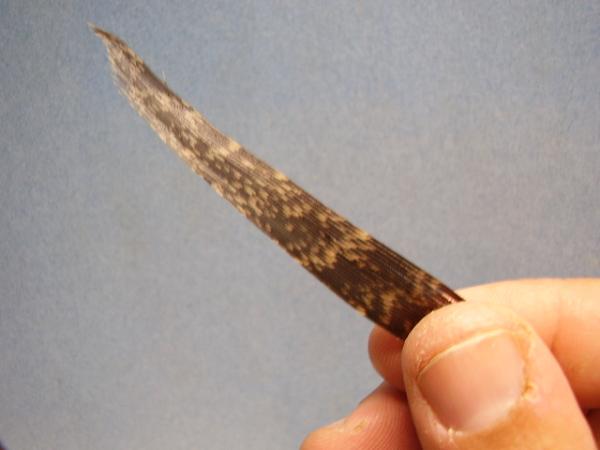
Slip removed. It is about 2-times wider than the hook gap.
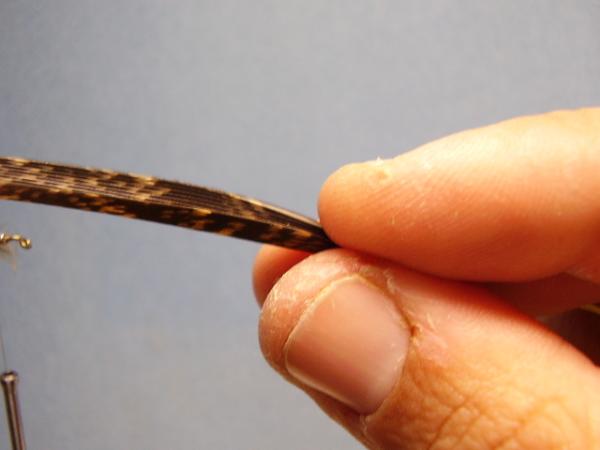
Fold the slip in half, so the underside of the feather is touching.
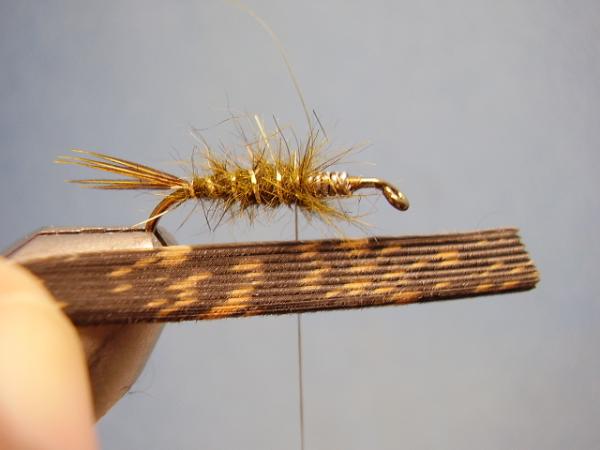
Slip folded, good side showing on both sides.
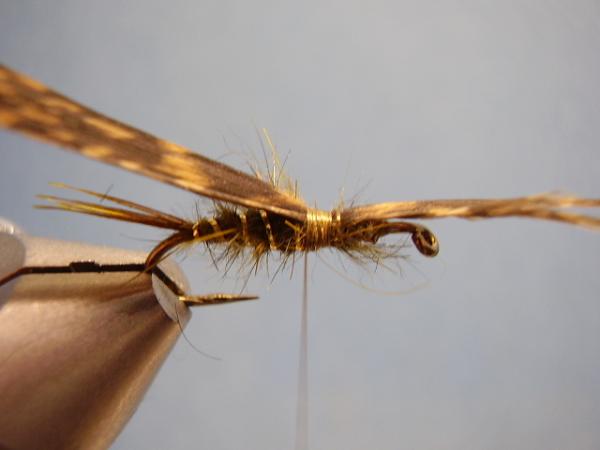
Orient the slip so the tips face the eye and secure at the end of the abdomen. Be sure there is no gap of thread between the abdomen and quill slip.
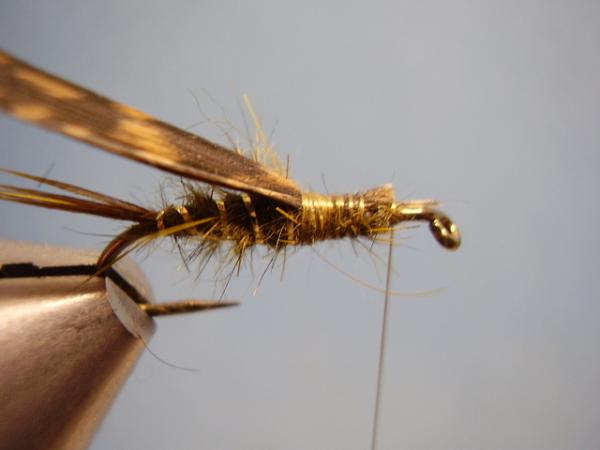
Bind up the length of the thorax and clip.
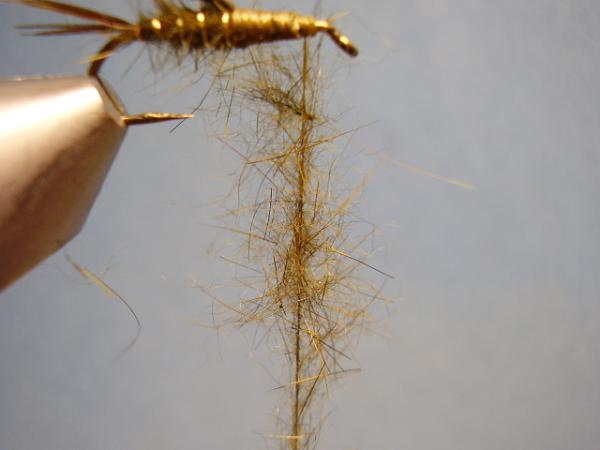
As before, touch dub the thread with the olive hare's mask dubbing.
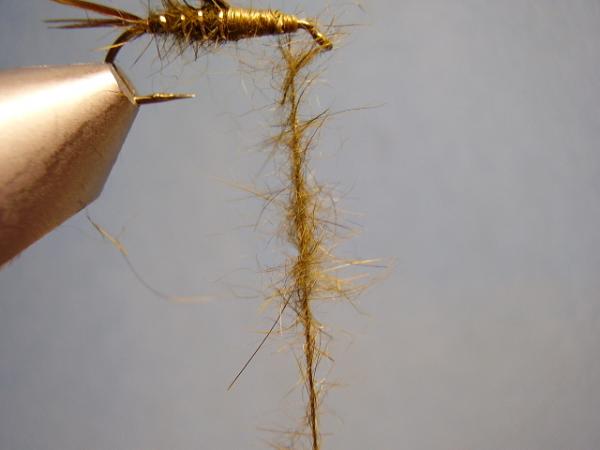
Spin bobbin clockwise...
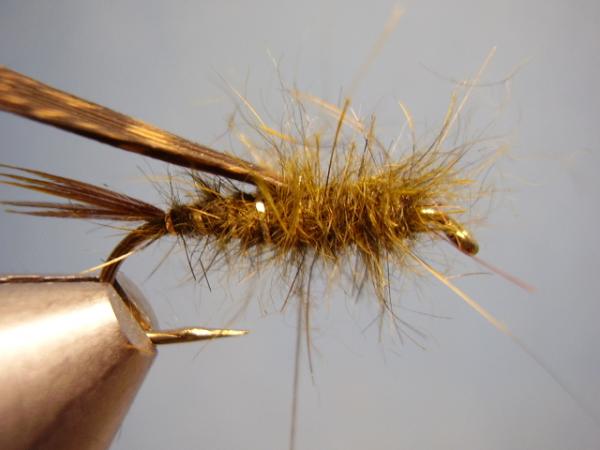
..and wrap to the rear. Be sure to make solid wraps on top of the wingcase tie-down so it does not pull the dubbing forward later.
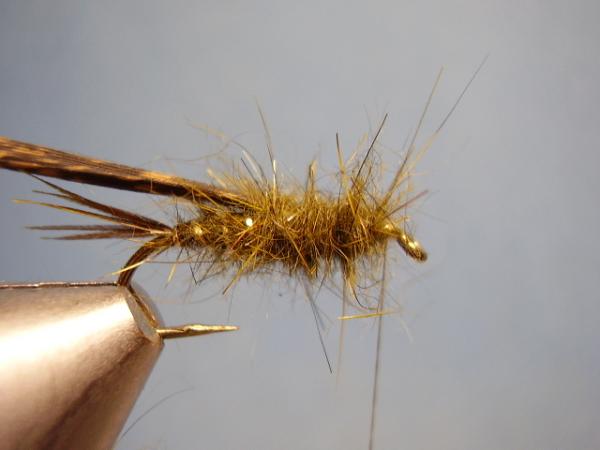
Reapply dubbing and add another layer.
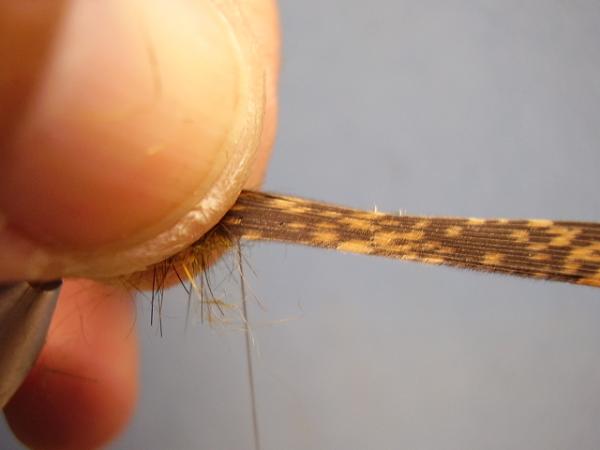
Push the quill slip forward over the eye.
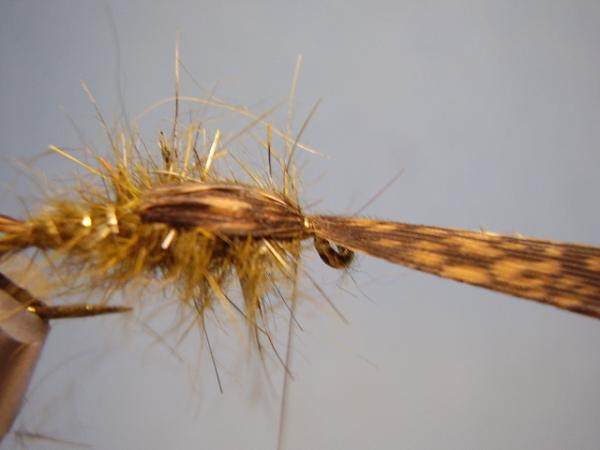
Secure with a few good wraps well back from the eye and clip the excess.
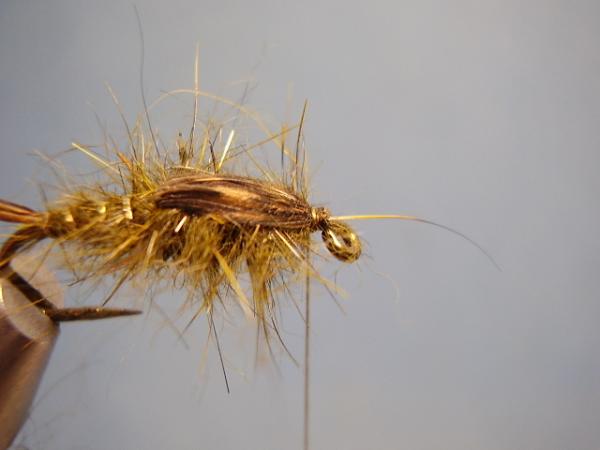
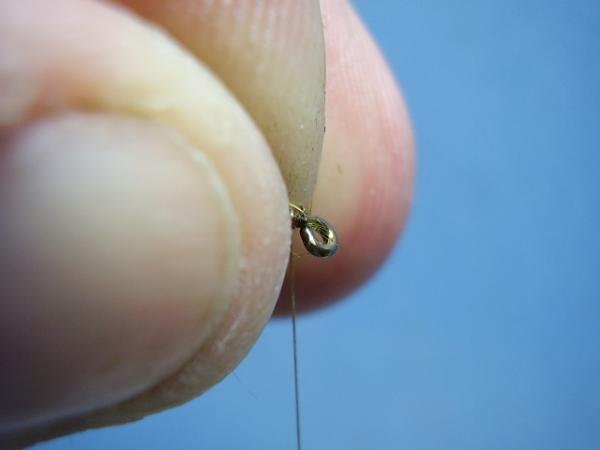
Pull the stray fibers back and build a neat head.
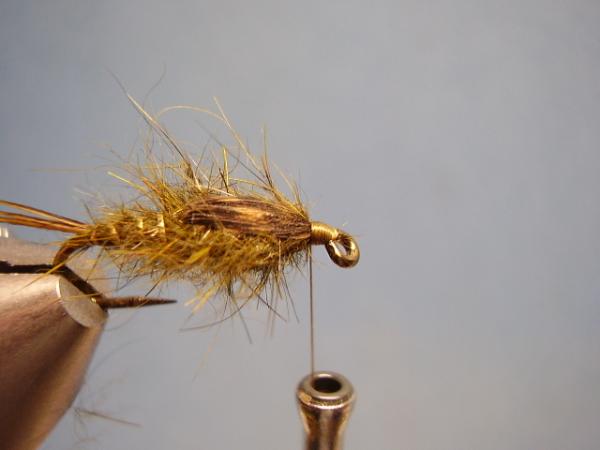
Head built ..about the size of the hook's eye.
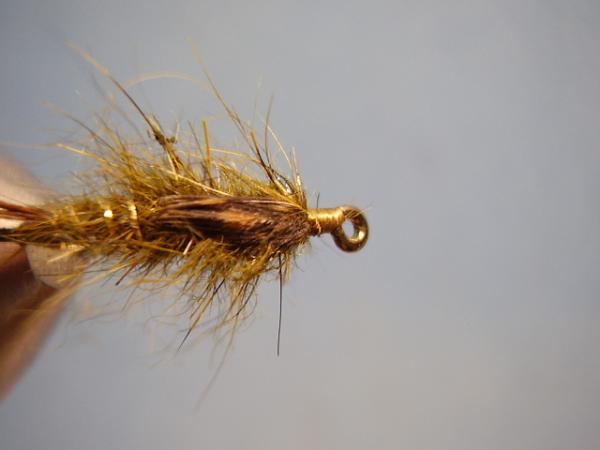
Whip and clip.
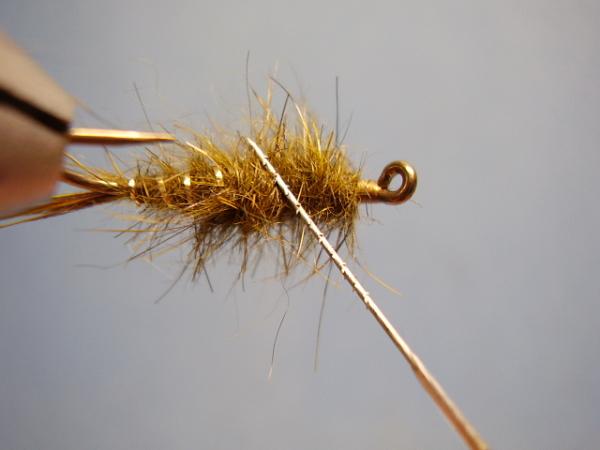
Turn the fly over and pick out the guard hairs to the sides to form legs. I also pick out a bit between the ribbed section to hint at gills. Notice the fine barbed dubbing tool I am using by Wasatch.
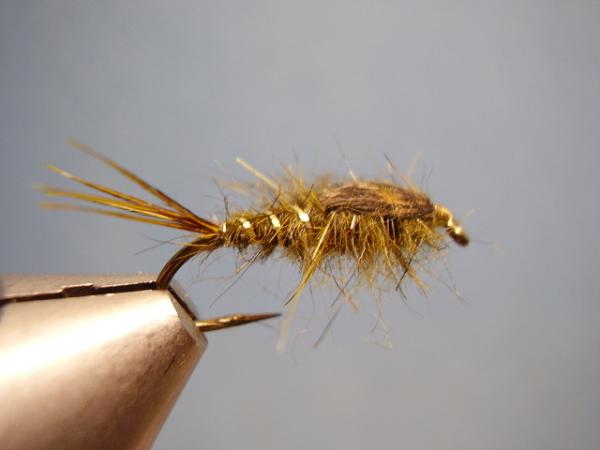
Finished Olive Gold-Ribbed Hare's Ear Nymph.
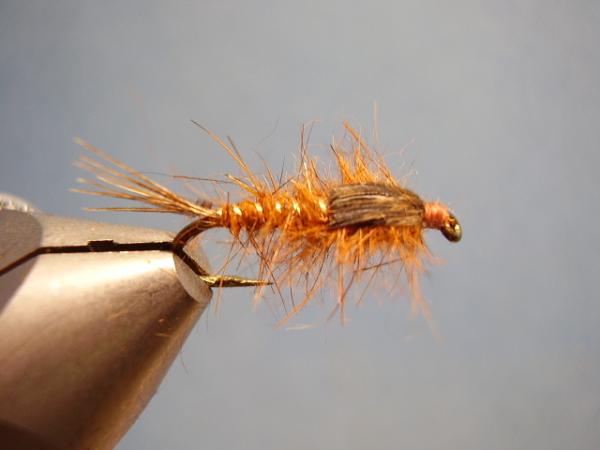
Rusty Copper-Ribbed Hare's Ear Nymph (A damned good Hendrickson imitation).
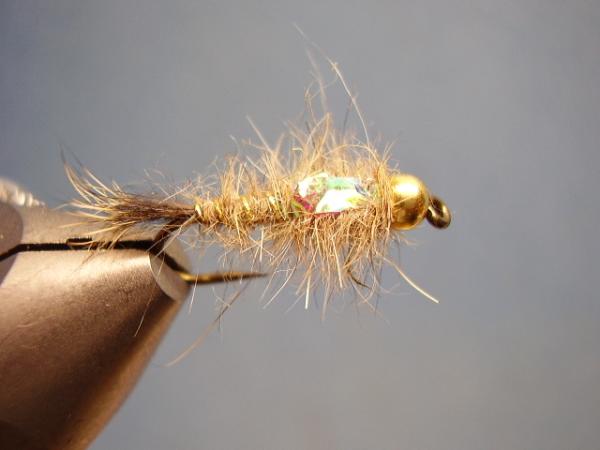
Flashback Bead Head GRHE using the more traditional tail and body recipe. Oval gold tinsel was used here, which I prefer over the flatter embossed tinsel.