Archives of Loren Williams Fly Tying Tutorials.
LW's Red Devil
Fly and Photos by Loren Williams
Like most of my patterns, the Red Devil was spawned from a situation. I had been fishing a small stream during the peak of summer. The water was skinny, vegetated and cold in the productive riffles while the deep pools had been pounded senseless by area bait anglers. While I had been able to convince fish to eat some of my flies some of the time I felt I needed something else.
I tried tiny Czech nymphs but they seem to lose their appeal in small sizes-and they require a few more steps than I really like. If I used flies too large (larger than #16) for the most part I got refusals. I was able to take some fish out of the heavy water with my Bead Head Biot Nymph but not as many as I felt I should have, plus hang-ups and vegetation were an issue even with the smaller sized biots nymphs. What I wanted was a nymph in wee sizes that was able to quickly get attention without having an unnatural profile. It needed to be slim so I could get it down and I wanted to be unique as I was dealing with heavily pressured fish.
So, using the Bead Head Biot as a model I went to work once I got home. The Partridge tail was replaced with Wood Duck since it's far easier to work with in those small sizes and I did not want an overdressed tail. I kept the brown biot abdomen since I have a great fondness for it appearance, durability and slickness. Here's where I departed. Instead of the fox squirrel or hare's ear dubbing I had been using on the biot nymph, I opted to use a bright dubbing. The next day I tested the new creation. It worked well in the pools but it did not perform as well in the faster water as I had hoped. On the plus side, I was able to fish that water without the nuisance vegetation being too much of an issue. I really thought I had the general concept where I wanted it so I spent some time gazing at the pattern.
In those small sizes I realized that the bright dubbing was not all that abrupt-it did not create the hot spot effect as much as I had hoped.
Looking around my bench I noticed a bobbin holding a spool of fire orange 6/0 that Fran Betters builds most of his patterns from. Ah-Ha! Quickly laying out several #18 hooks I attached beads and lead and started creating. Same tail, same abdomen but instead if the brown thread I* was wrapping this bright orange stuff. At the midpoint of the fly I saw some holographic tinsel laying on my bench-leftover from some Buzzer patterns I had been tying. Wing-case! On it went. Next, with every ounce of will power I could muster I began wrapping a thorax made of fire orange thread. I have to admit-I liked what was being built. Once the thorax was done I pulled over the wing case and secured it. Whip-finish and the fly was done. Would it work?
Lordy yes! Caught it did. I really think the simple switch to the thread made the hot-spot far more visible setting the small fly apart from the rest of the small insect and debris, thereby getting the attention of the now-fussy fish. Maybe the wing case matters, maybe not as I have not tried it without. Why meddle with confidence.
I will tell you that this fly is only productive in small sizes (#16-#22). On every stream I have fished this nymph it has been a producer. I limit it's use to low water conditions where I feel small menu items dominate, as intended when I created the fly. No matter how I fish them, Czech, Polish, upstream, or dry-dropper this little Red Devil attracts attention.
Why not wrap some up and give them a test? I think you'll be pleasantly rewarded.
Note: For you split shotters, I'd replace the tungsten bead with brass and eliminate the lead underbody.
MATERIALS
Hook: TMC 100 SPBL (#16-#22)
Bead: Copper Tungsten
Weight: Lead Wire
Thread: Fire Orange
Tail: Wood Duck Flank
Abdomen: Brown Turkey Biot
Wing Case: Gold Holographic Tinsel
Thorax: Thread
Click photos to enlarge!
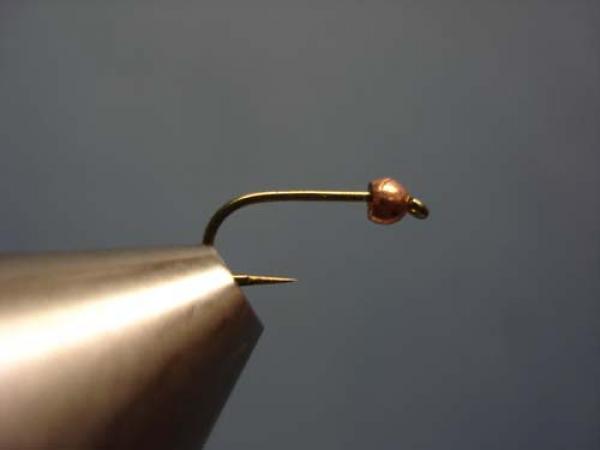
Affix bead and place the hook in your vise.
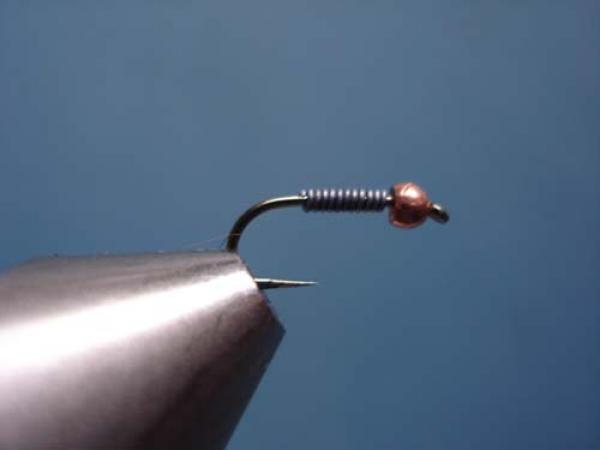
Wrap about 10 turns of fine lead around the shank.
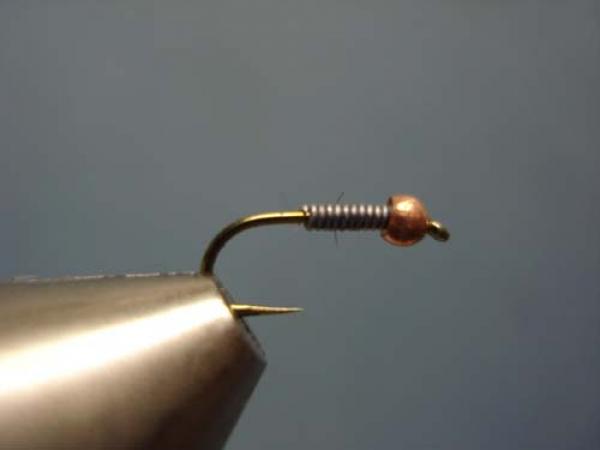
Push the lead up into the bead as it will later form the underbody of your thorax.
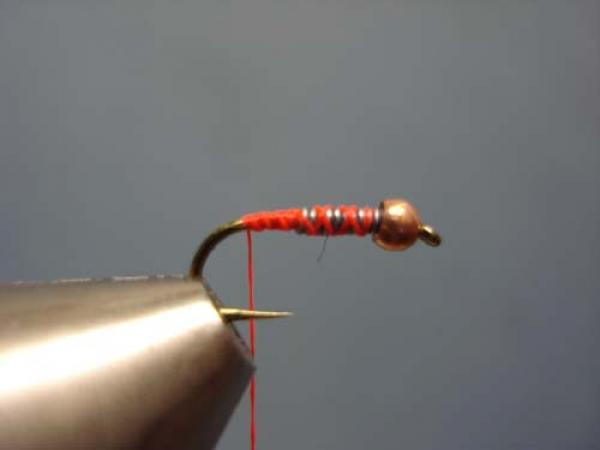
Attach the tying thread and build a taper off the lead.
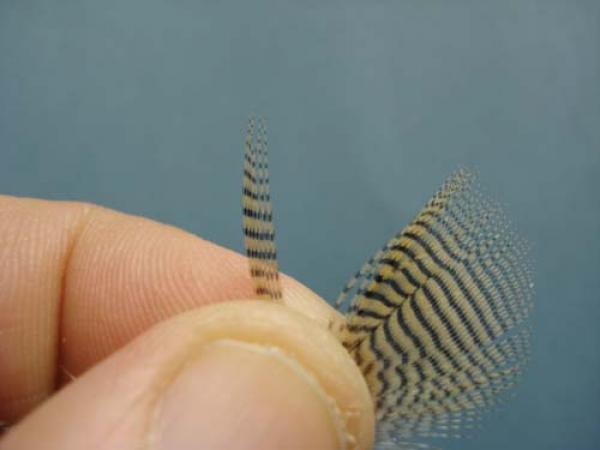
Select a few fibers of natural Wood Duck Flank.
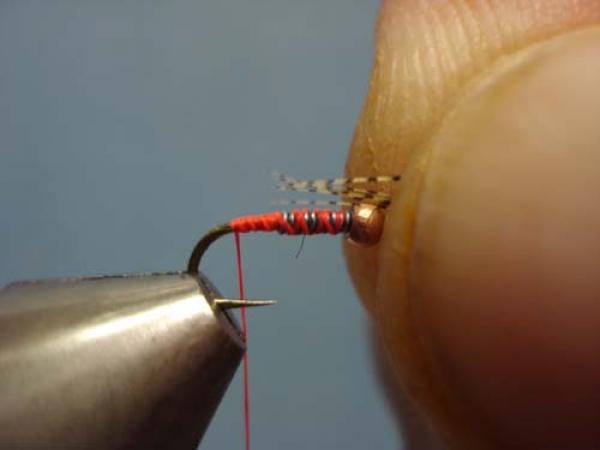
Measure to be 1/2 the overall hook.
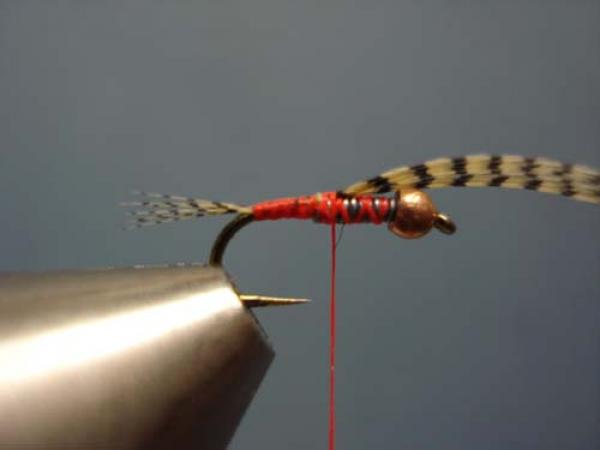
Tie in at the rear and use the excess to smooth the hook-to-lead transition.
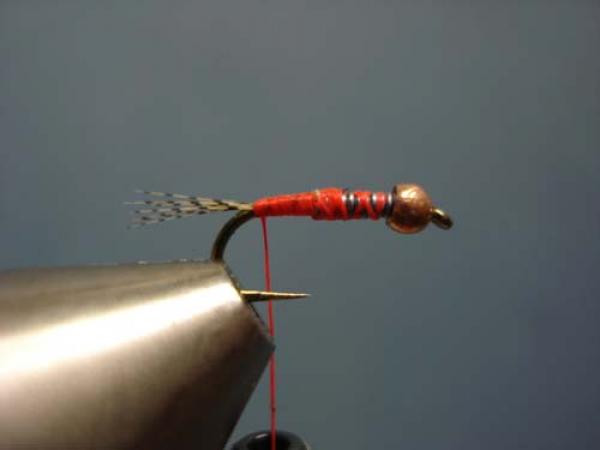
Clip the excess and return the thread to the rear.
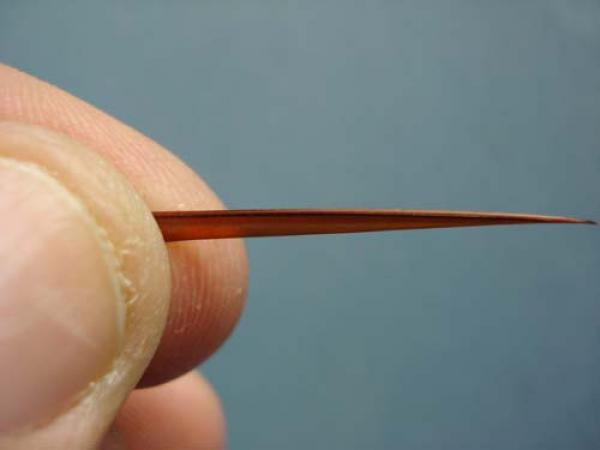
Select a single brown turkey biot. Orient it so the tip faces the eye and the raised ridge (thick edge) faces up.
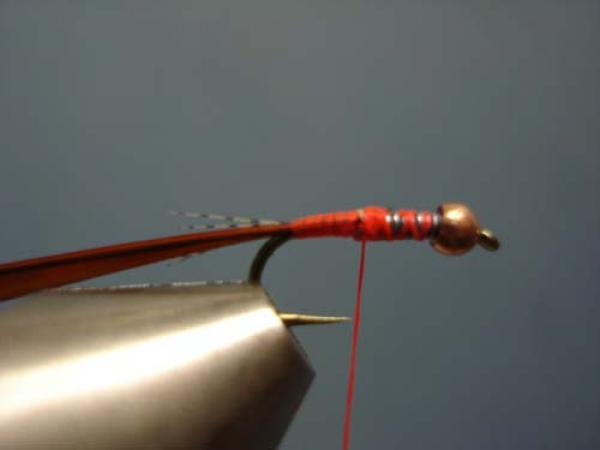
Tie it in by the tip as so.
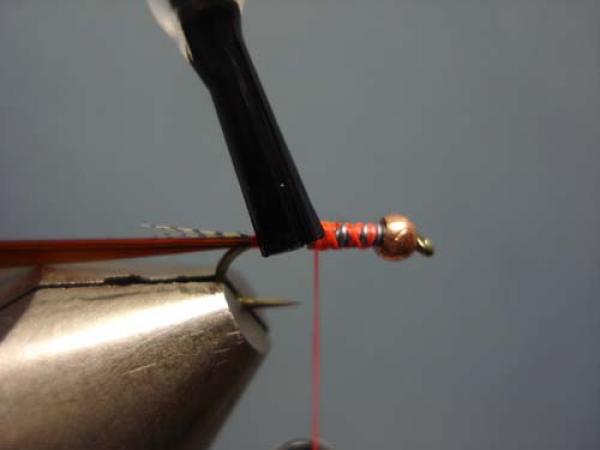
Apply a coat of super glue to the abdomen.
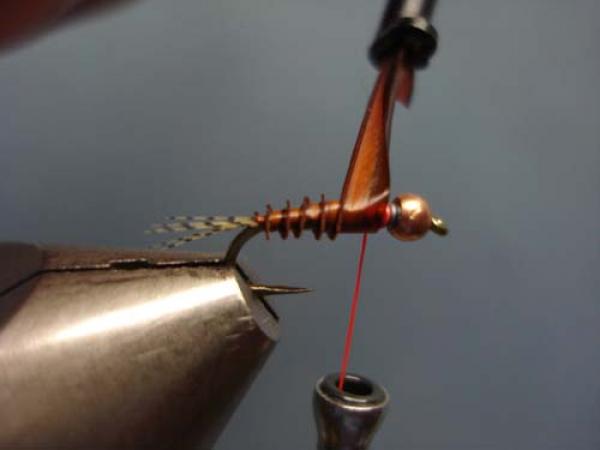
Wrap the biot forward making sure the thick edge is to the rear-this gives the awesome ribbed effect. I find that wire clips are perfect for use as hackle pliers when dealing with slippery biots. Wrap up past the middle.
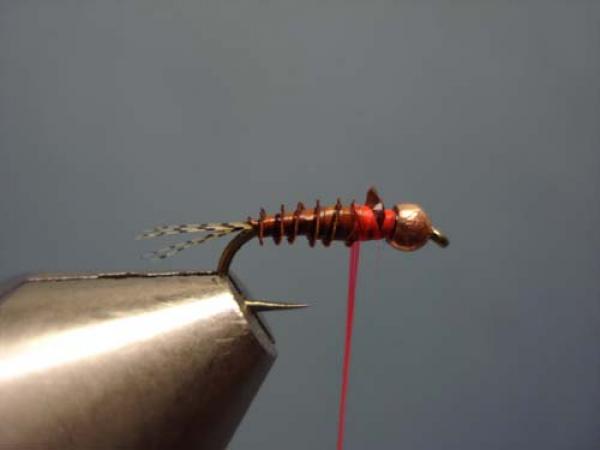
Secure the biot and clip the excess.
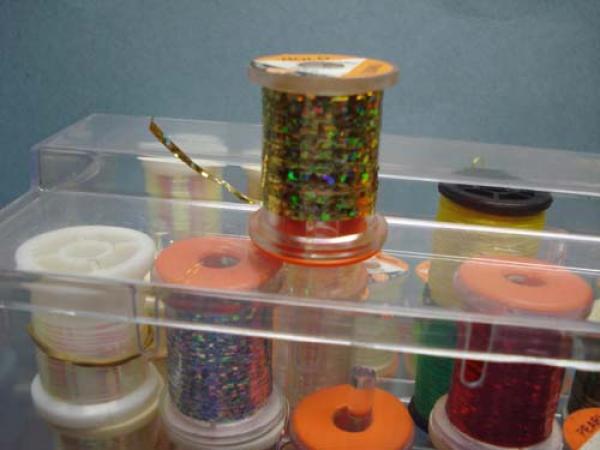
Find your gold holographic tinsel in the medium width for the #16 and #18 flies, use the small width for the #20 and #22's.
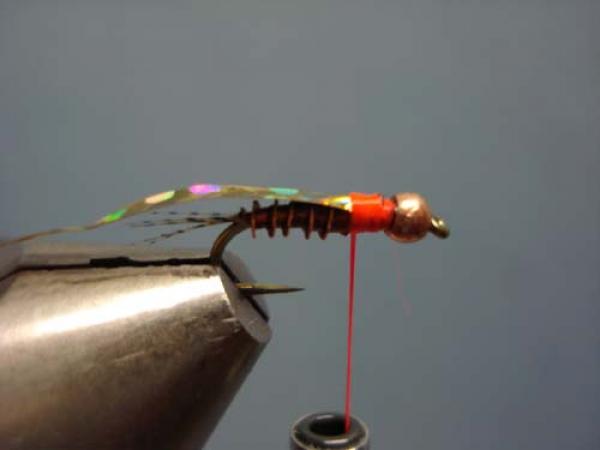
Cut a section and secure it to the top of the thorax.
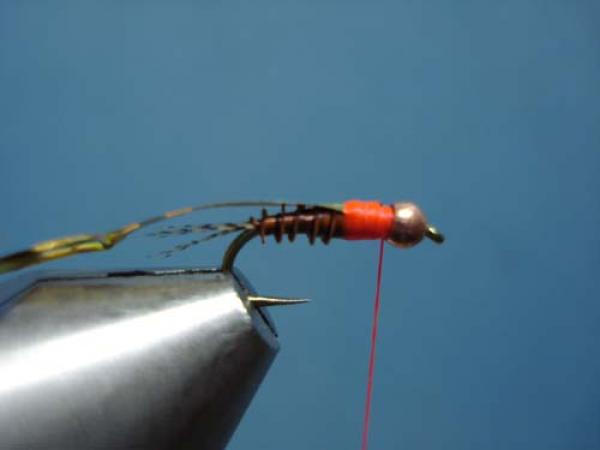
Wrap a thorax using the thread only. Make it just thick enough to transition nicely into the bead.
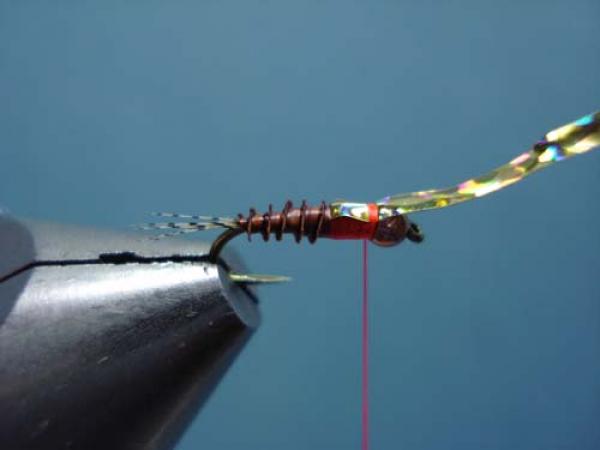
Fold the tinsel forward. 2 wrap to secure it.
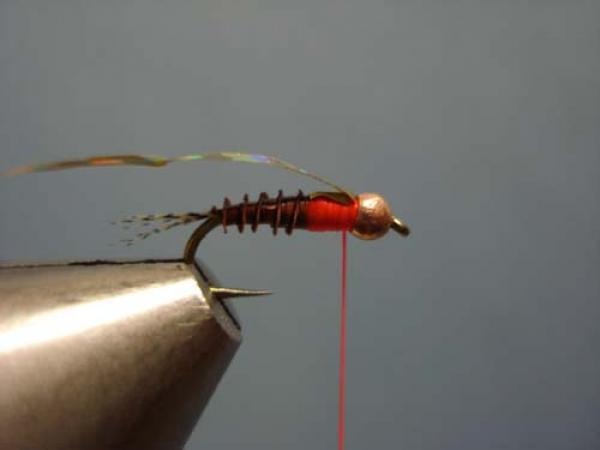
Fold it back and make 1 wrap in front of it all.
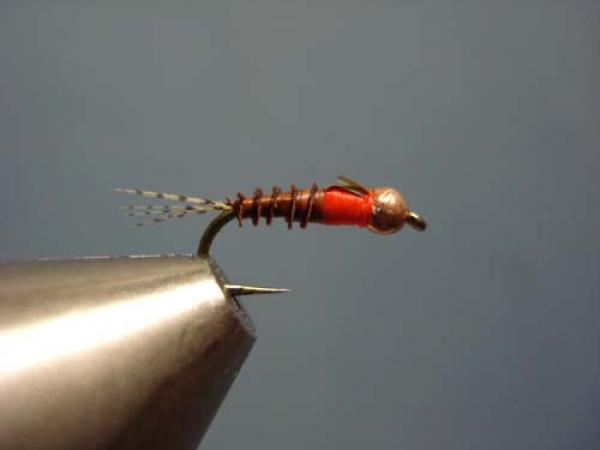
Clip the tinsel, I clip it long. Whip finish and clip the thread.
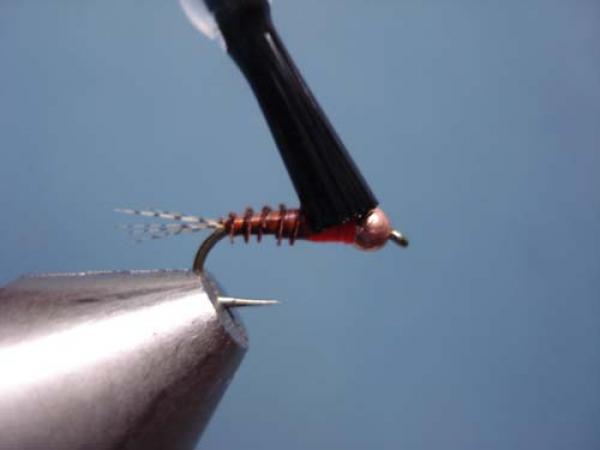
Notice the wide gap, I prefer to use dry fly hooks for this reason.
Optional: Give the entire fly a think coat of Super glue to boost it's durability.
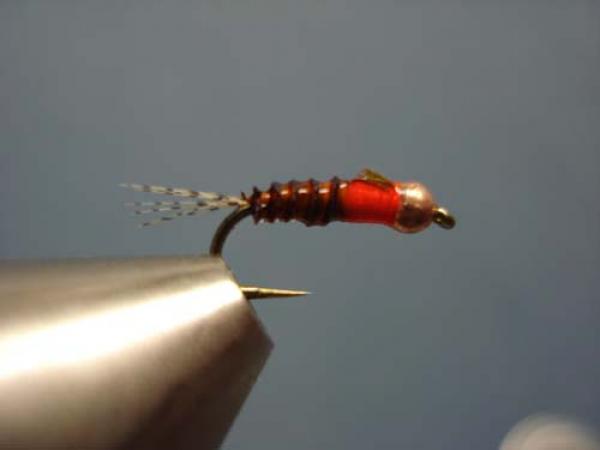
A well armored Red Devil ready for action!