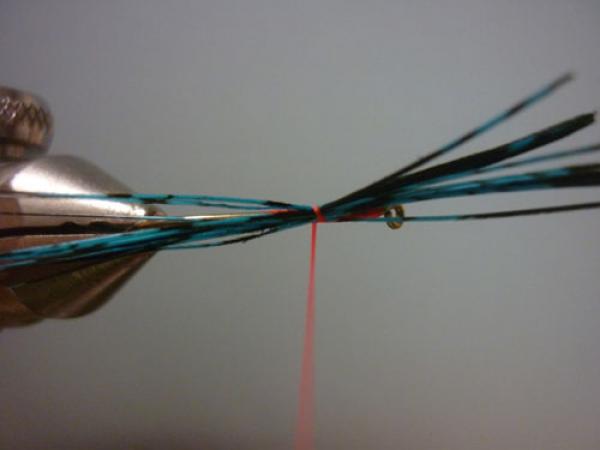
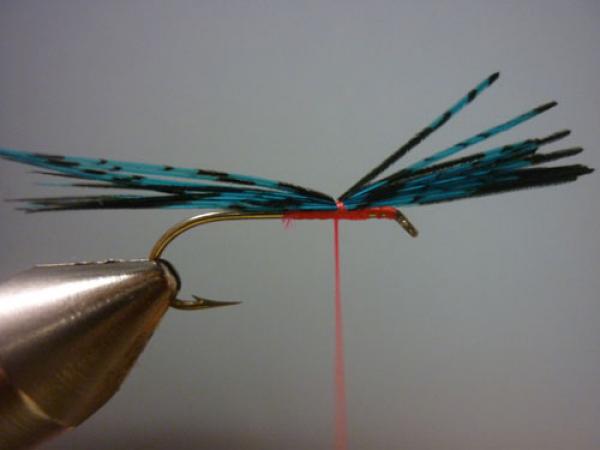
Archives of Loren Williams Fly Tying Tutorials.
Pinch Wrap
Photos by Loren Williams
I was asked to do a tutorial on the "pinch-wrap" that I refer to on some of my tutorials. Immediately, my brain screamed "DOH" a-la Homer Simpson. So, what follows is that attempt. Since the techniques is dynamic and fluid, it is hard to photograph so please forgive the less than stellar quality.
Thsi technique is used whenever you wish to secure a bundle of material atop the hook shank with absolutely so rotation around the far side of the hook shank. It is widely used to mount wings.
The first series will show the technique sans materials then I will demonstrate it with some arbitrary fibers for show and tell.
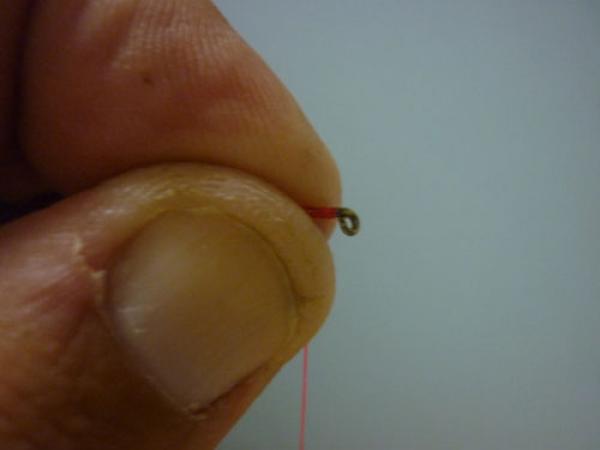
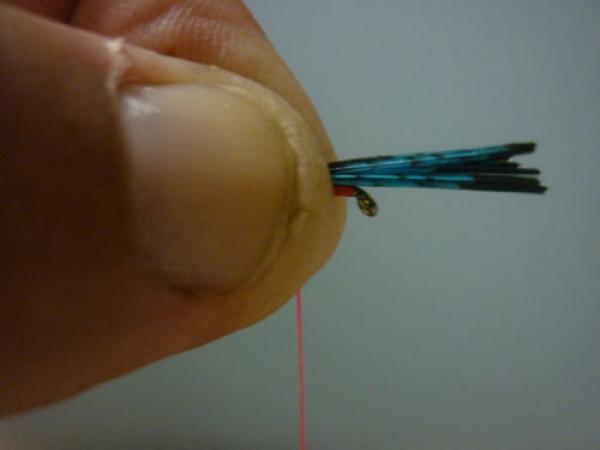
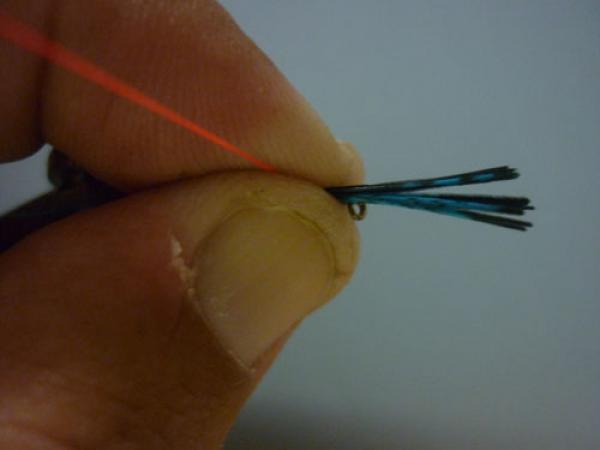
With the thread hanging where you want to tie in the materials, firmly grasp the thread, materials, and hook shank forward in the pads of your thumb and forefinger.
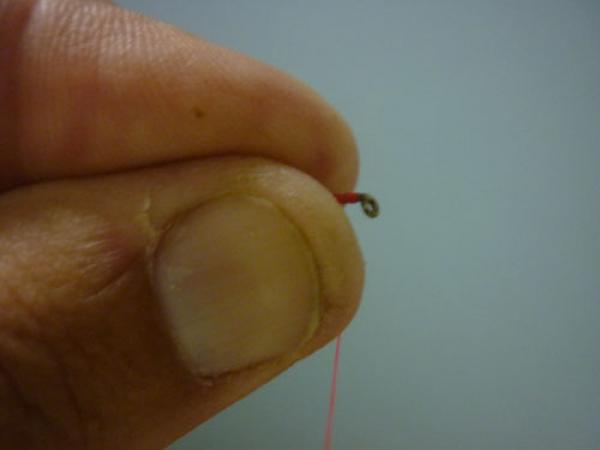
Shift the pressure to the rear of the same pads.
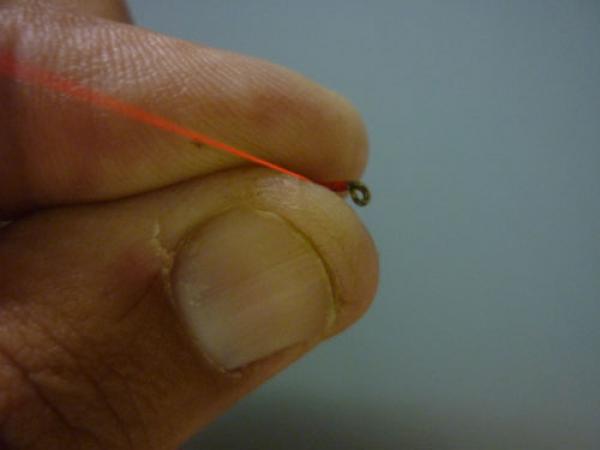
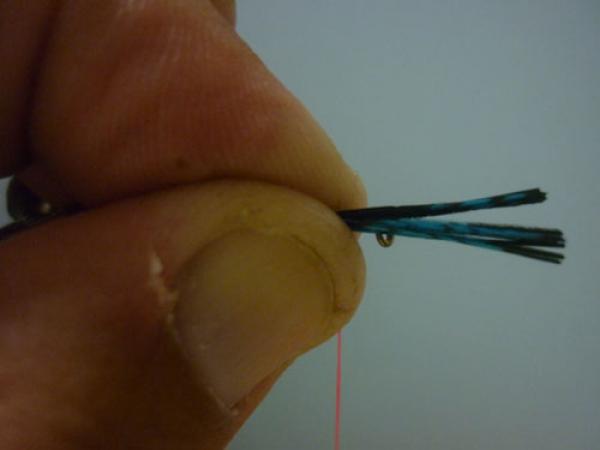
Pull the thread up between the hook shank and your thumb pad.
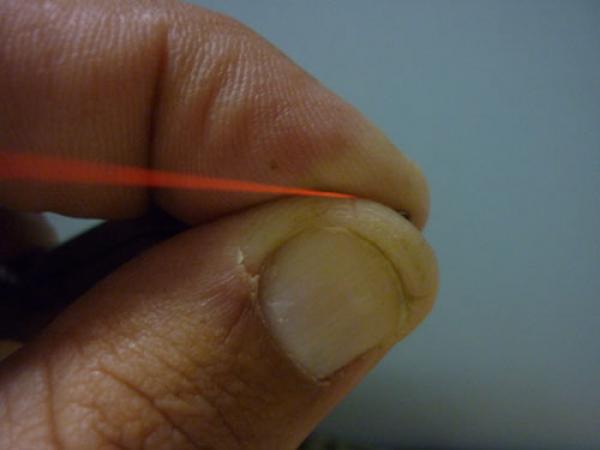
"Pinch," or return the pressure to the forward portion of your pads.
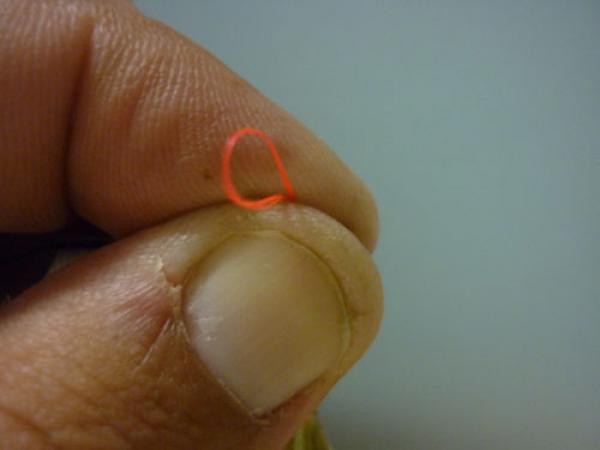
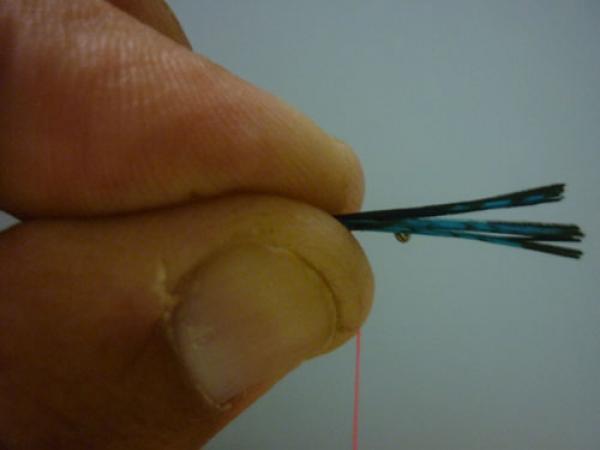
Next, in a fluid and committed motion, quickly shift the pressure to the rear of your pads as you pull the thread down the far side of the shank between the hook and your index finger.
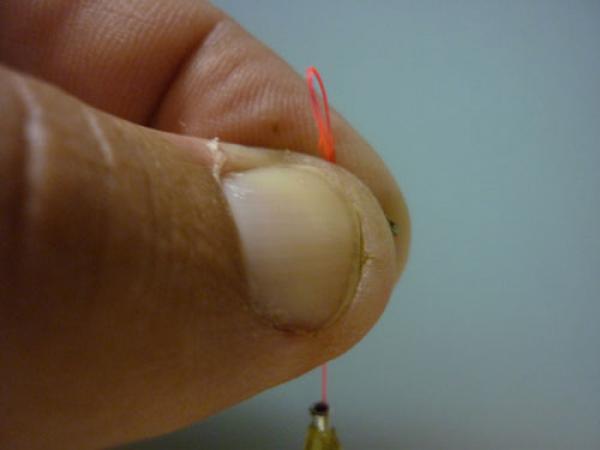
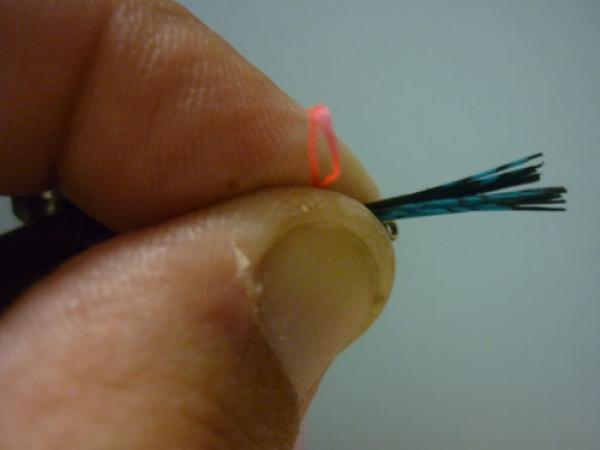
As soon as you get behind the hook shank, return to the "pinch" position. This will form and open loop of thread over the hook shank, directly above the tie-in point. The thread can hang freely and the loop will be maintained if you are pinched properly.
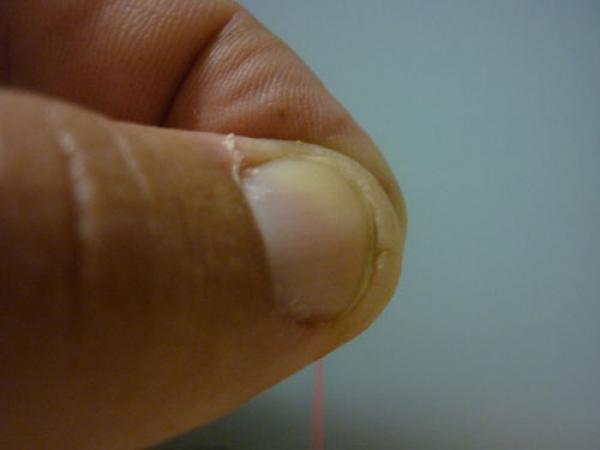
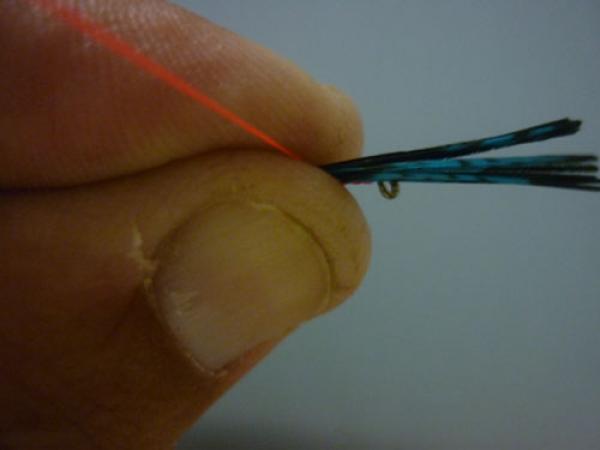
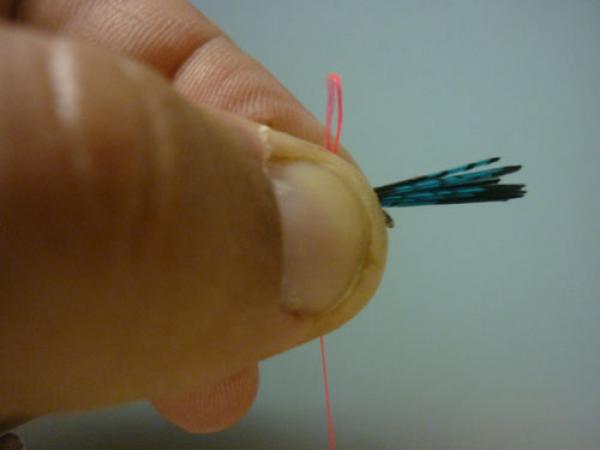
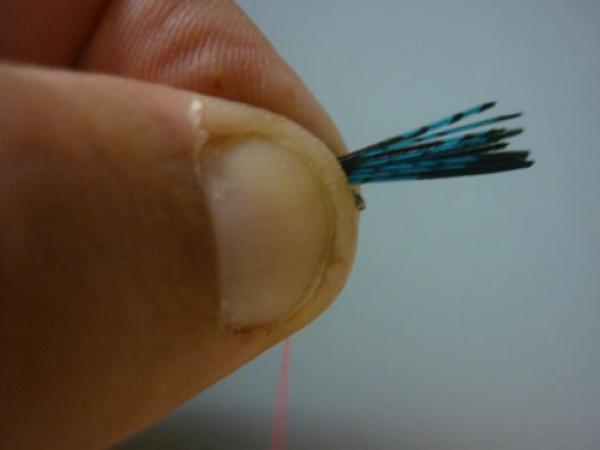
Now, pull directly down with the thread, cinching the loop onto the top of the hook shank and the material mounted on it.
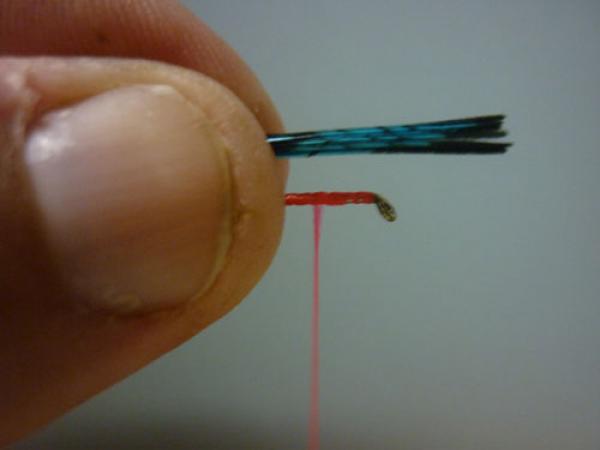
Lets go live....
